Mini Graflex Lightsaber
What left at least as strong an impression as the Jedi remote was, of course, the very first appearance of the lightsaber in A New Hope. By now, most people know that the original lightsaber prop was based on an old Graflex camera flash, which was only minimally modified. Because of this, recreating a lightsaber today is relatively easy, as many manufacturers offer accurate replicas of the original flashgun.
Rather than building a 1:1 replica, I decided to create a miniature version at half scale. This approach was far more interesting to me, as it meant that every single part had to be newly fabricated, often using materials I had never worked with before. It also required learning new techniques — for example, how to chrome a plastic tube, or at least make it look as if it had been chrome plated.
It was an absolute fun project.
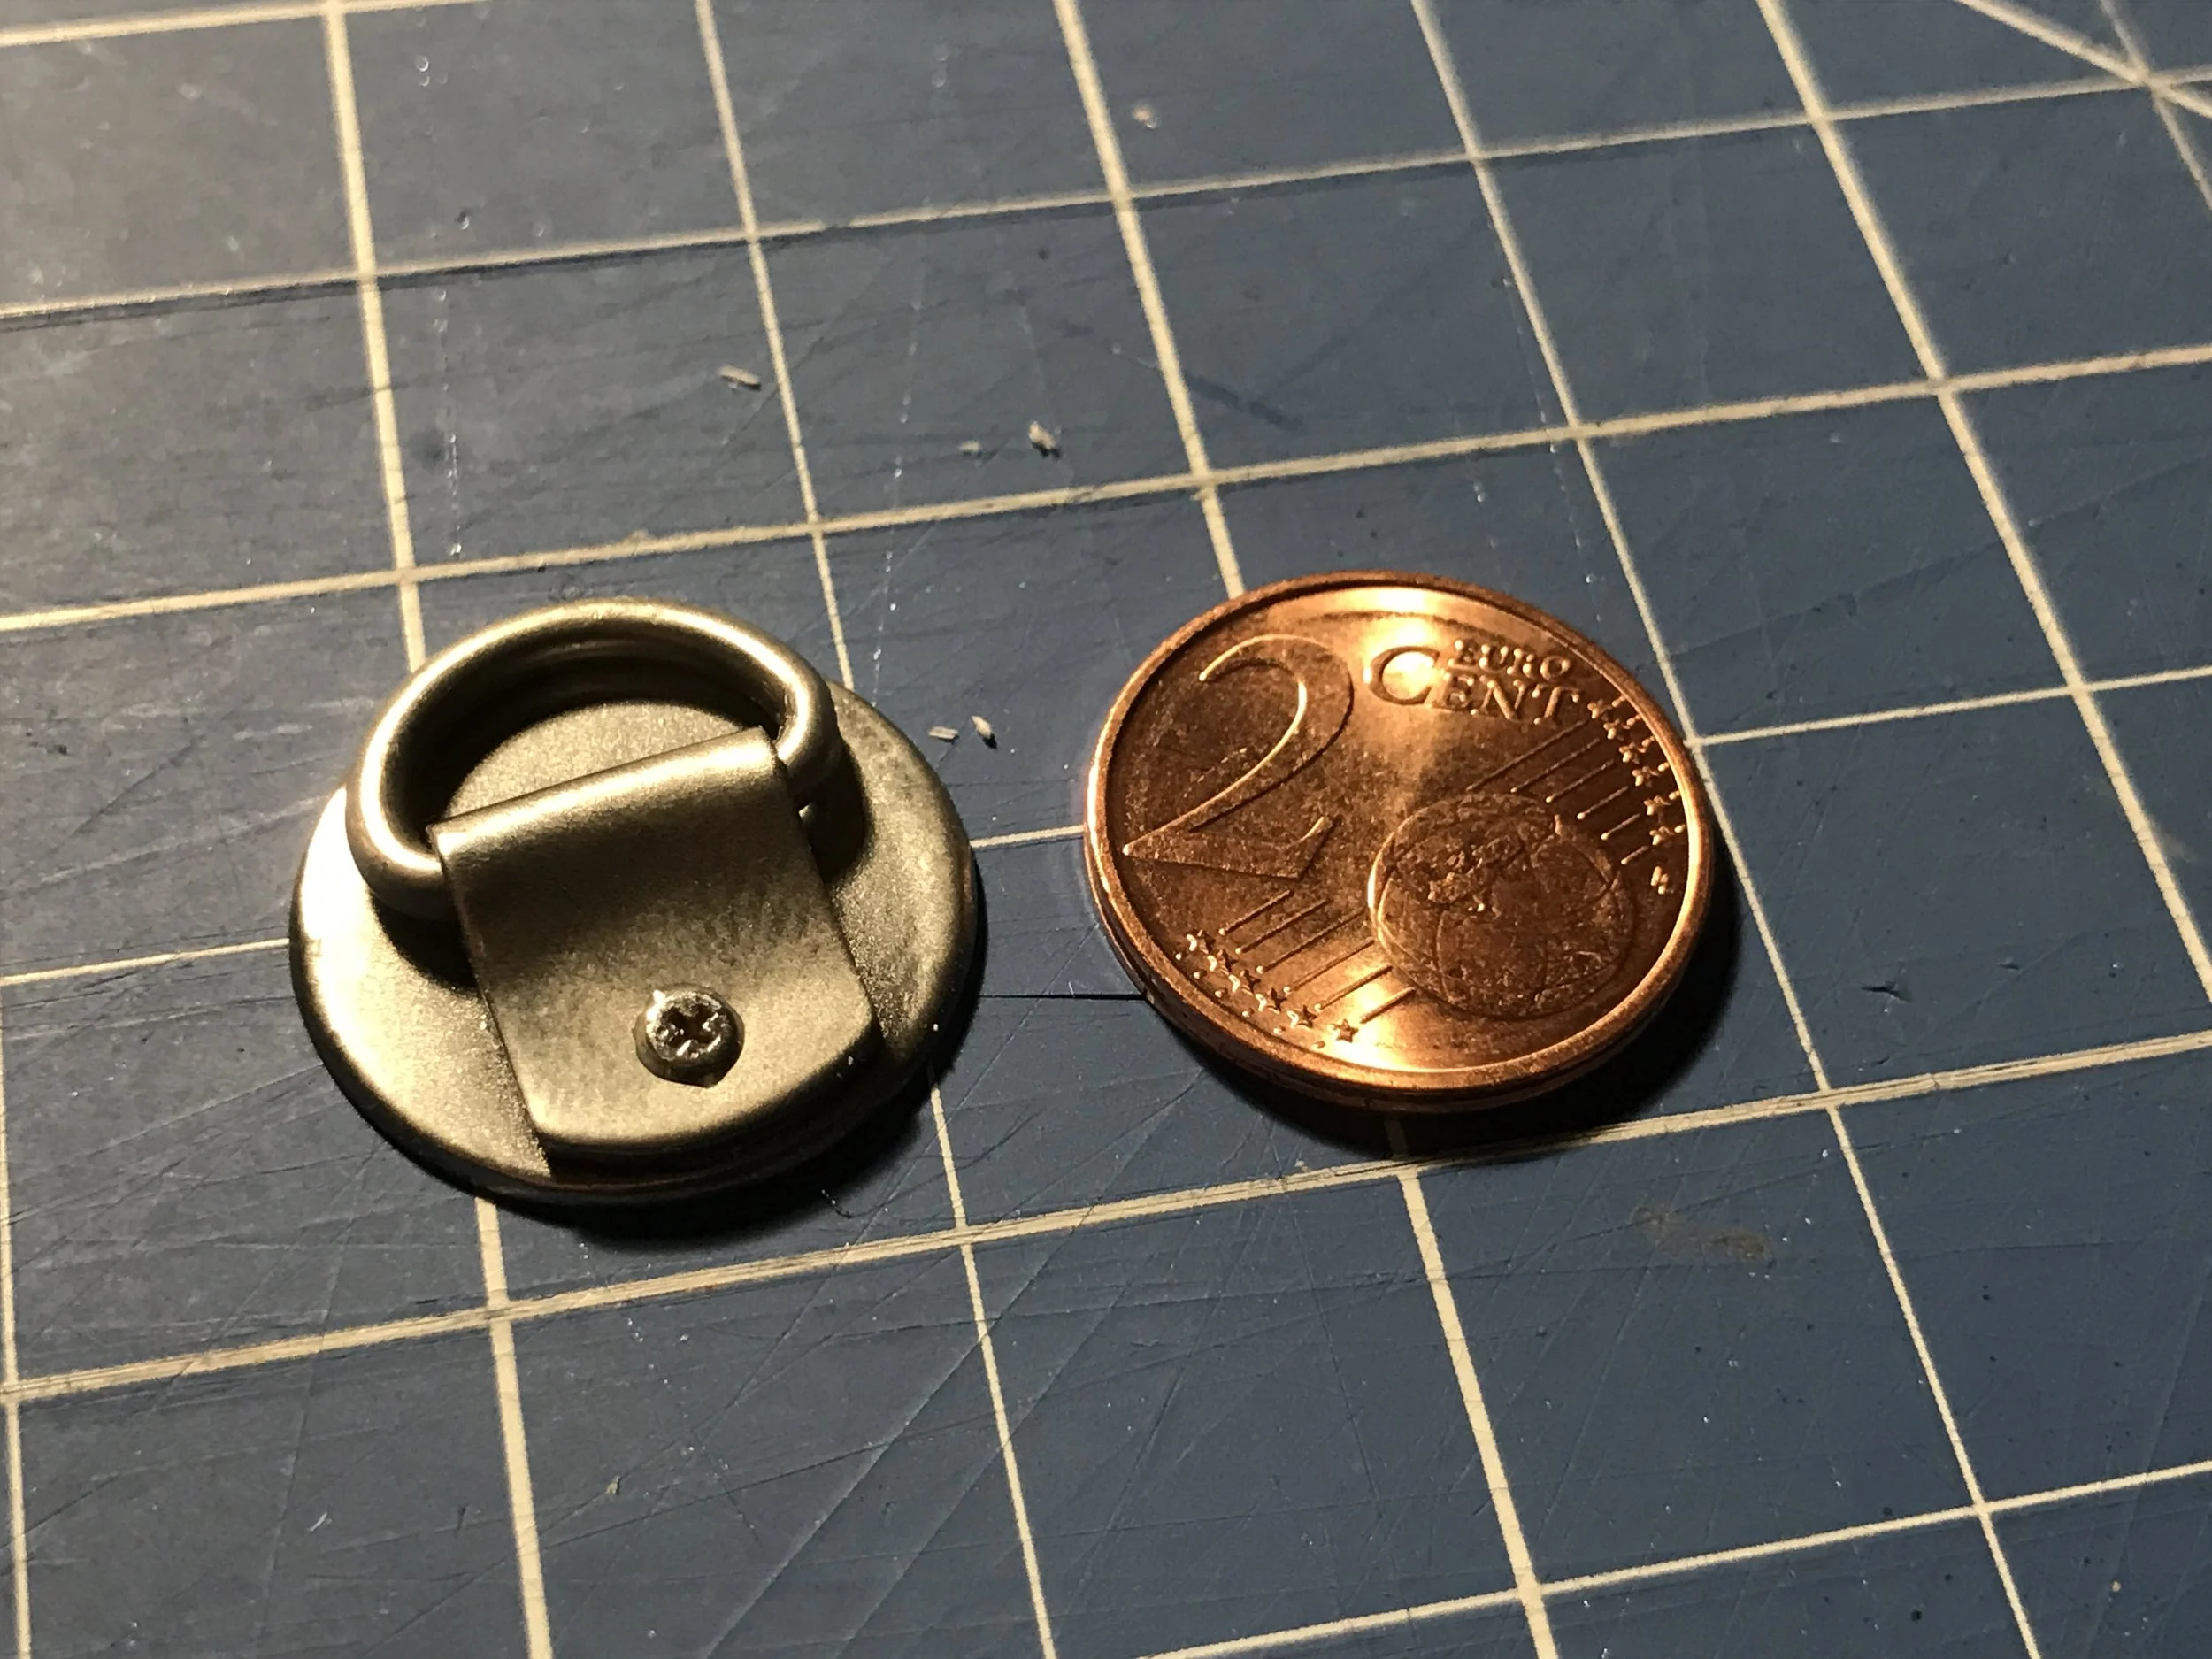
Starting Point & Scale Reference
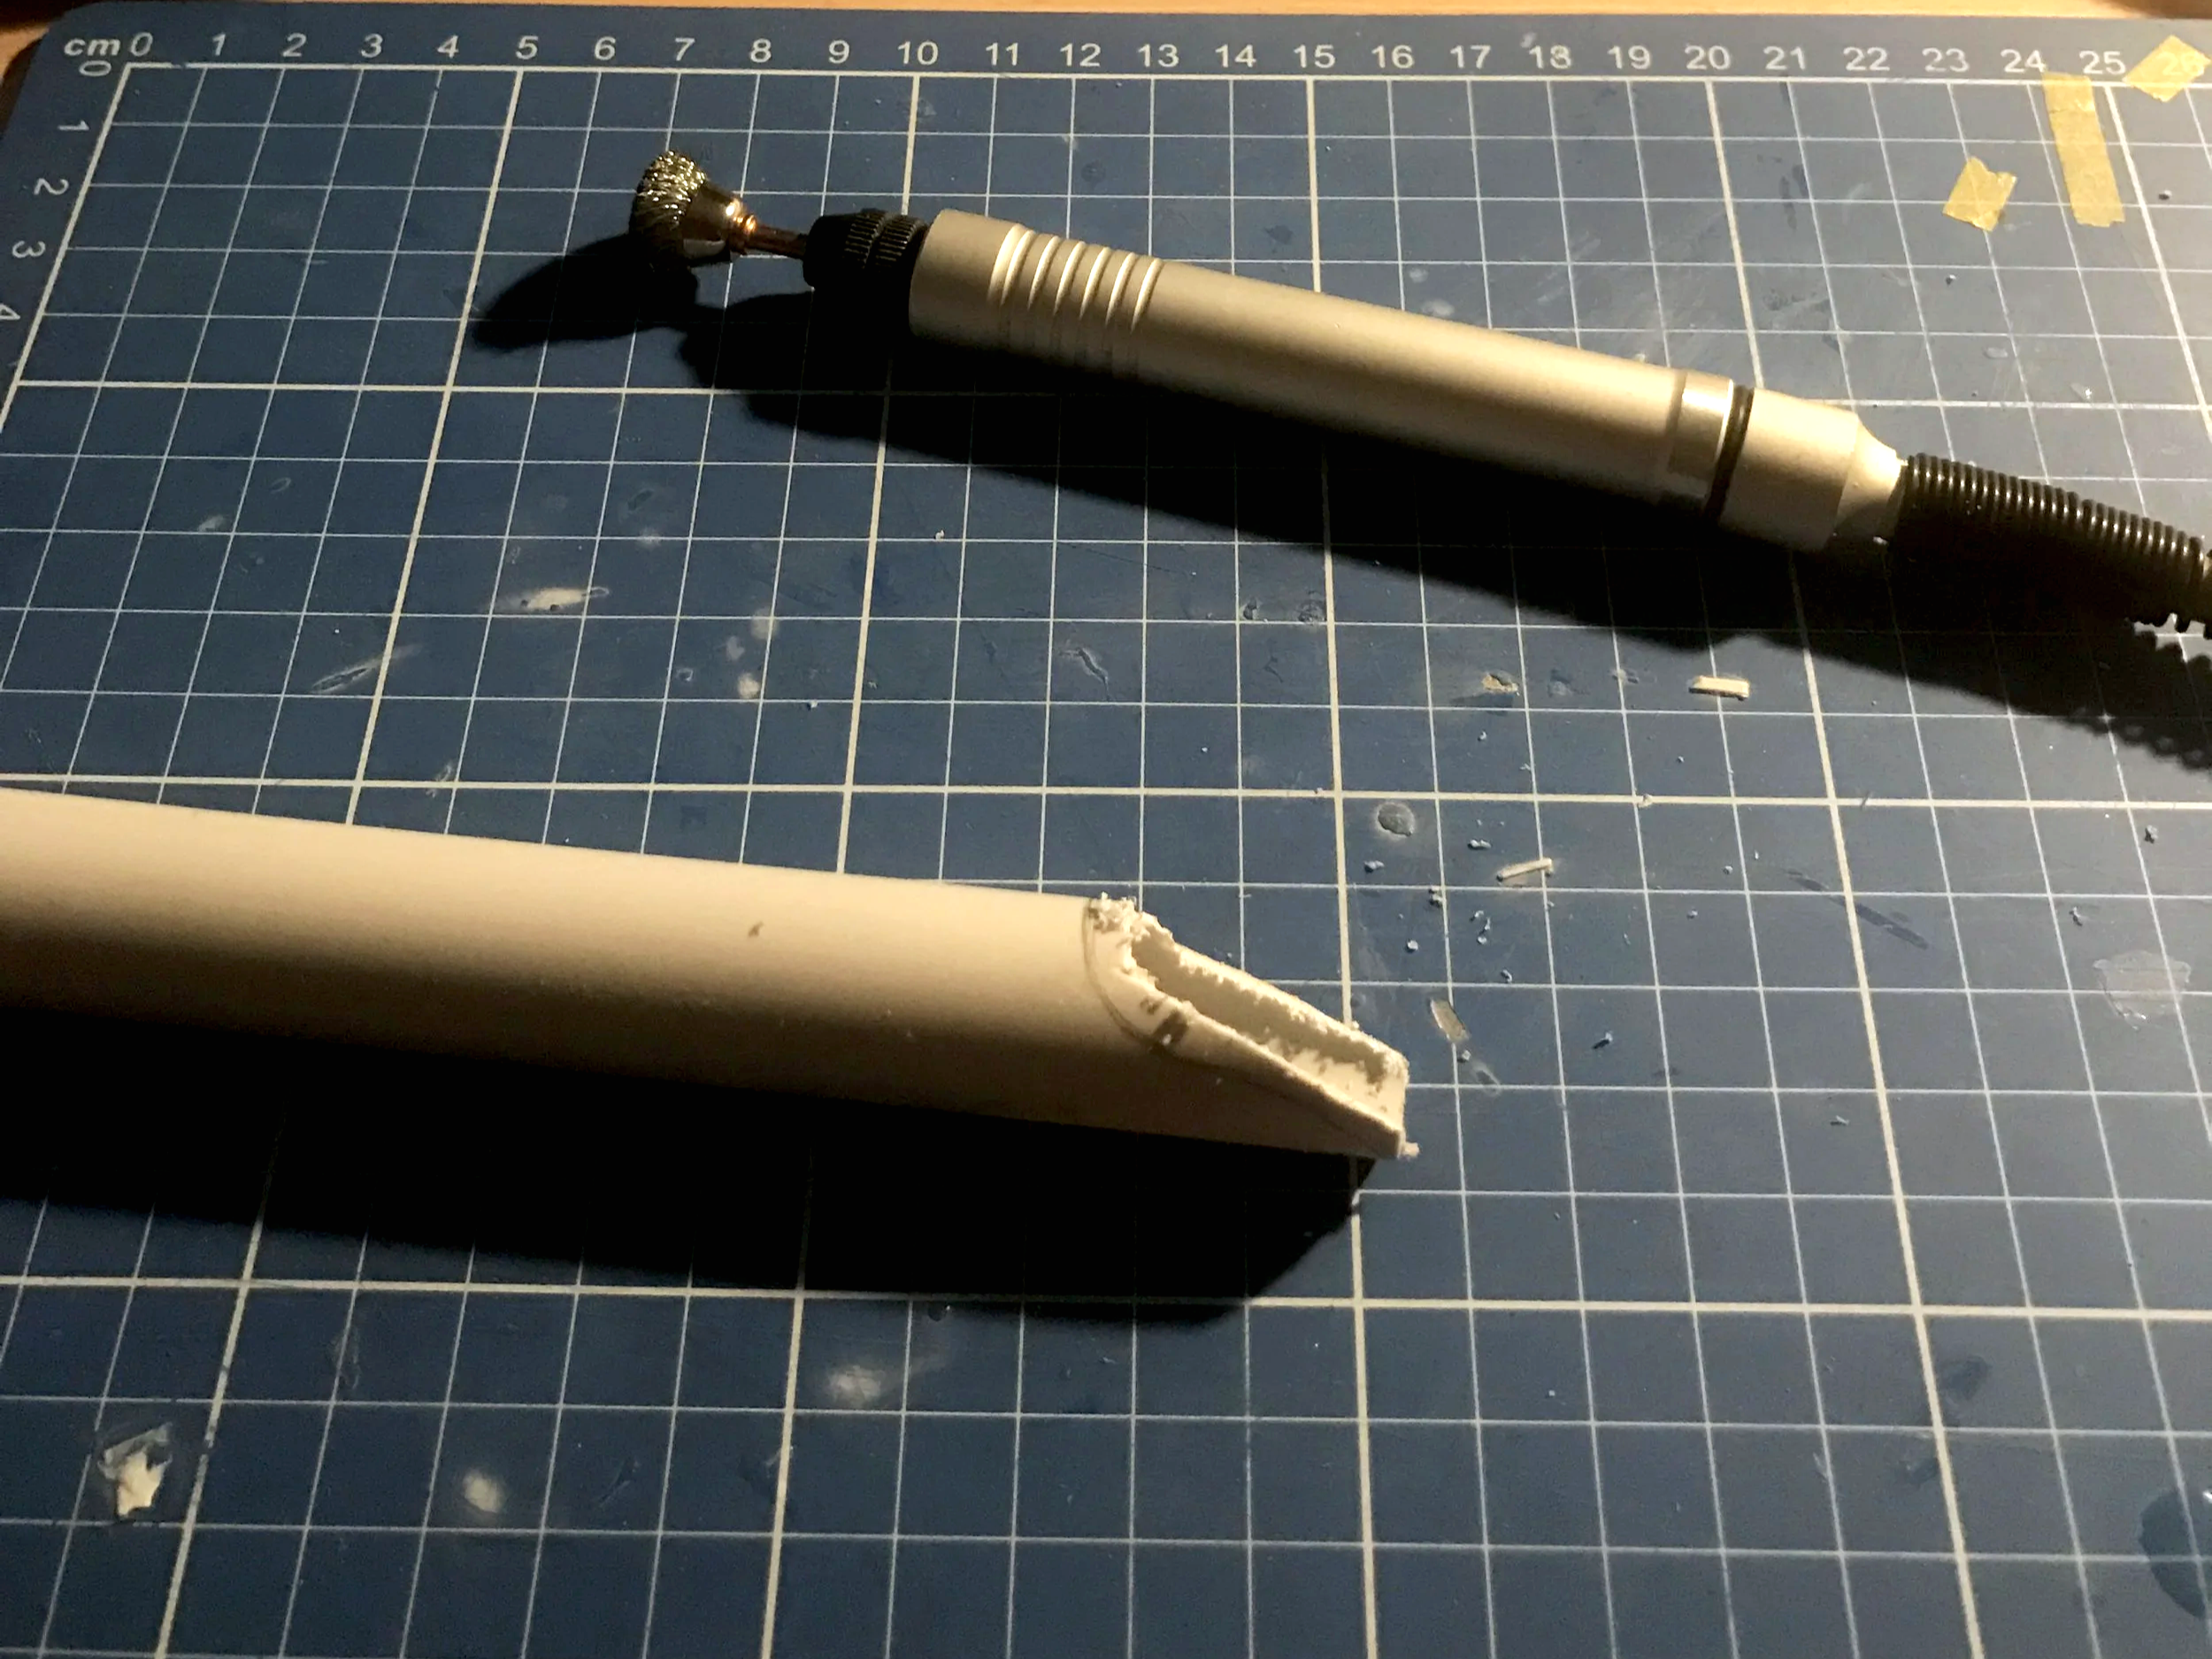
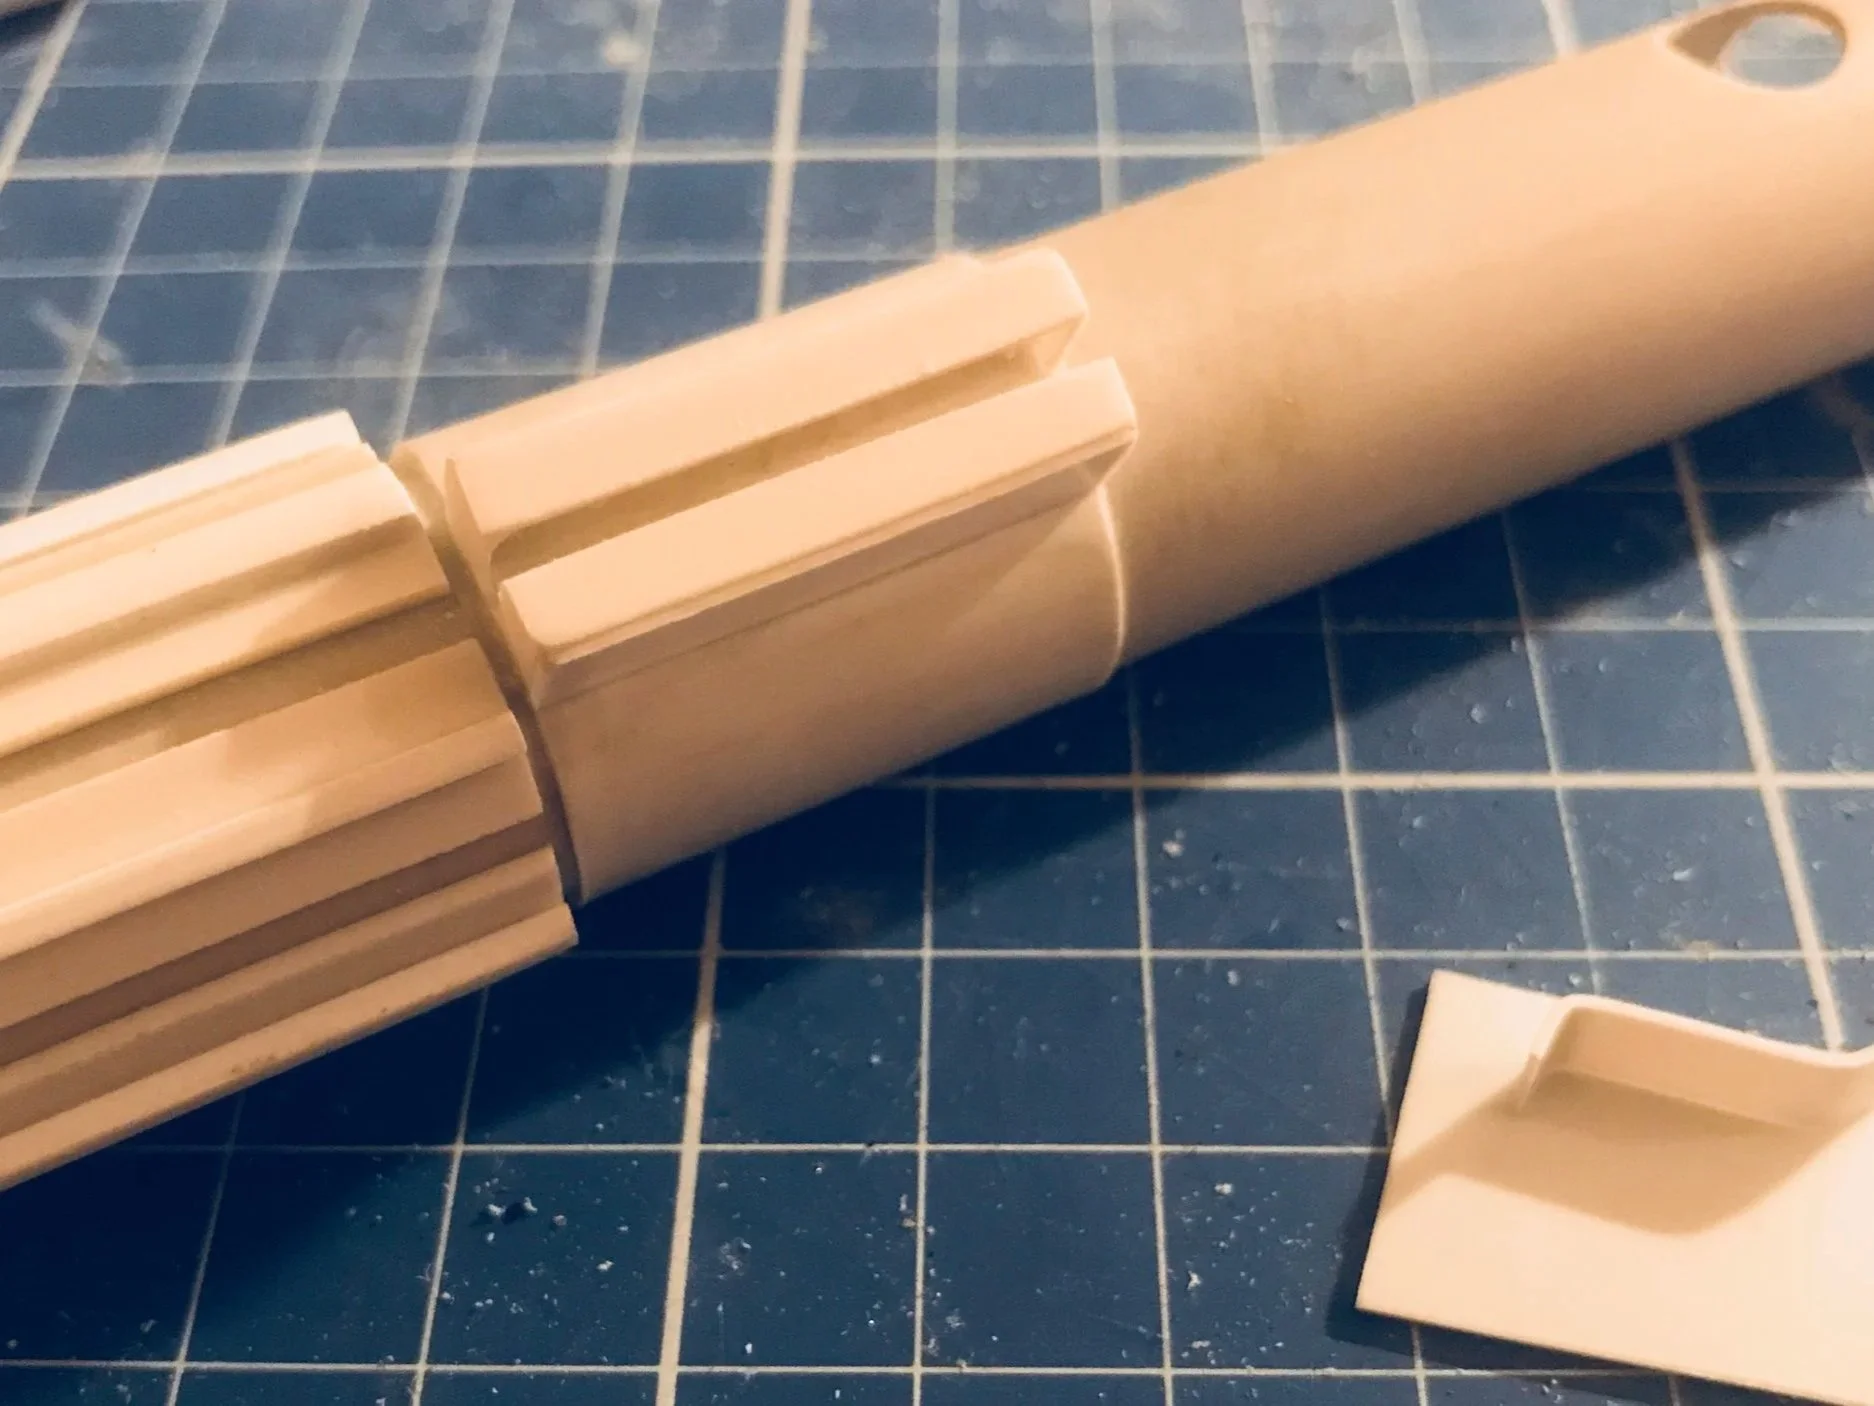
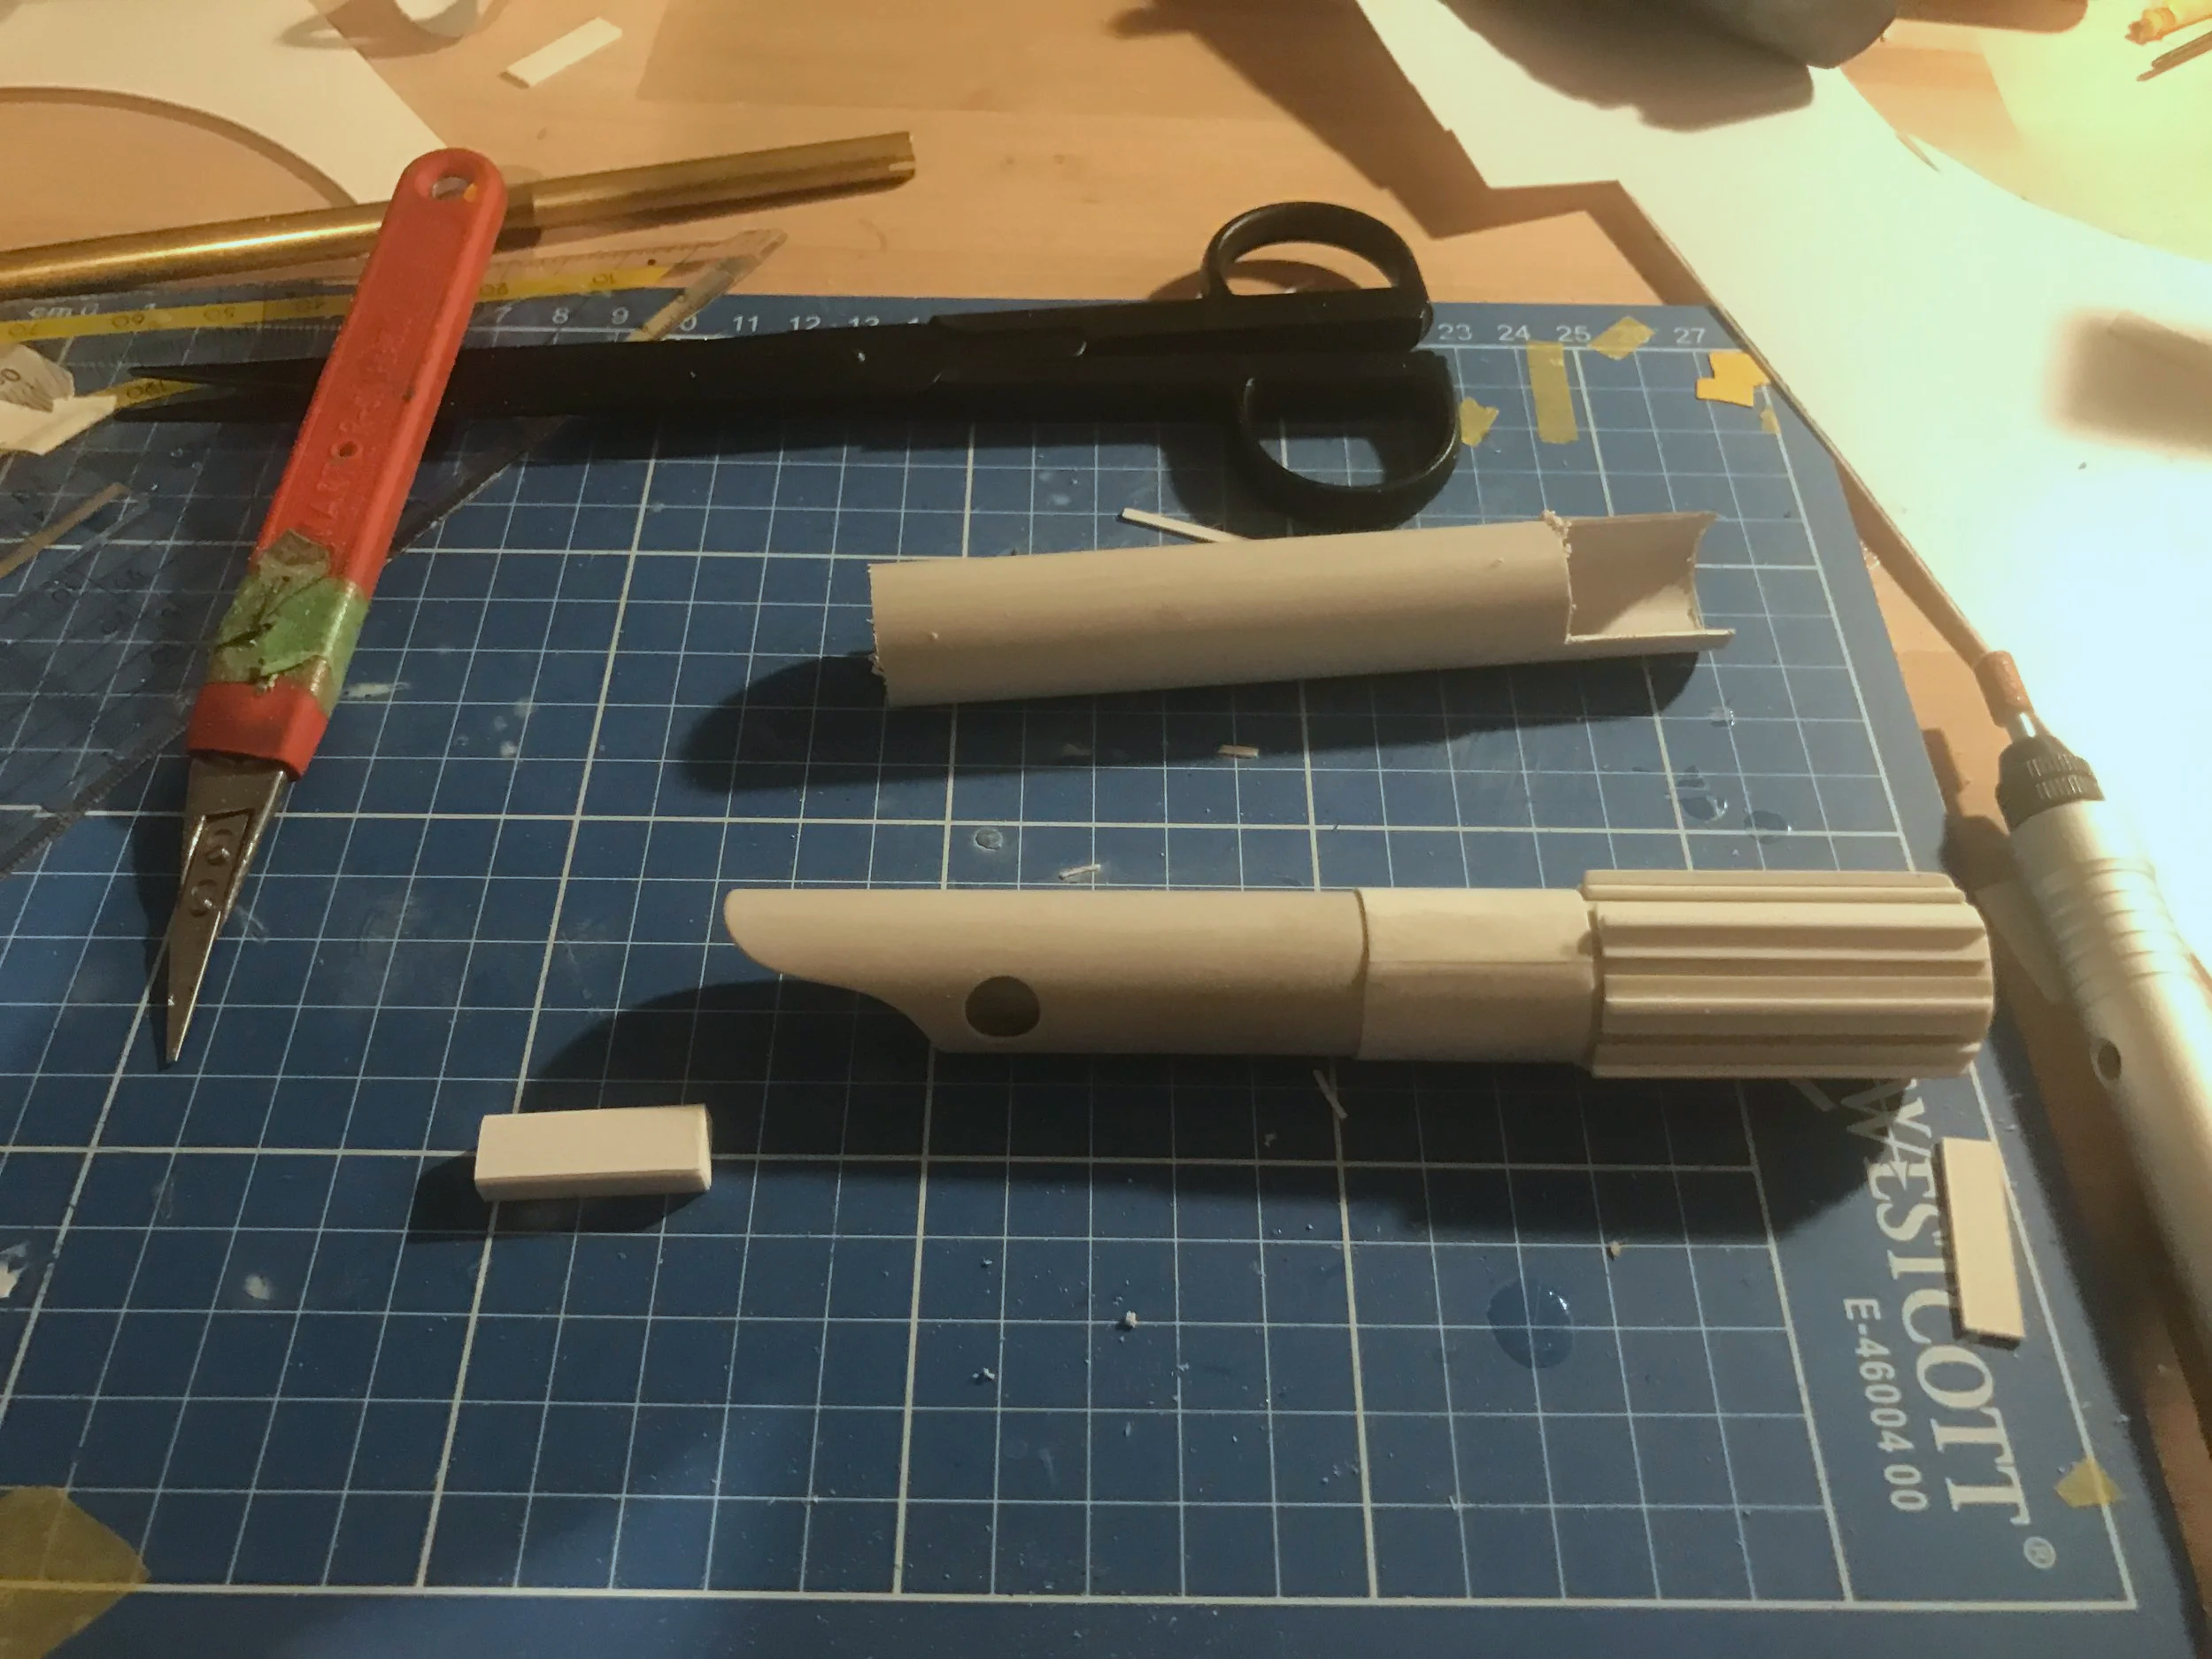
Everything started with a plastic tube, which turned out to be ideal for shaping and modifying with a Dremel. To be fair, I had a Graflex handle replica available as a reference, which allowed me to measure proportions accurately. This made it possible to scale down each component step by step, while maintaining the correct visual ratios of the original lightsaber.
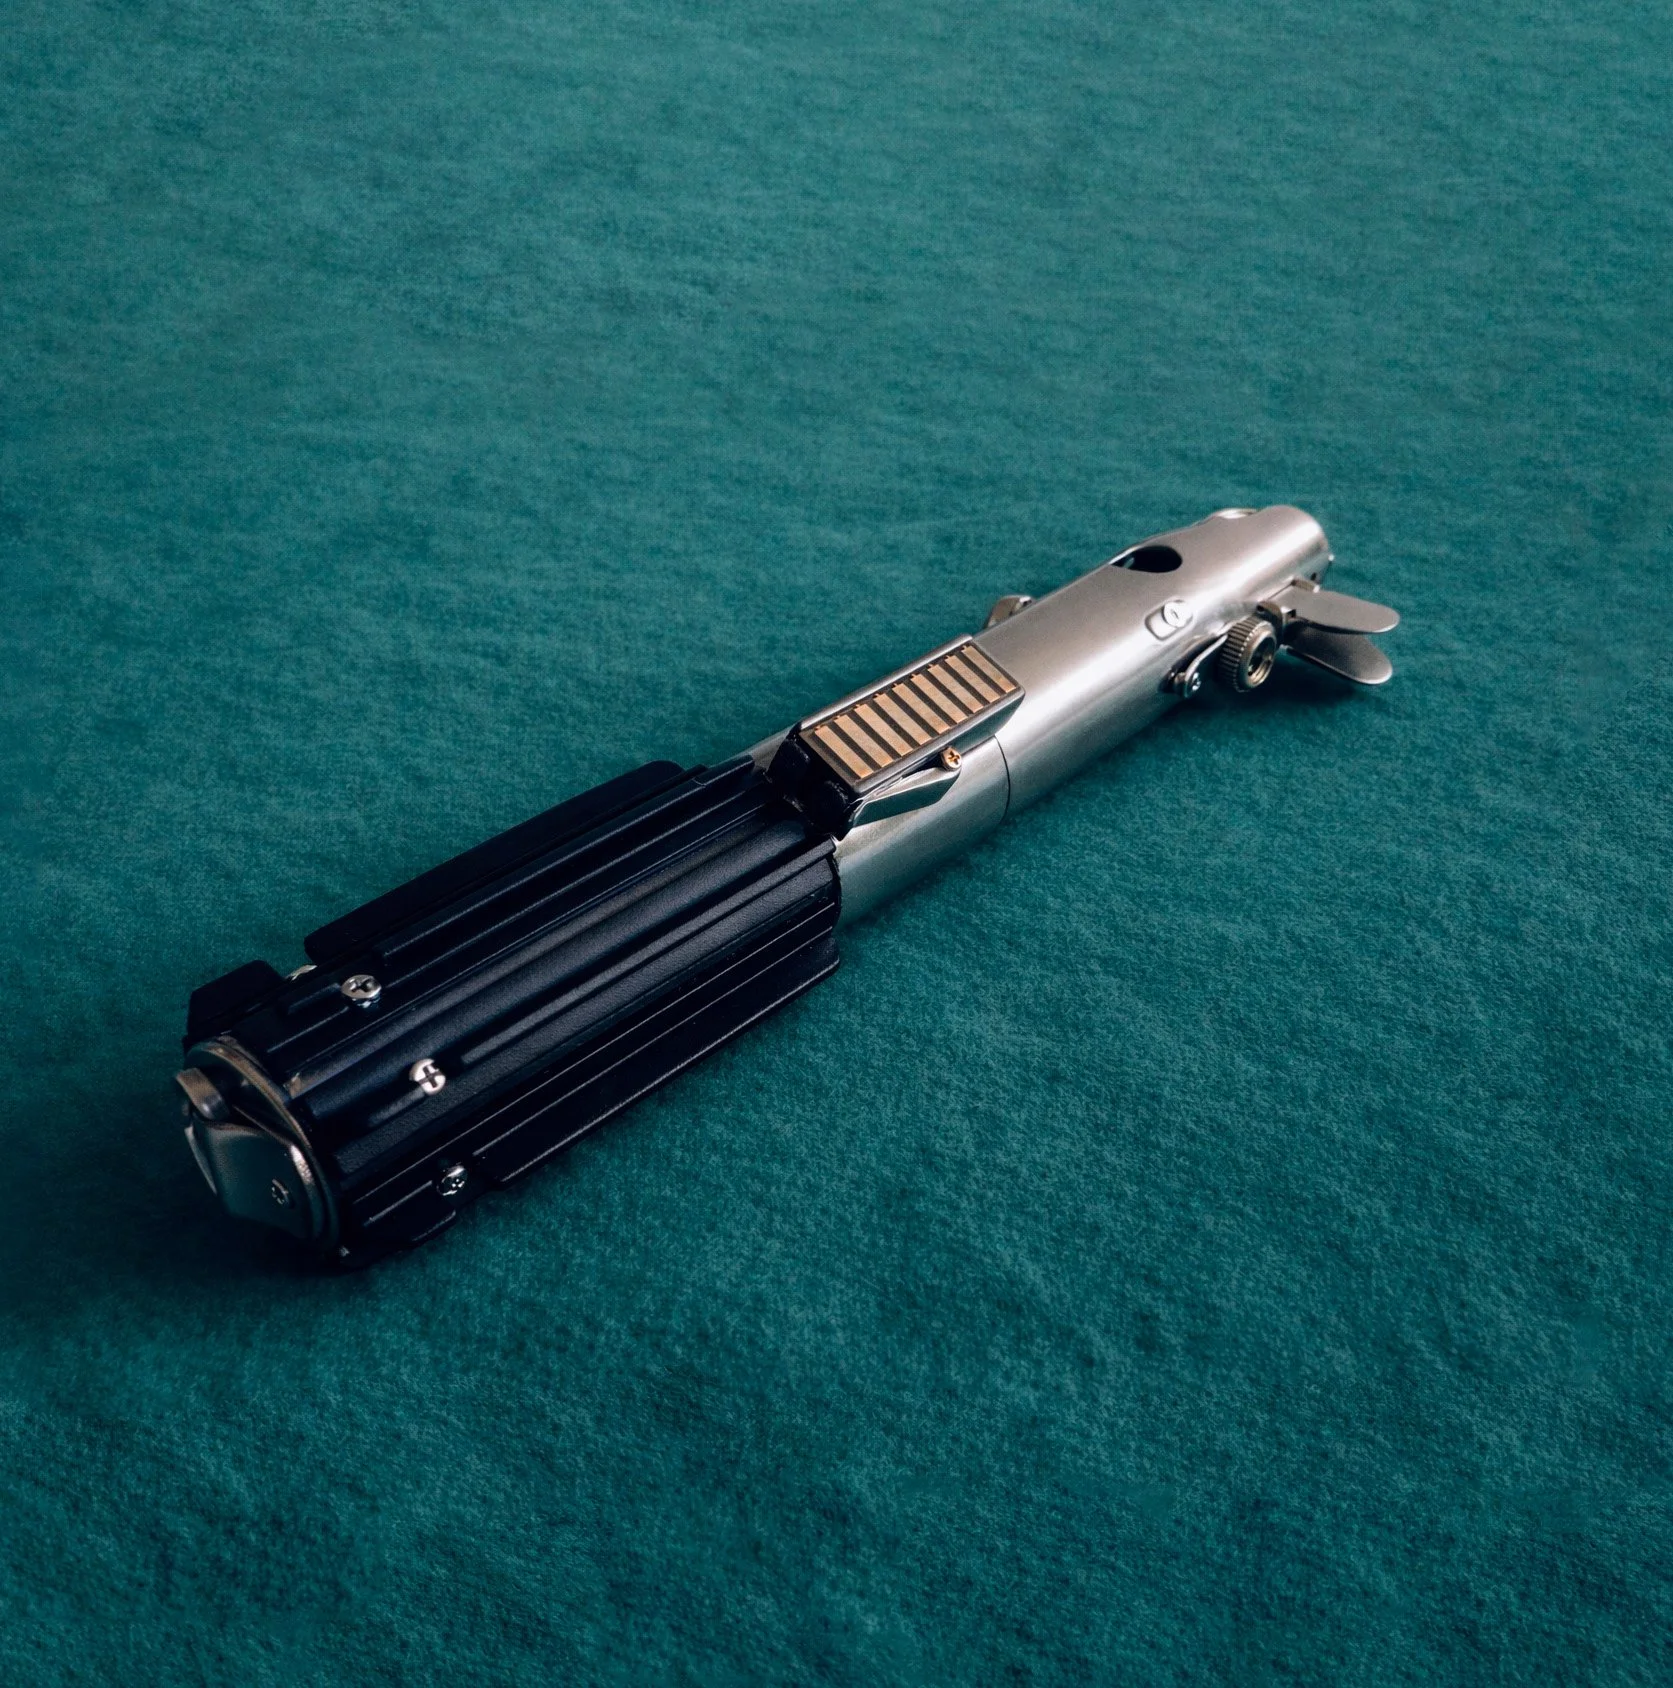
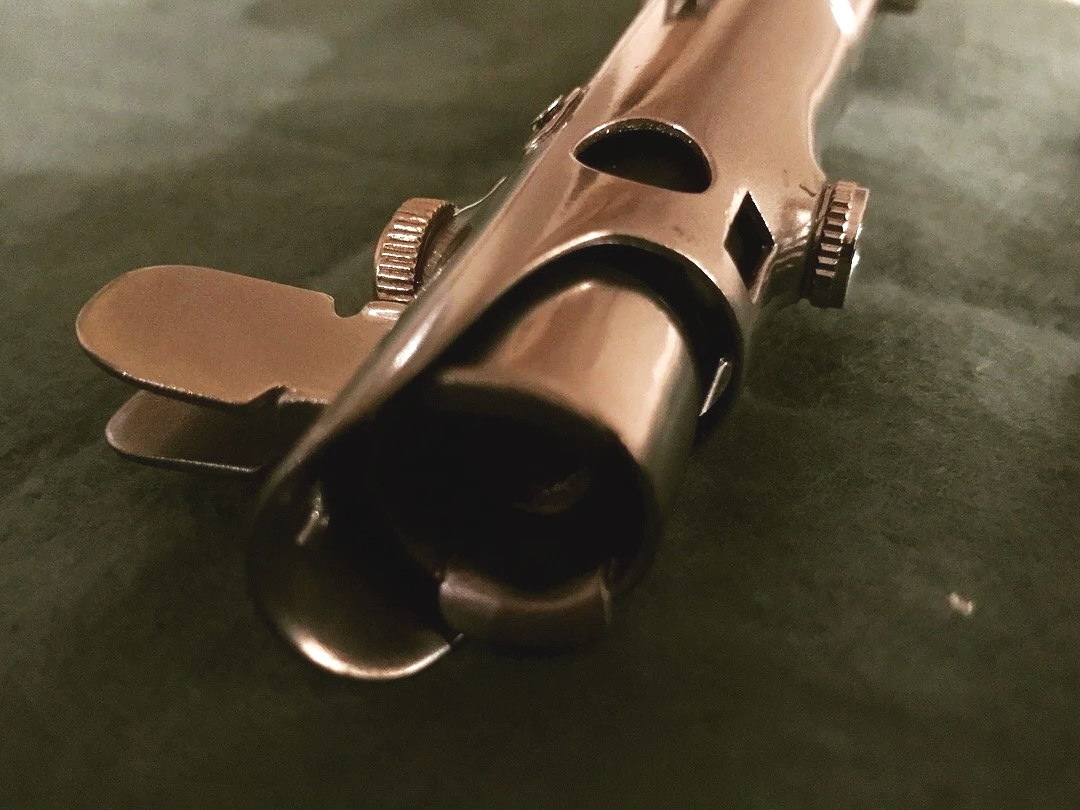
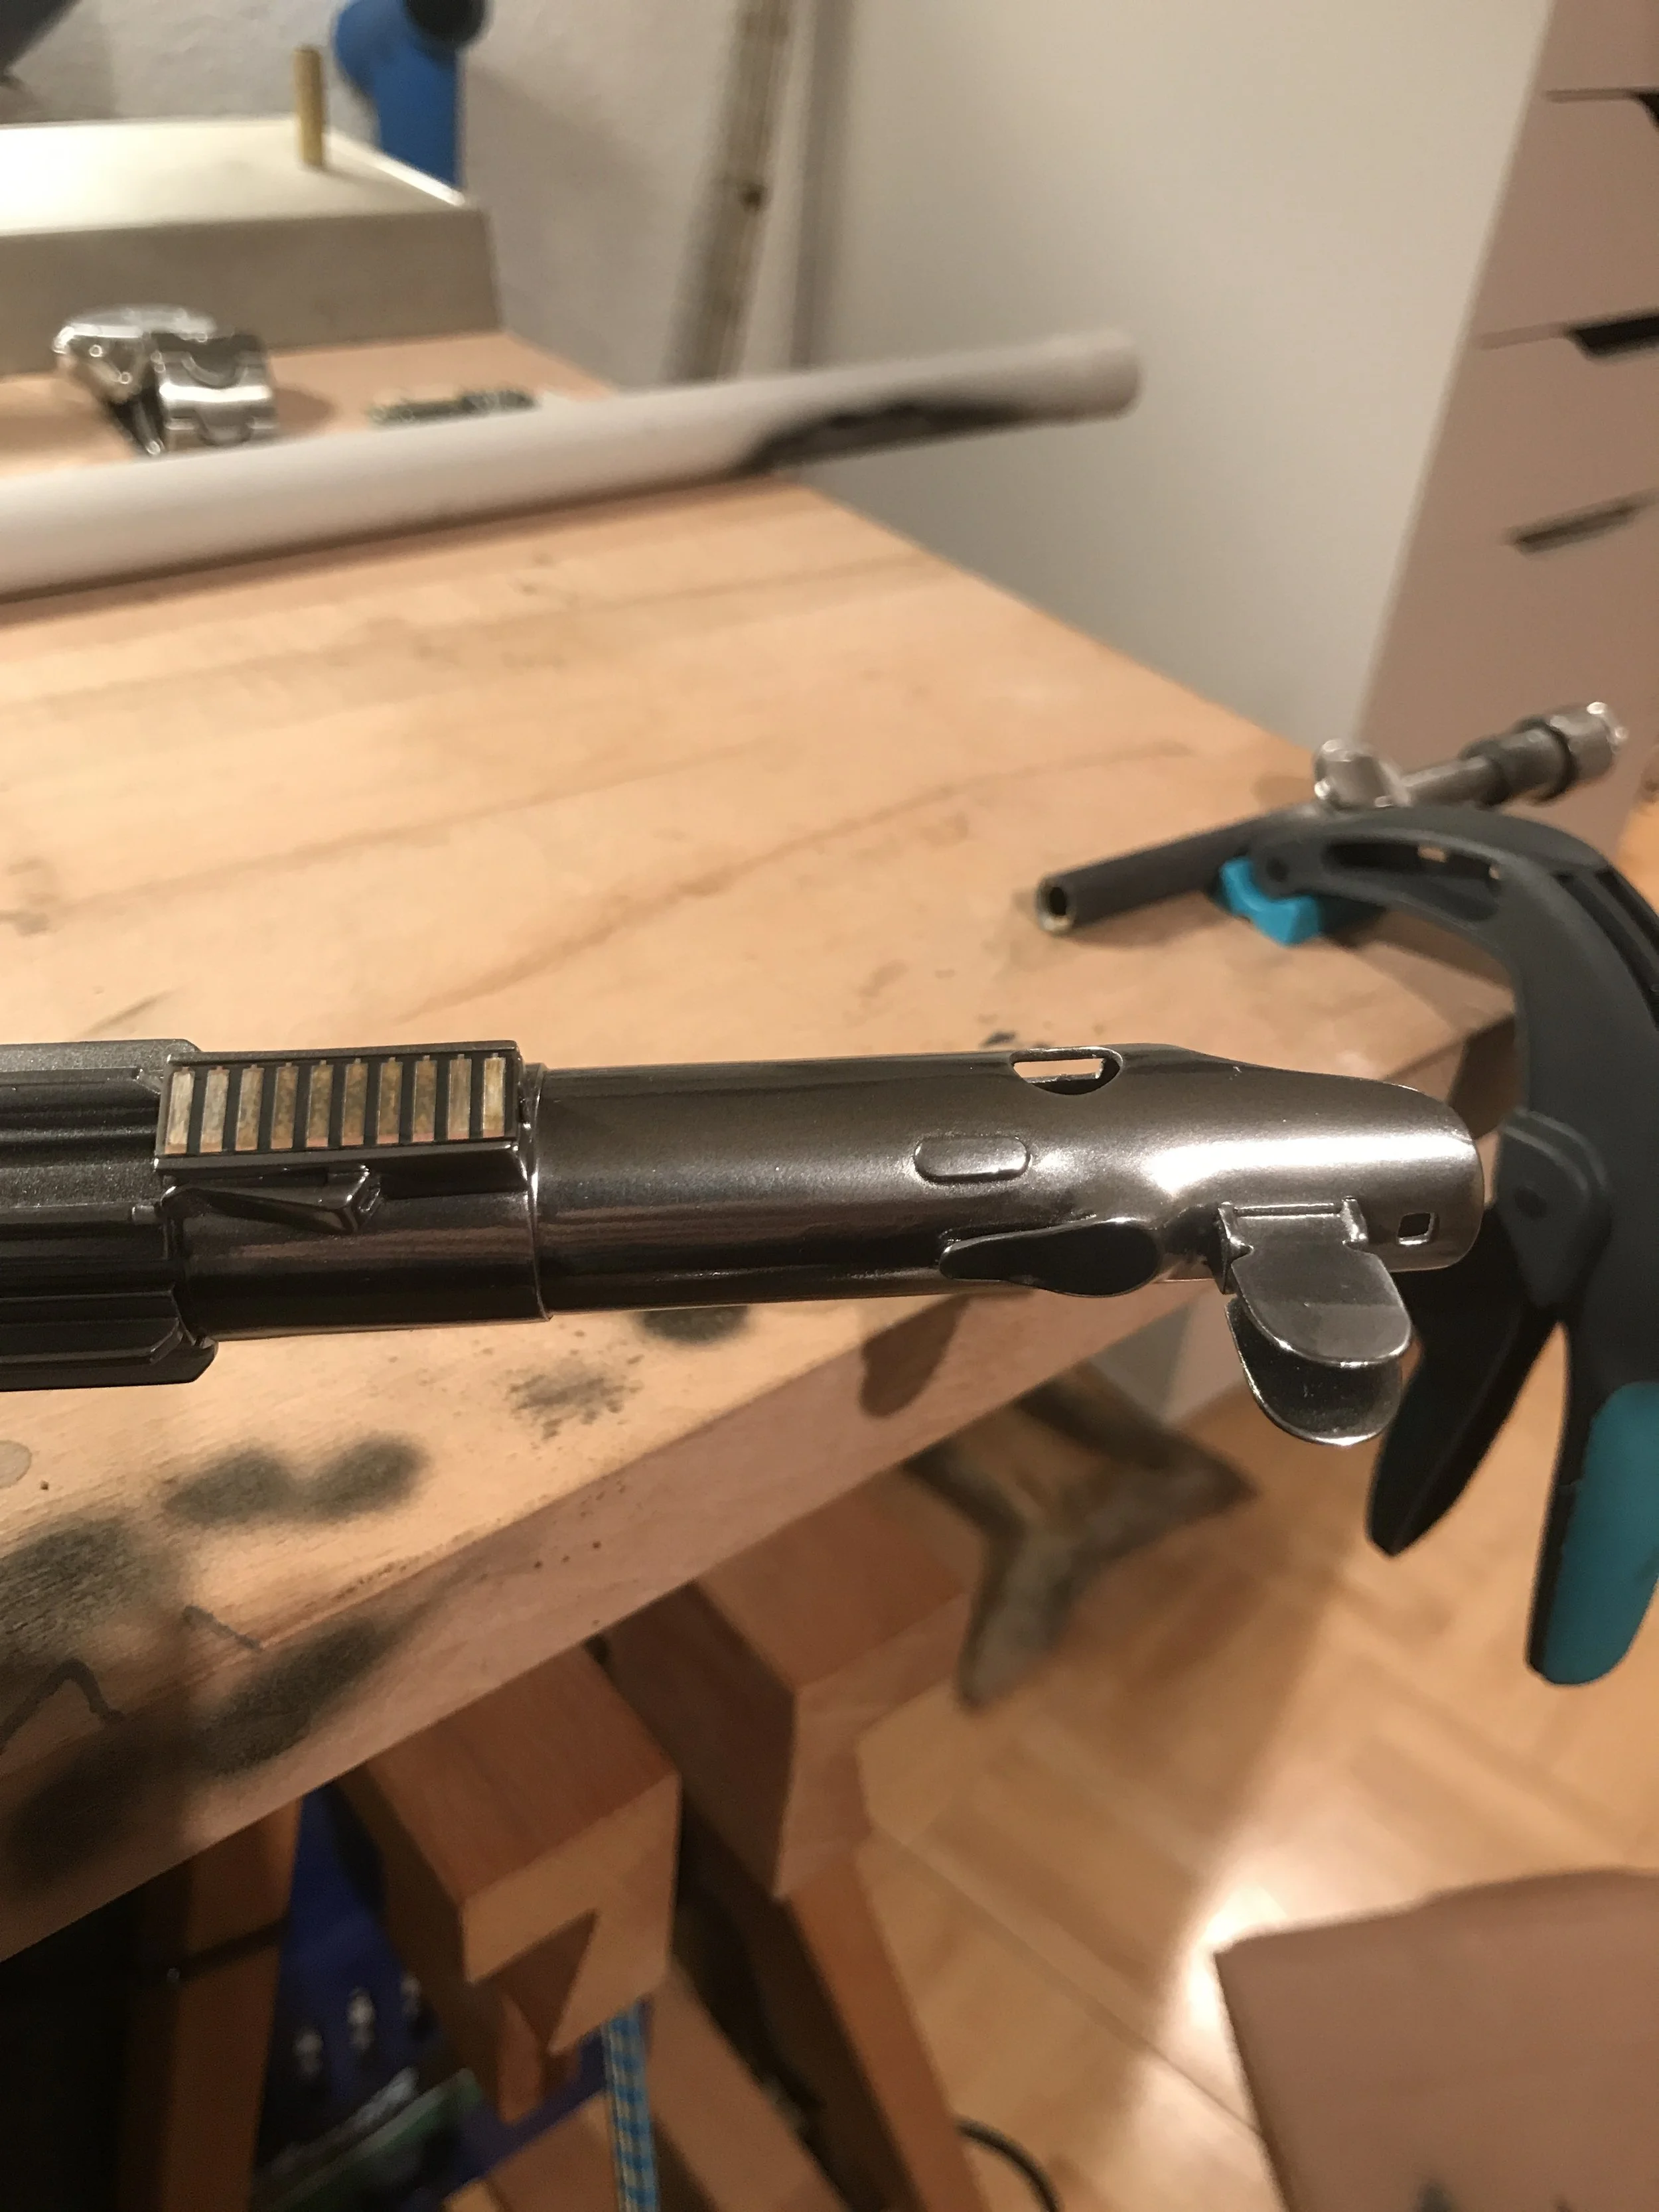
Graflex – Component Overview (ESB Configuration)
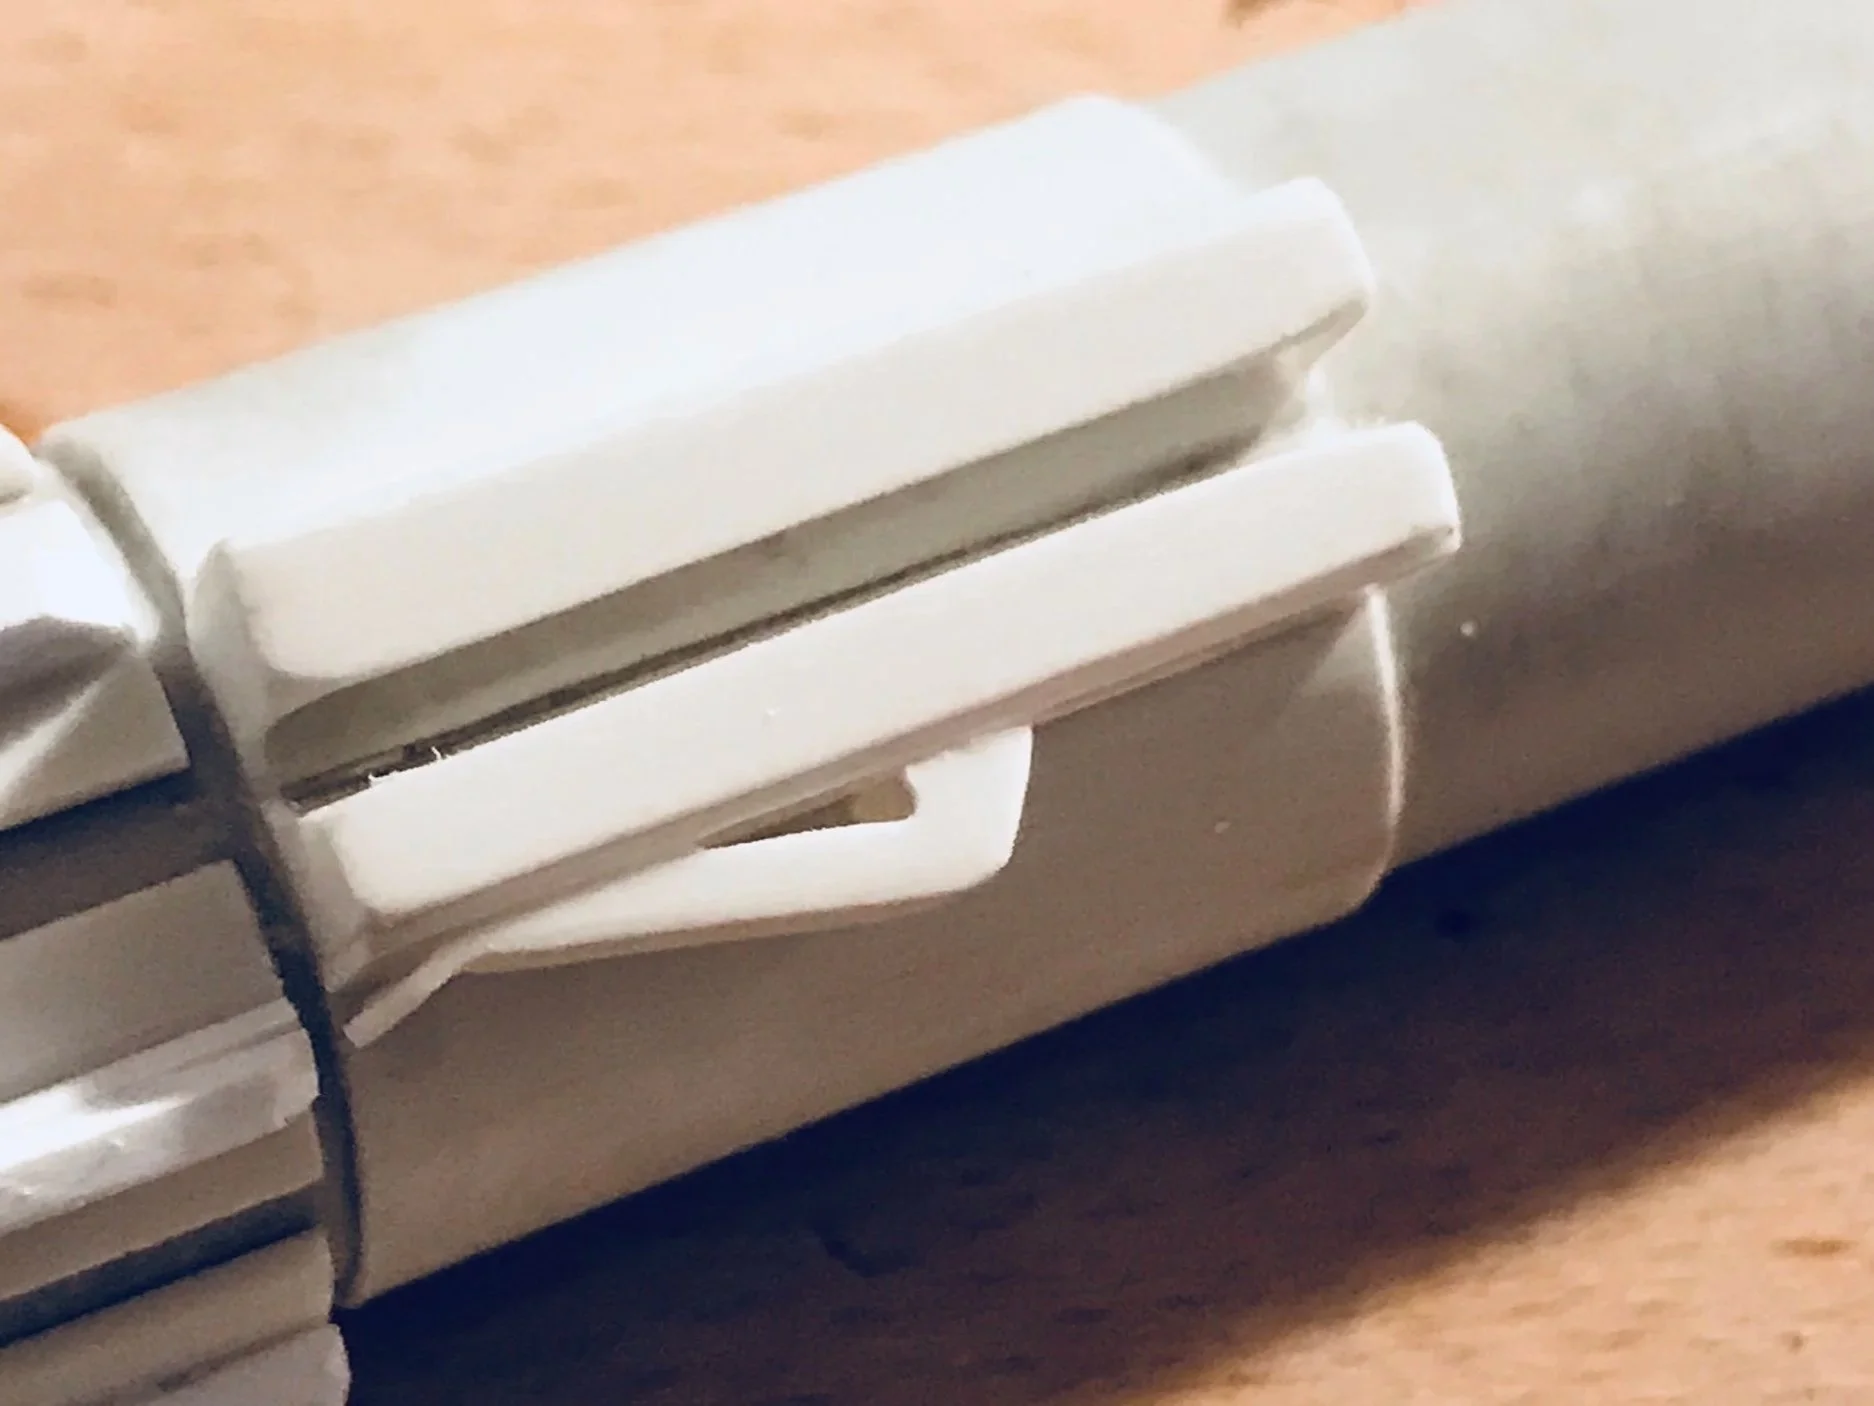
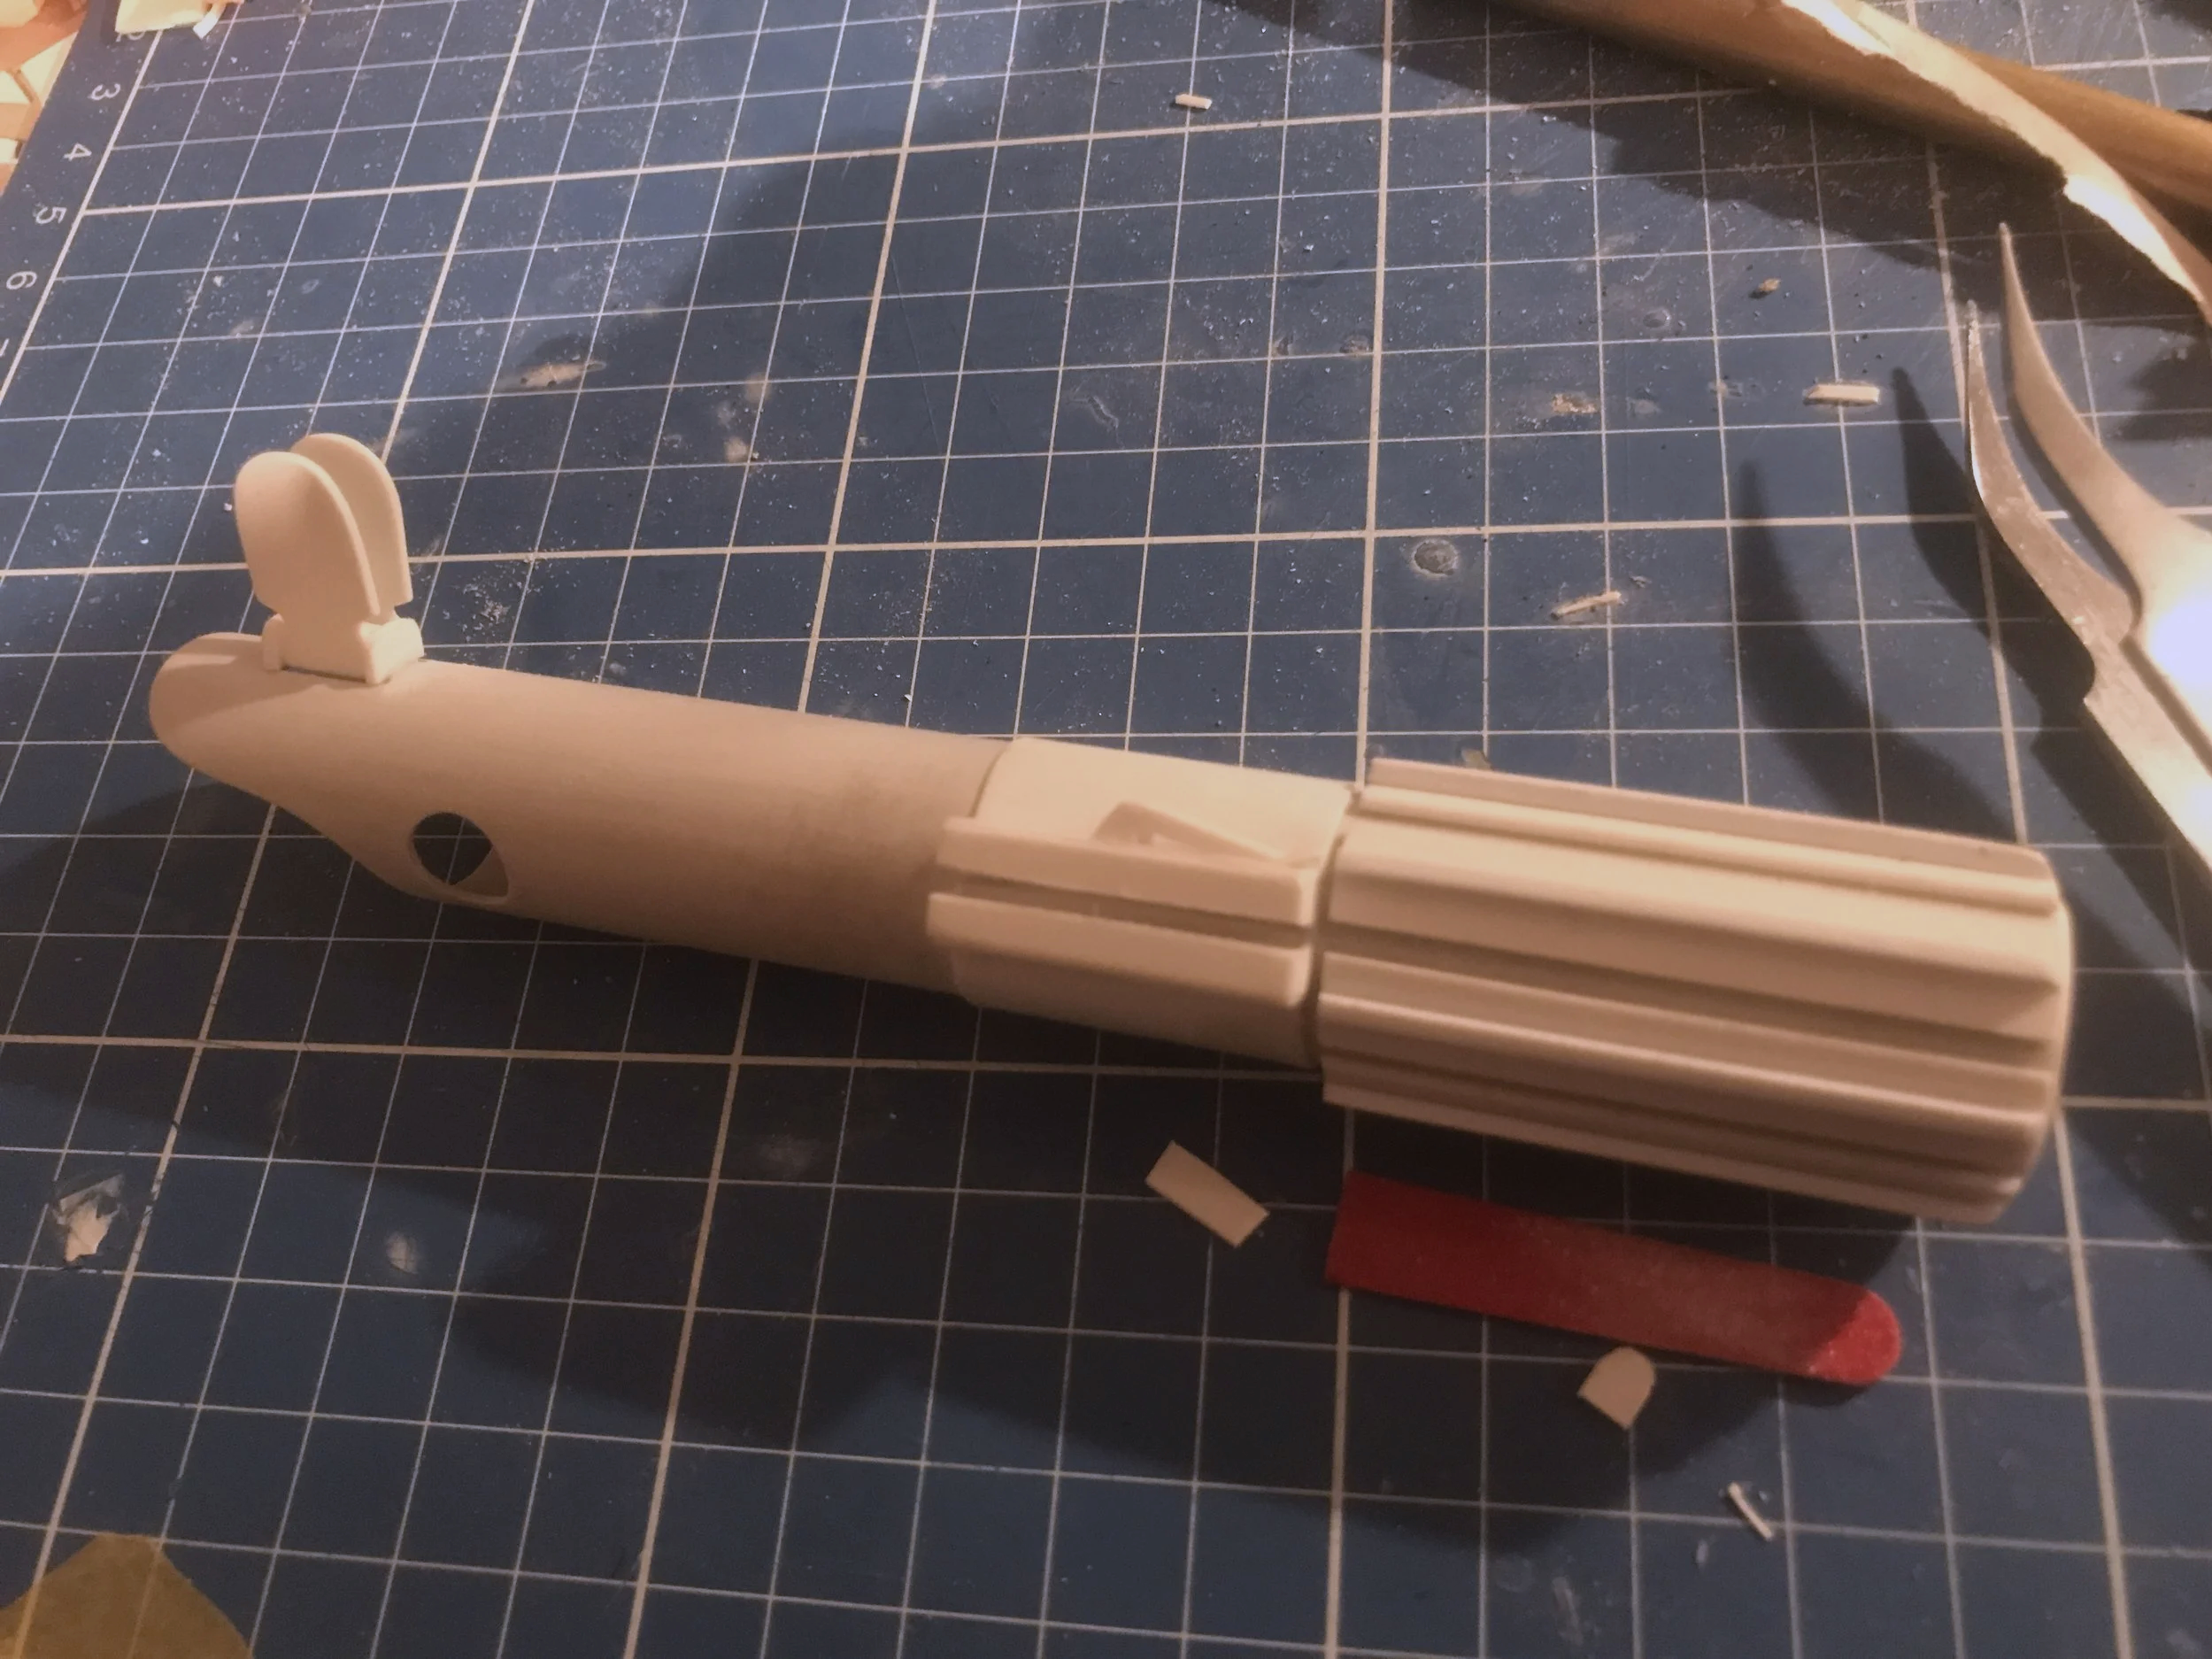
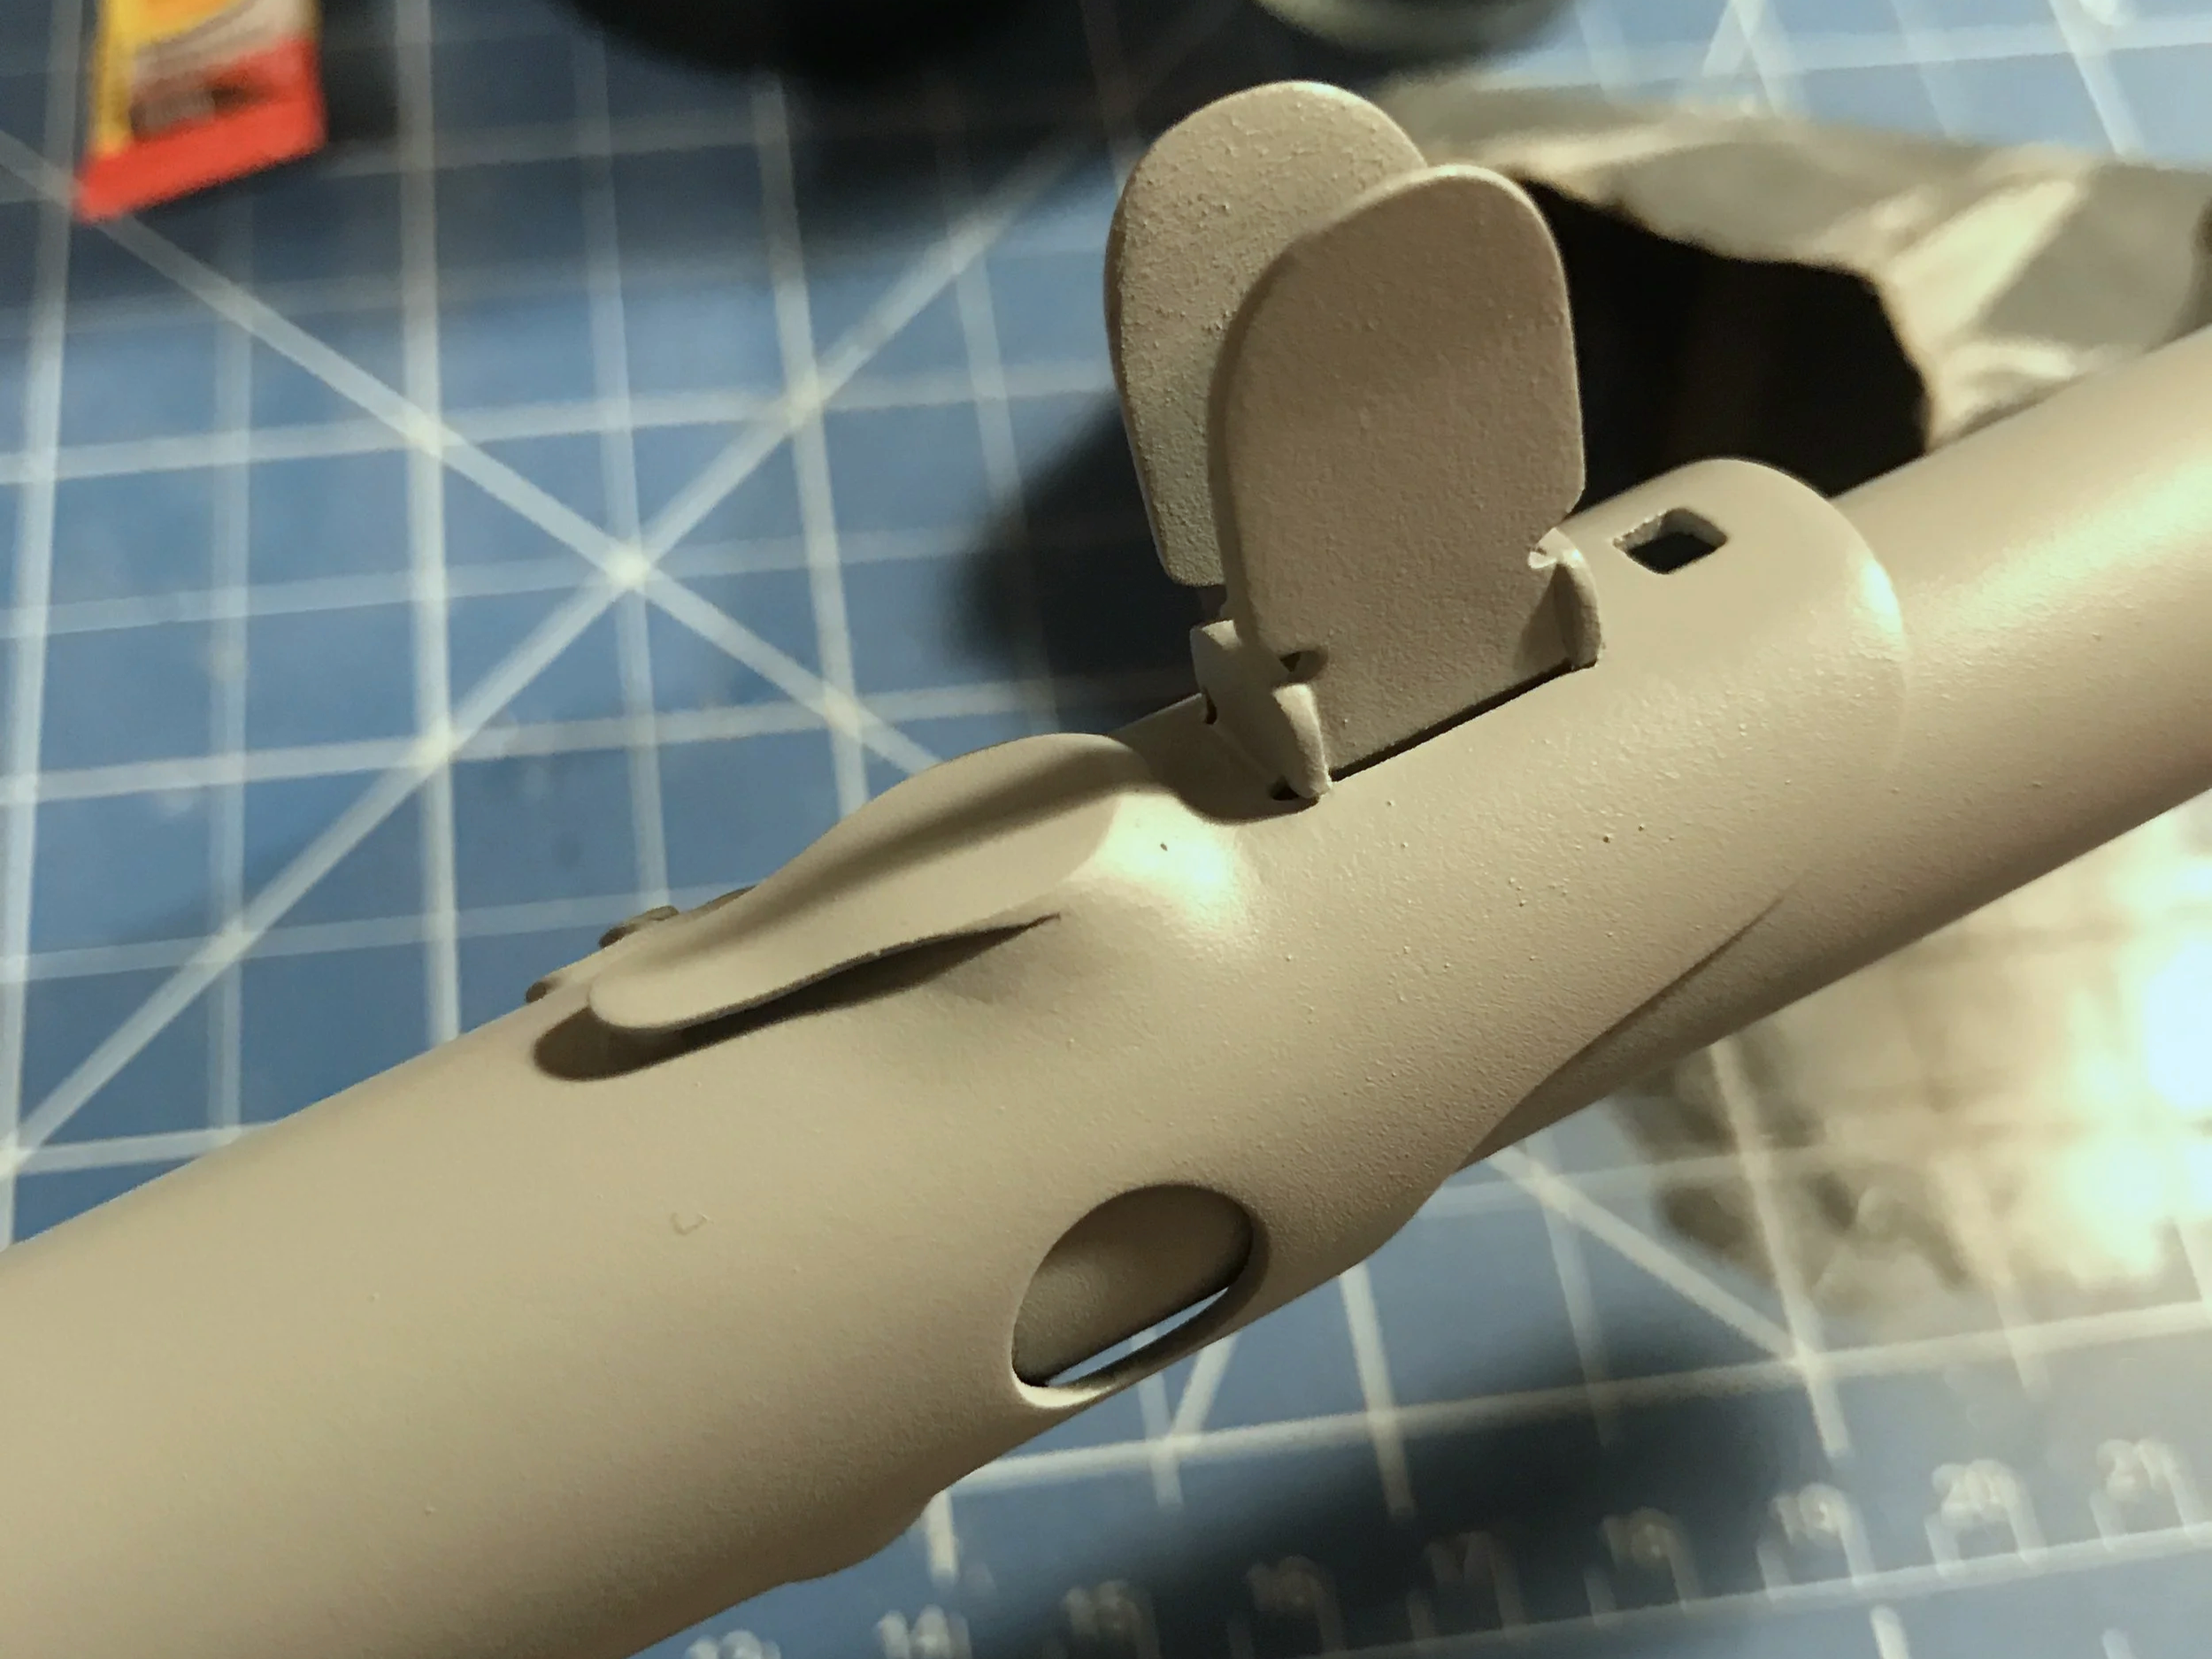
The ESB configuration is based on the Graflex flashgun but differs from the ANH version in several key details. It uses the red button instead of the glass eye, while the clamp area is fitted with a circuit board rather than a bubble strip. The grip section features seven T-Grips of full length with evenly spaced placement, giving the hilt a more uniform and production-refined appearance compared to the ANH version. Overall, the ESB version feels more modern and precise. I originally would have preferred to build the ANH version, but sourcing a screen-accurate 7-bubble strip half size is impossible. I honestly had no clear idea how to solve that problem, whereas the circuit board could, if necessary, be replicated more easily.
TRANSITIONS
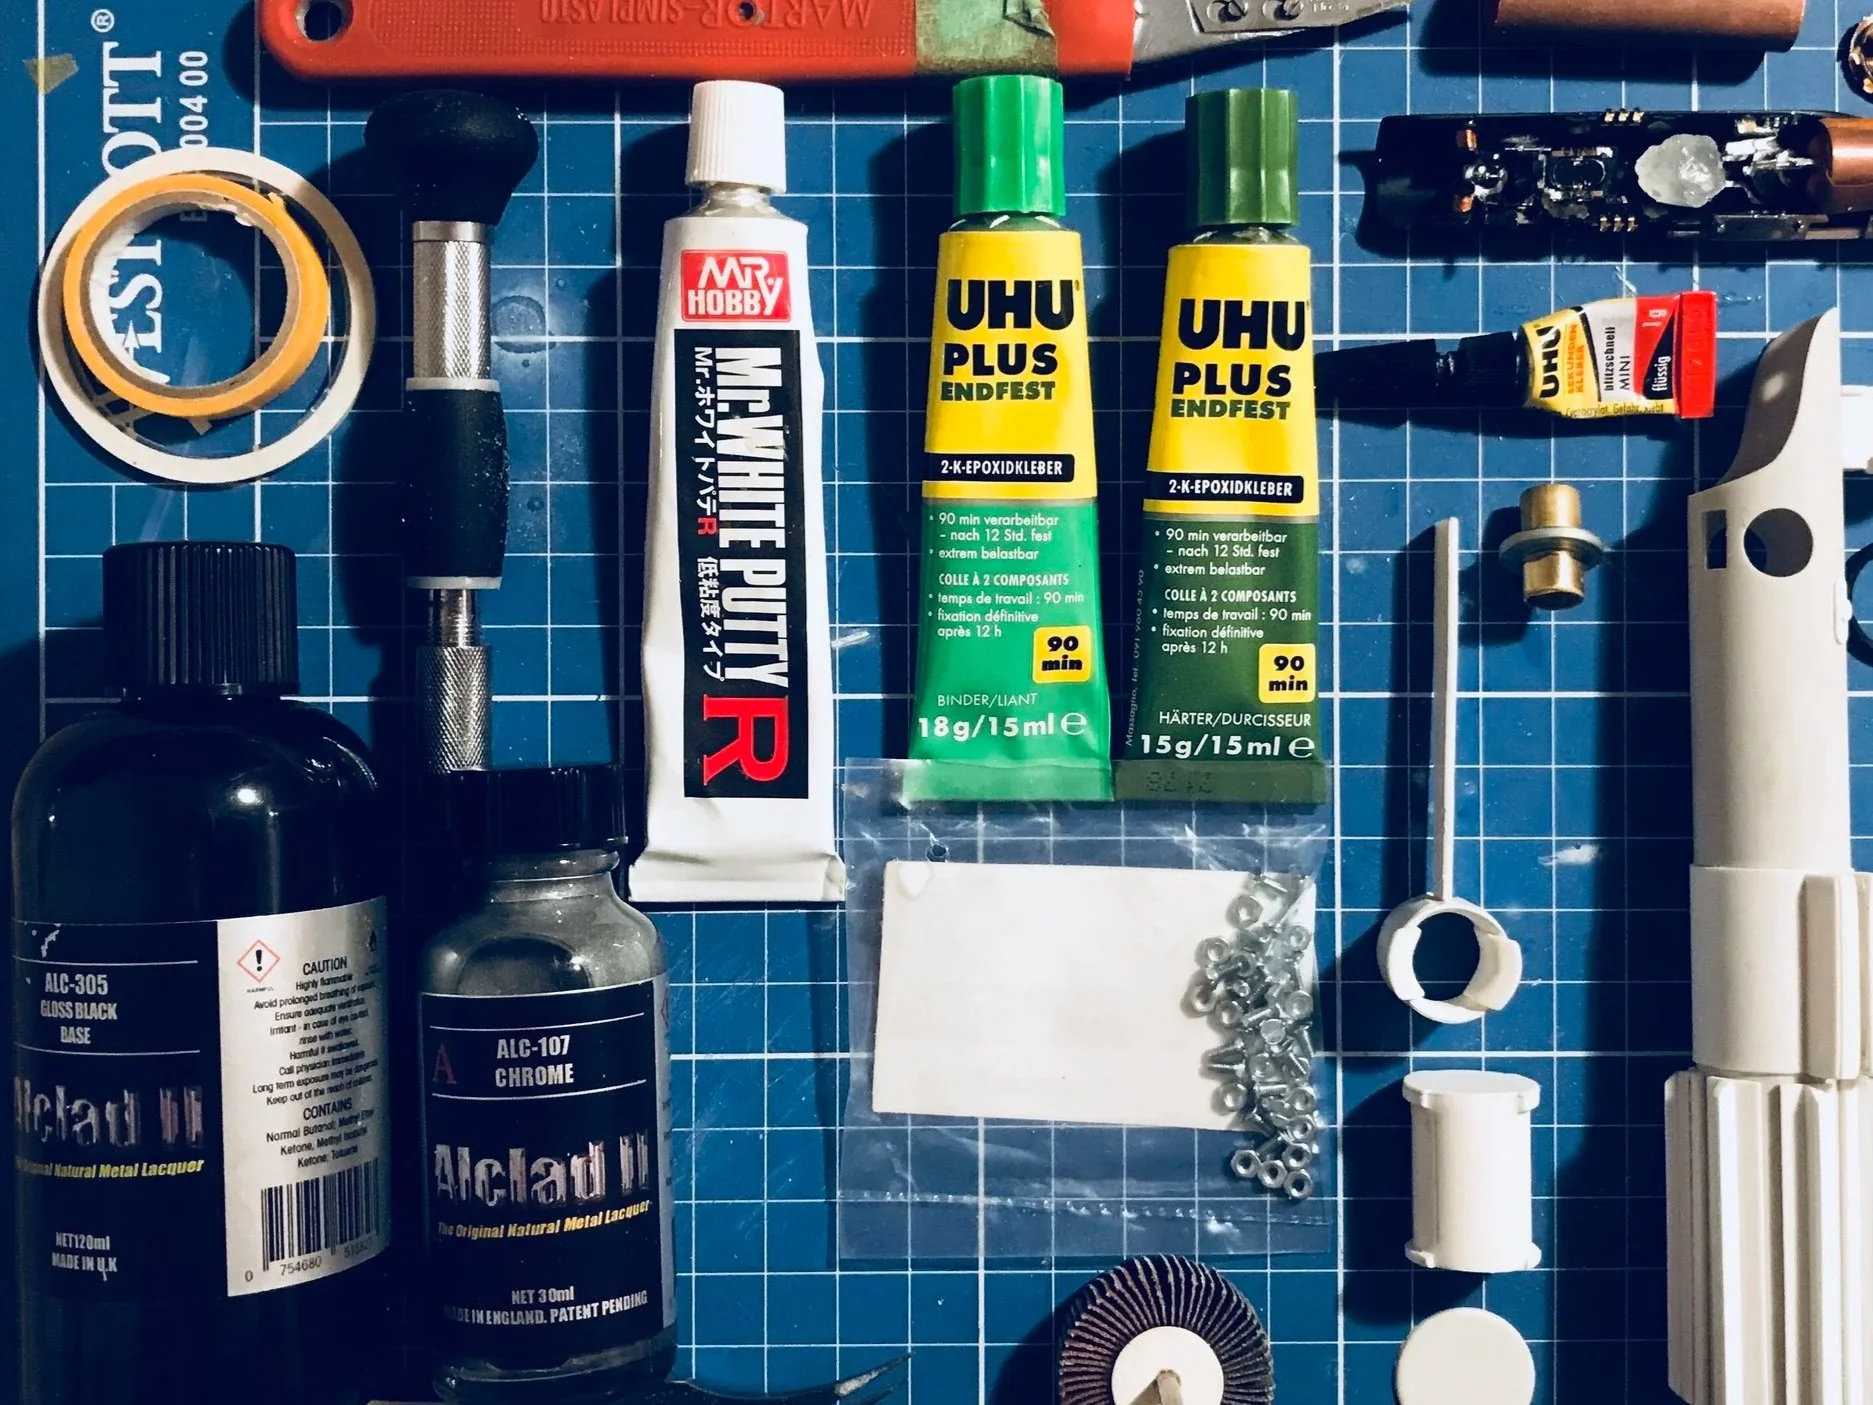
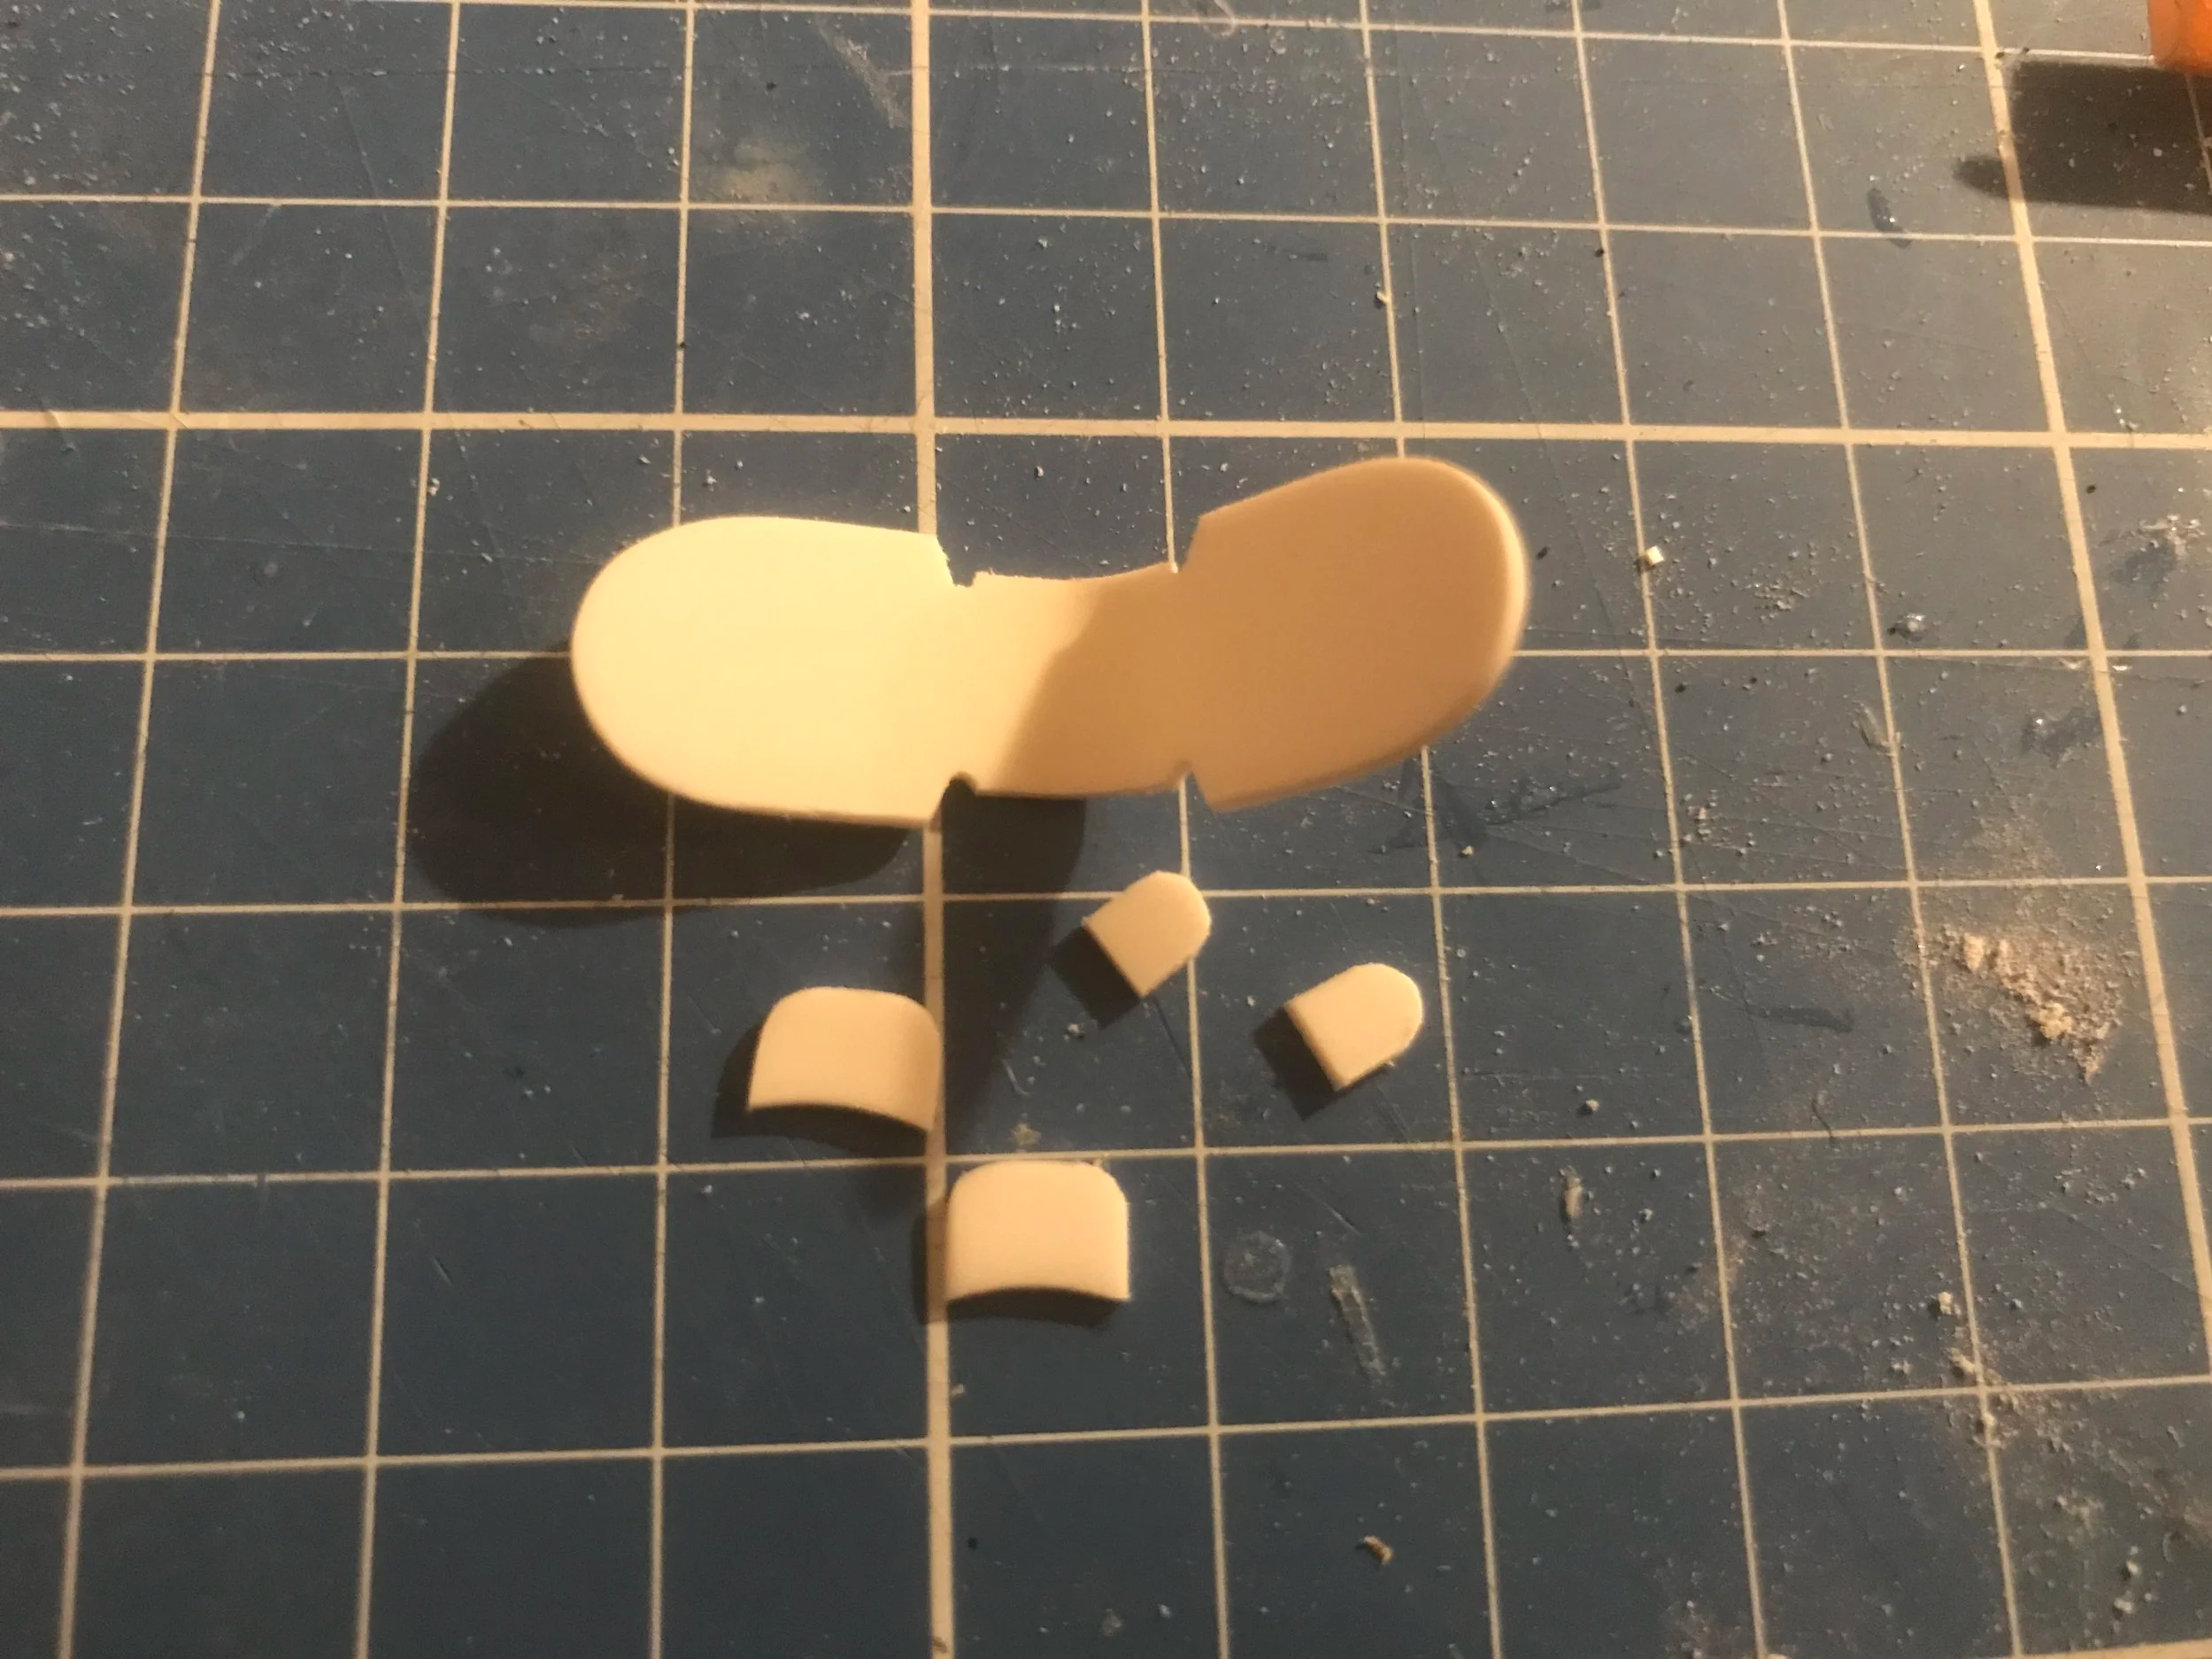
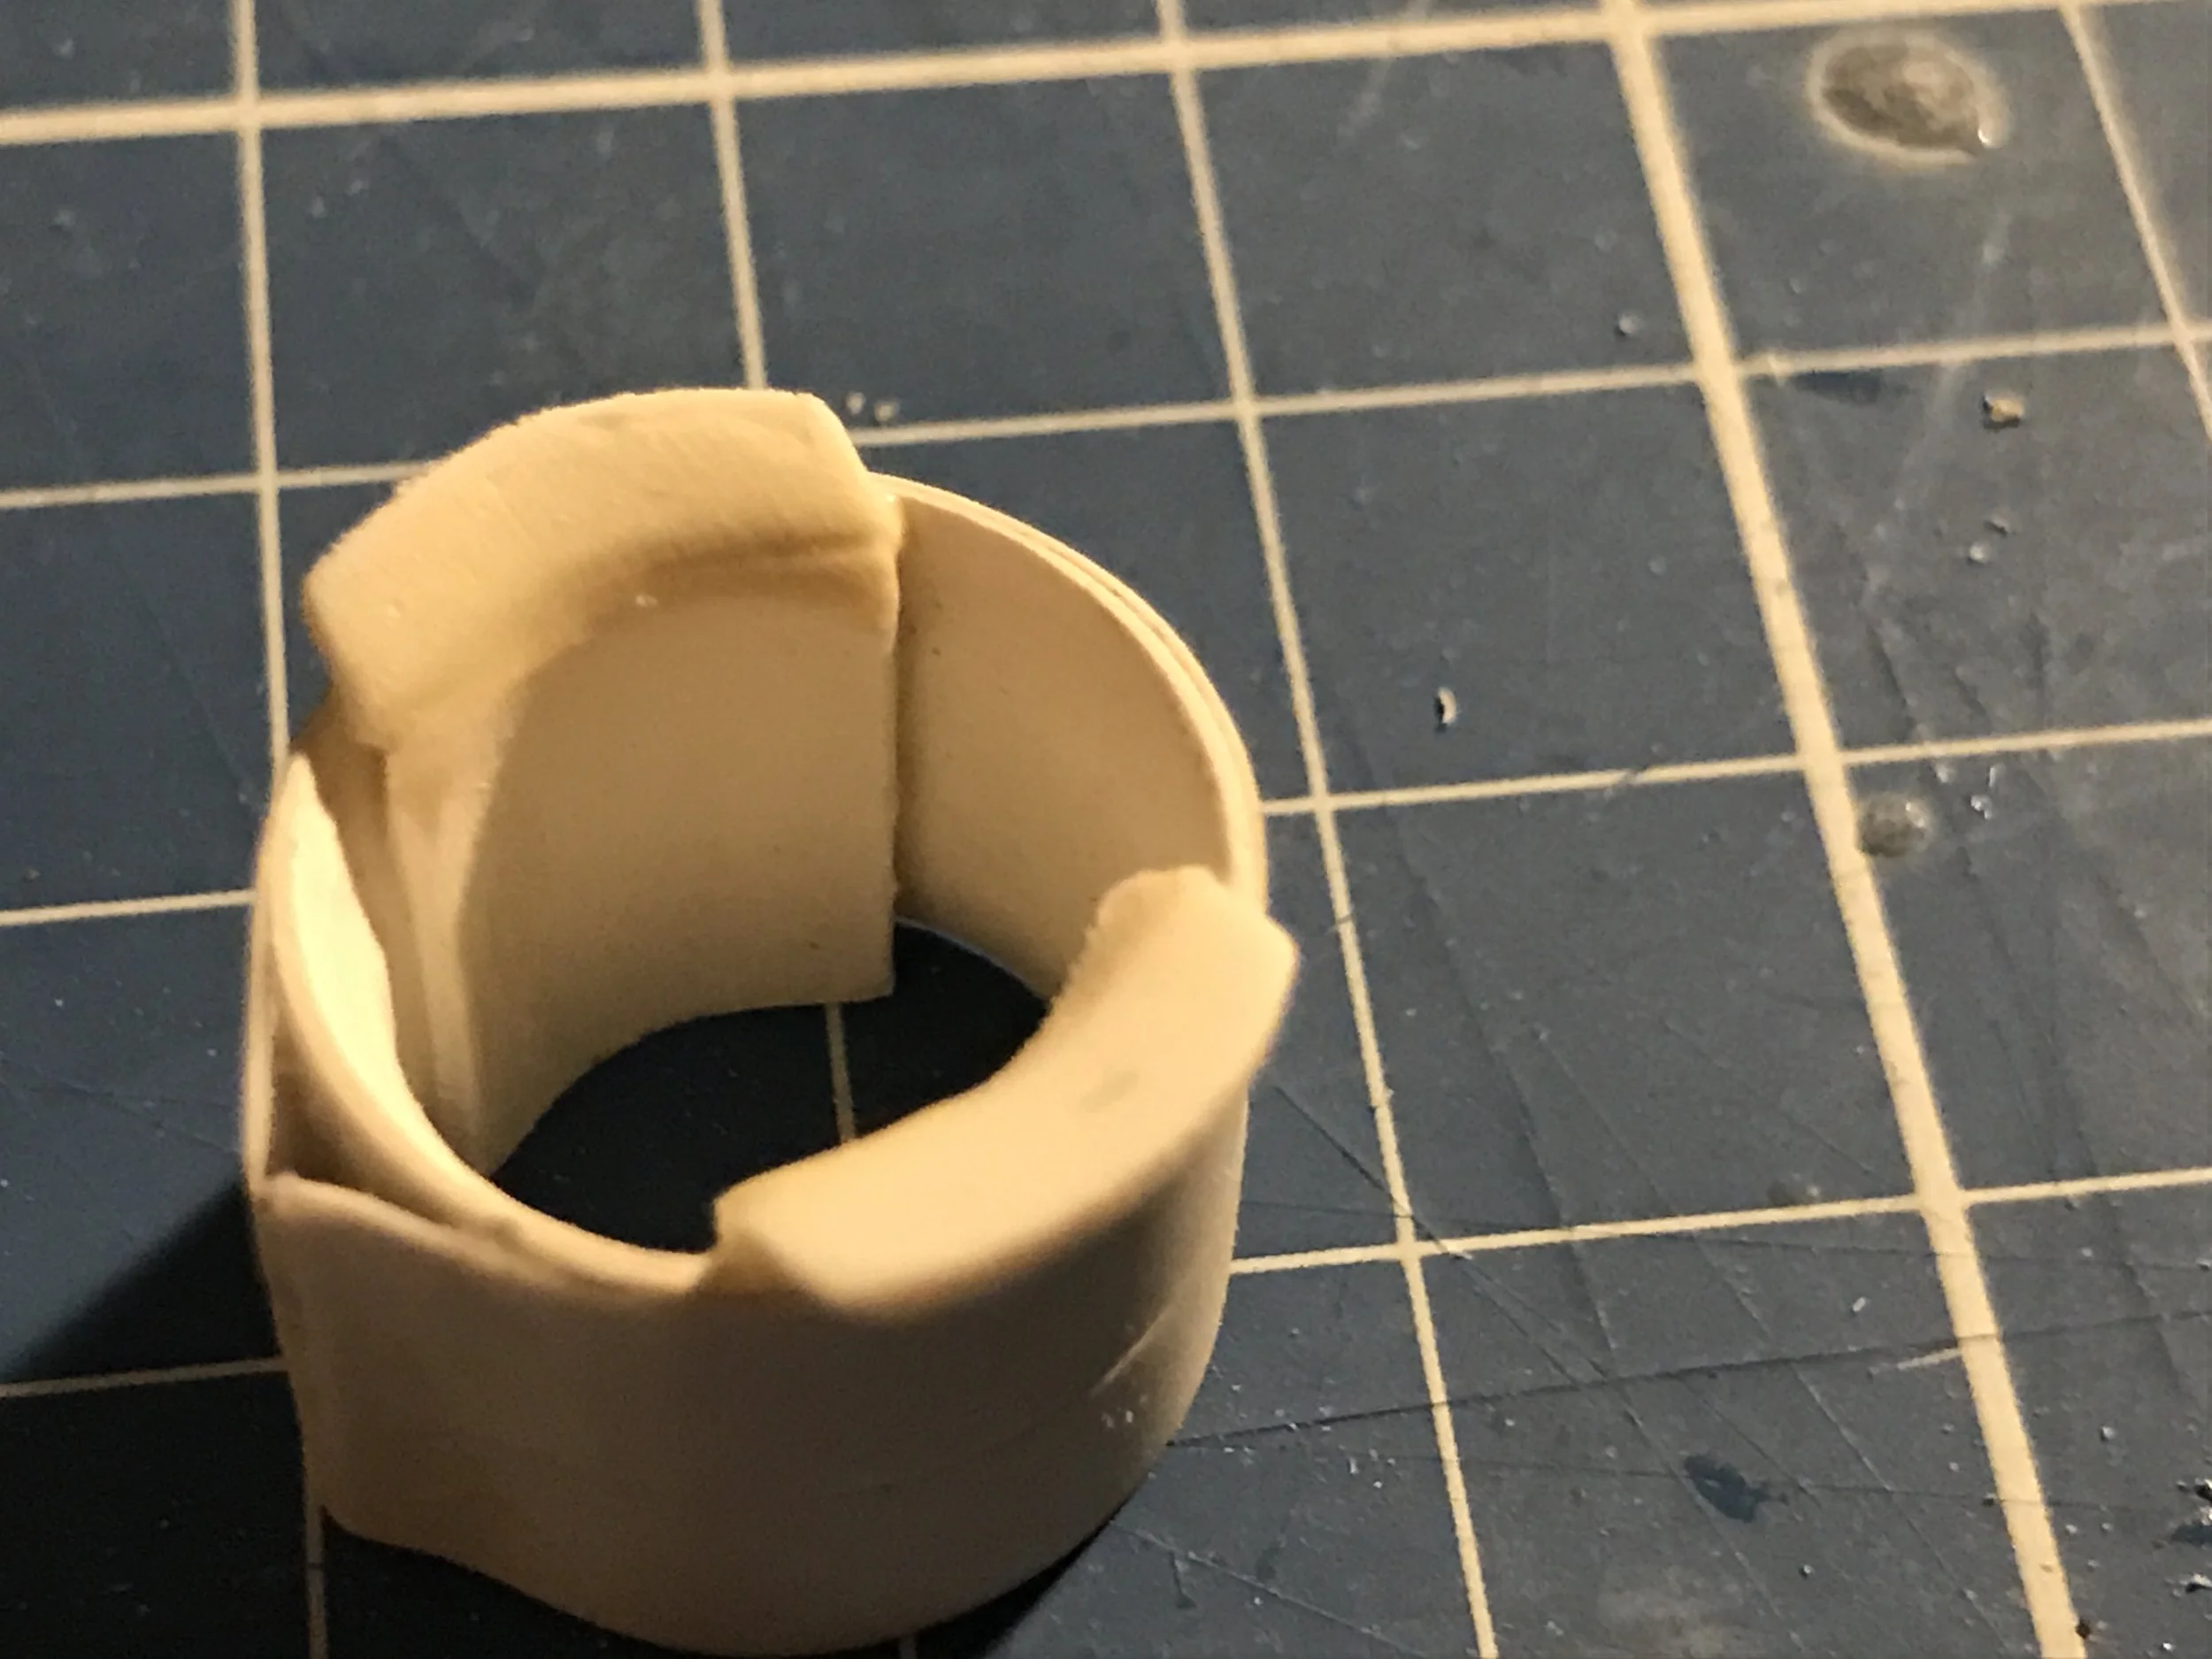
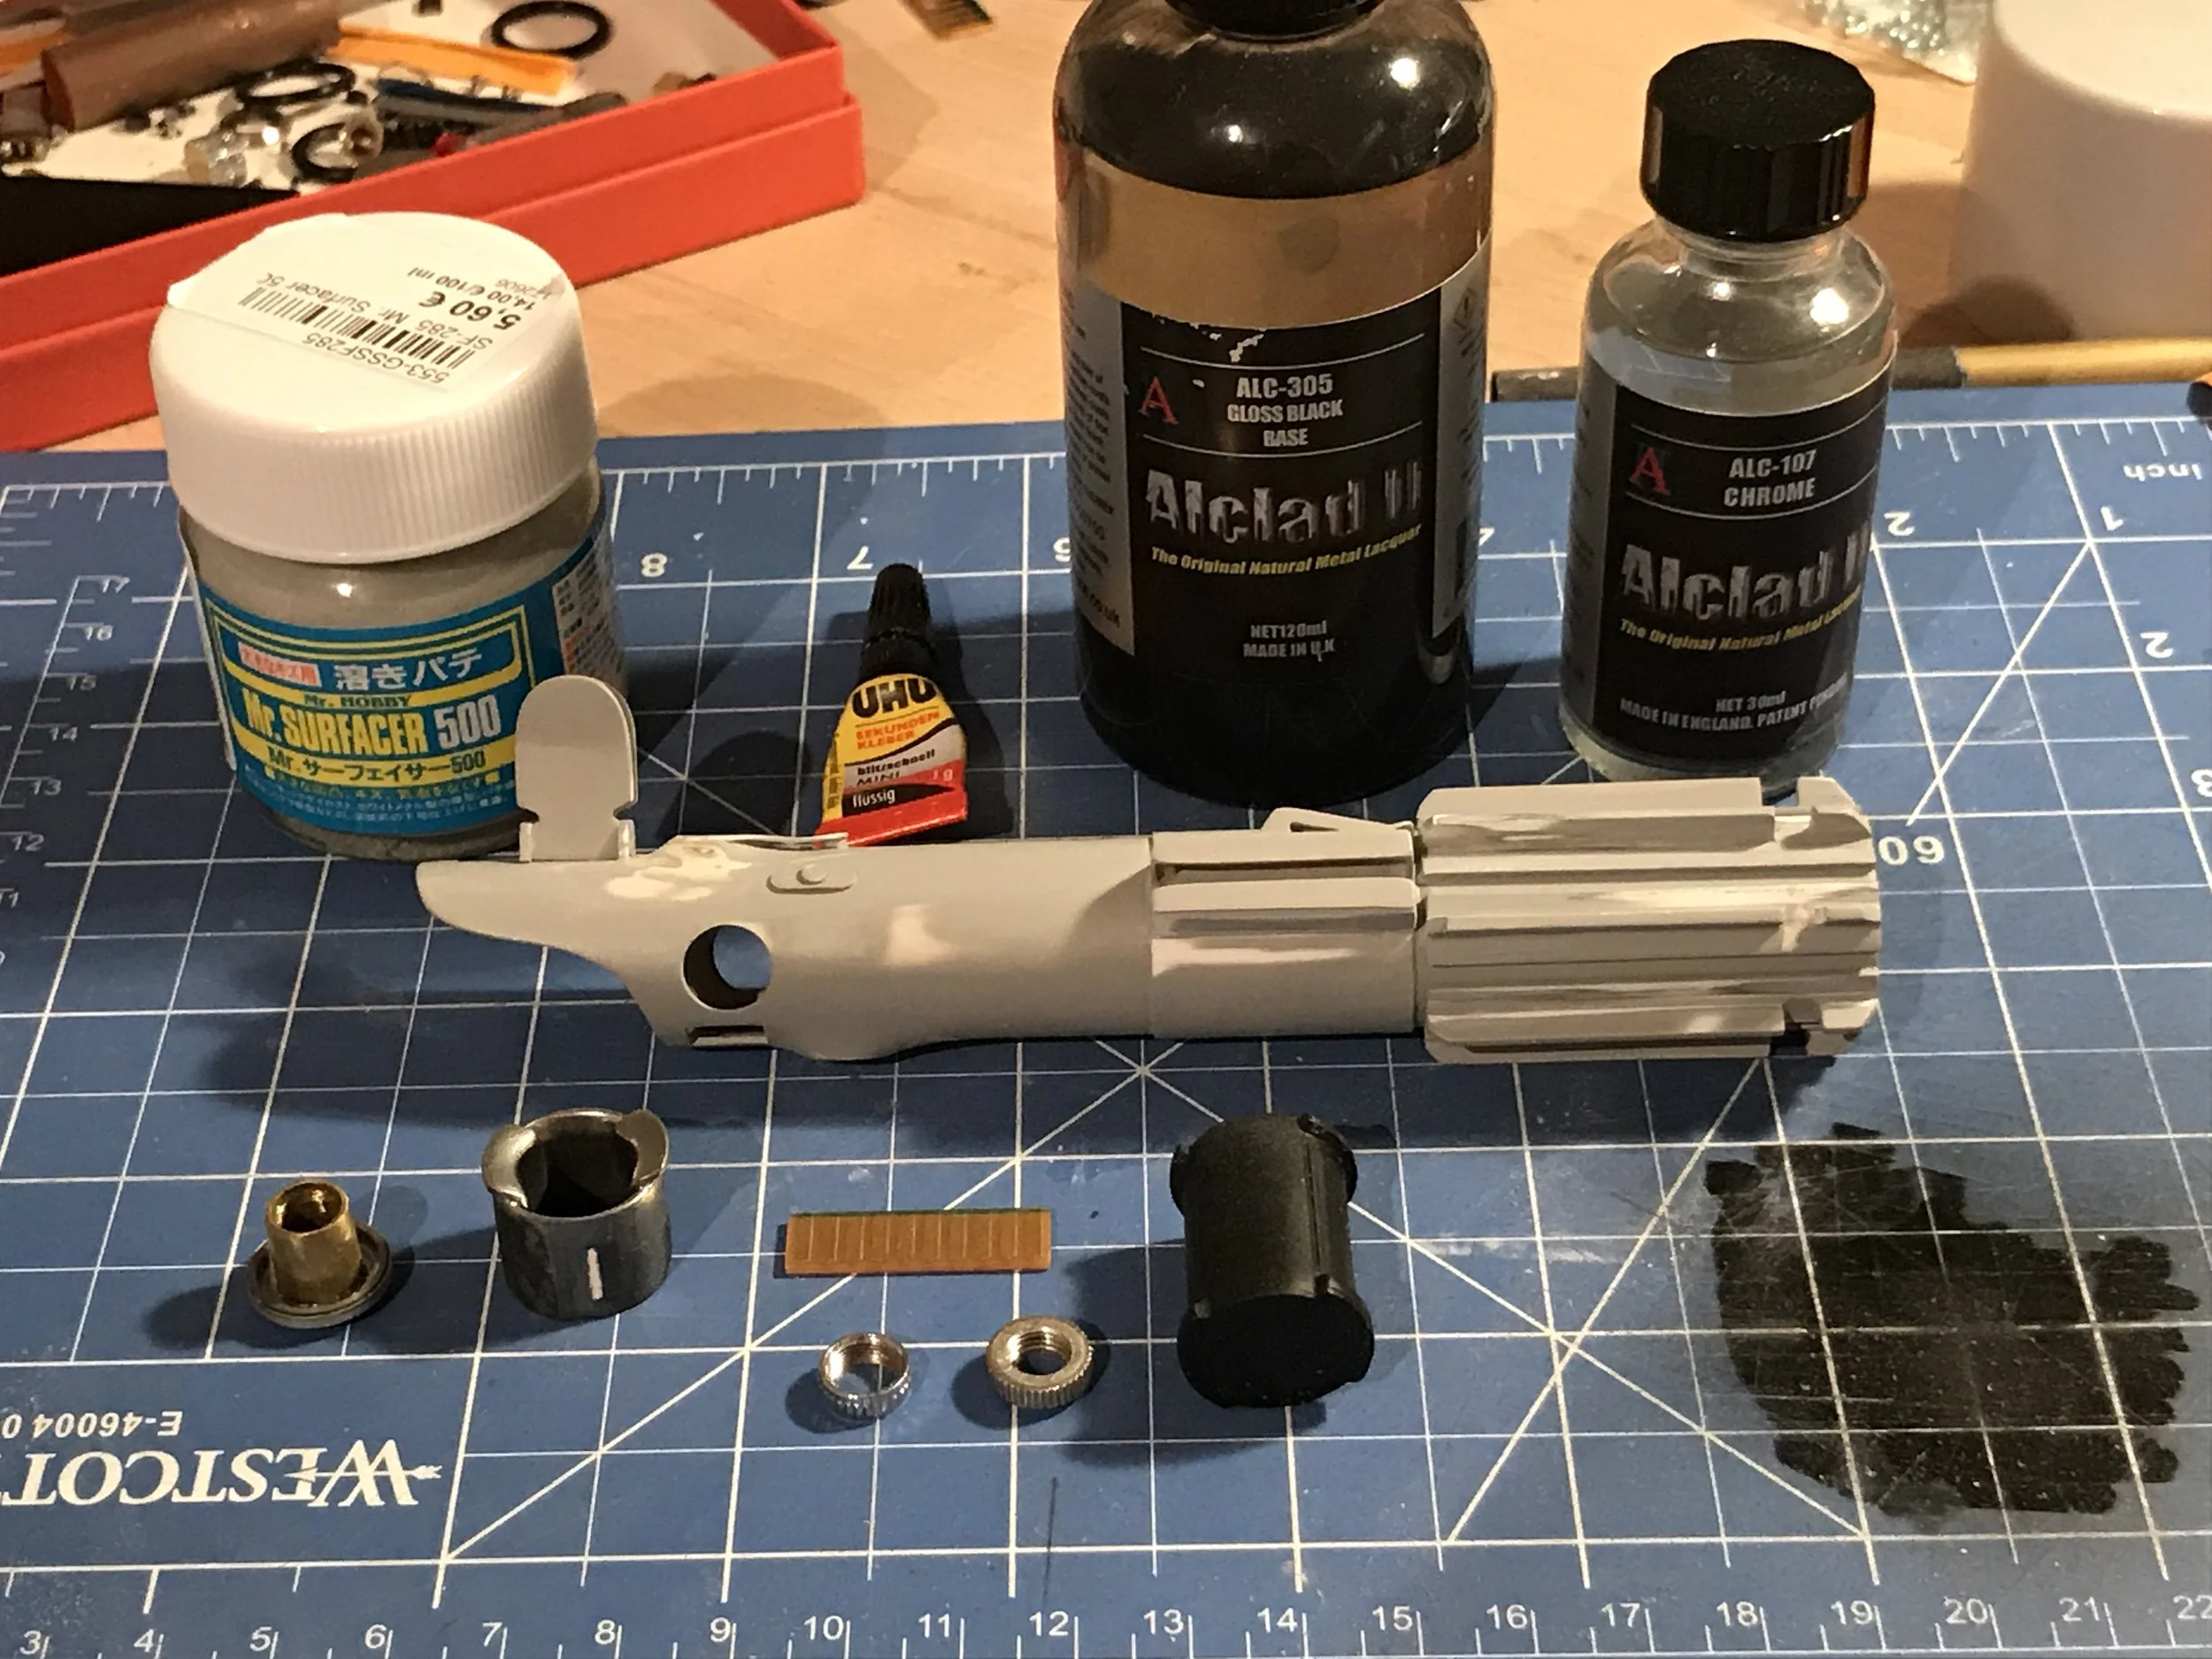
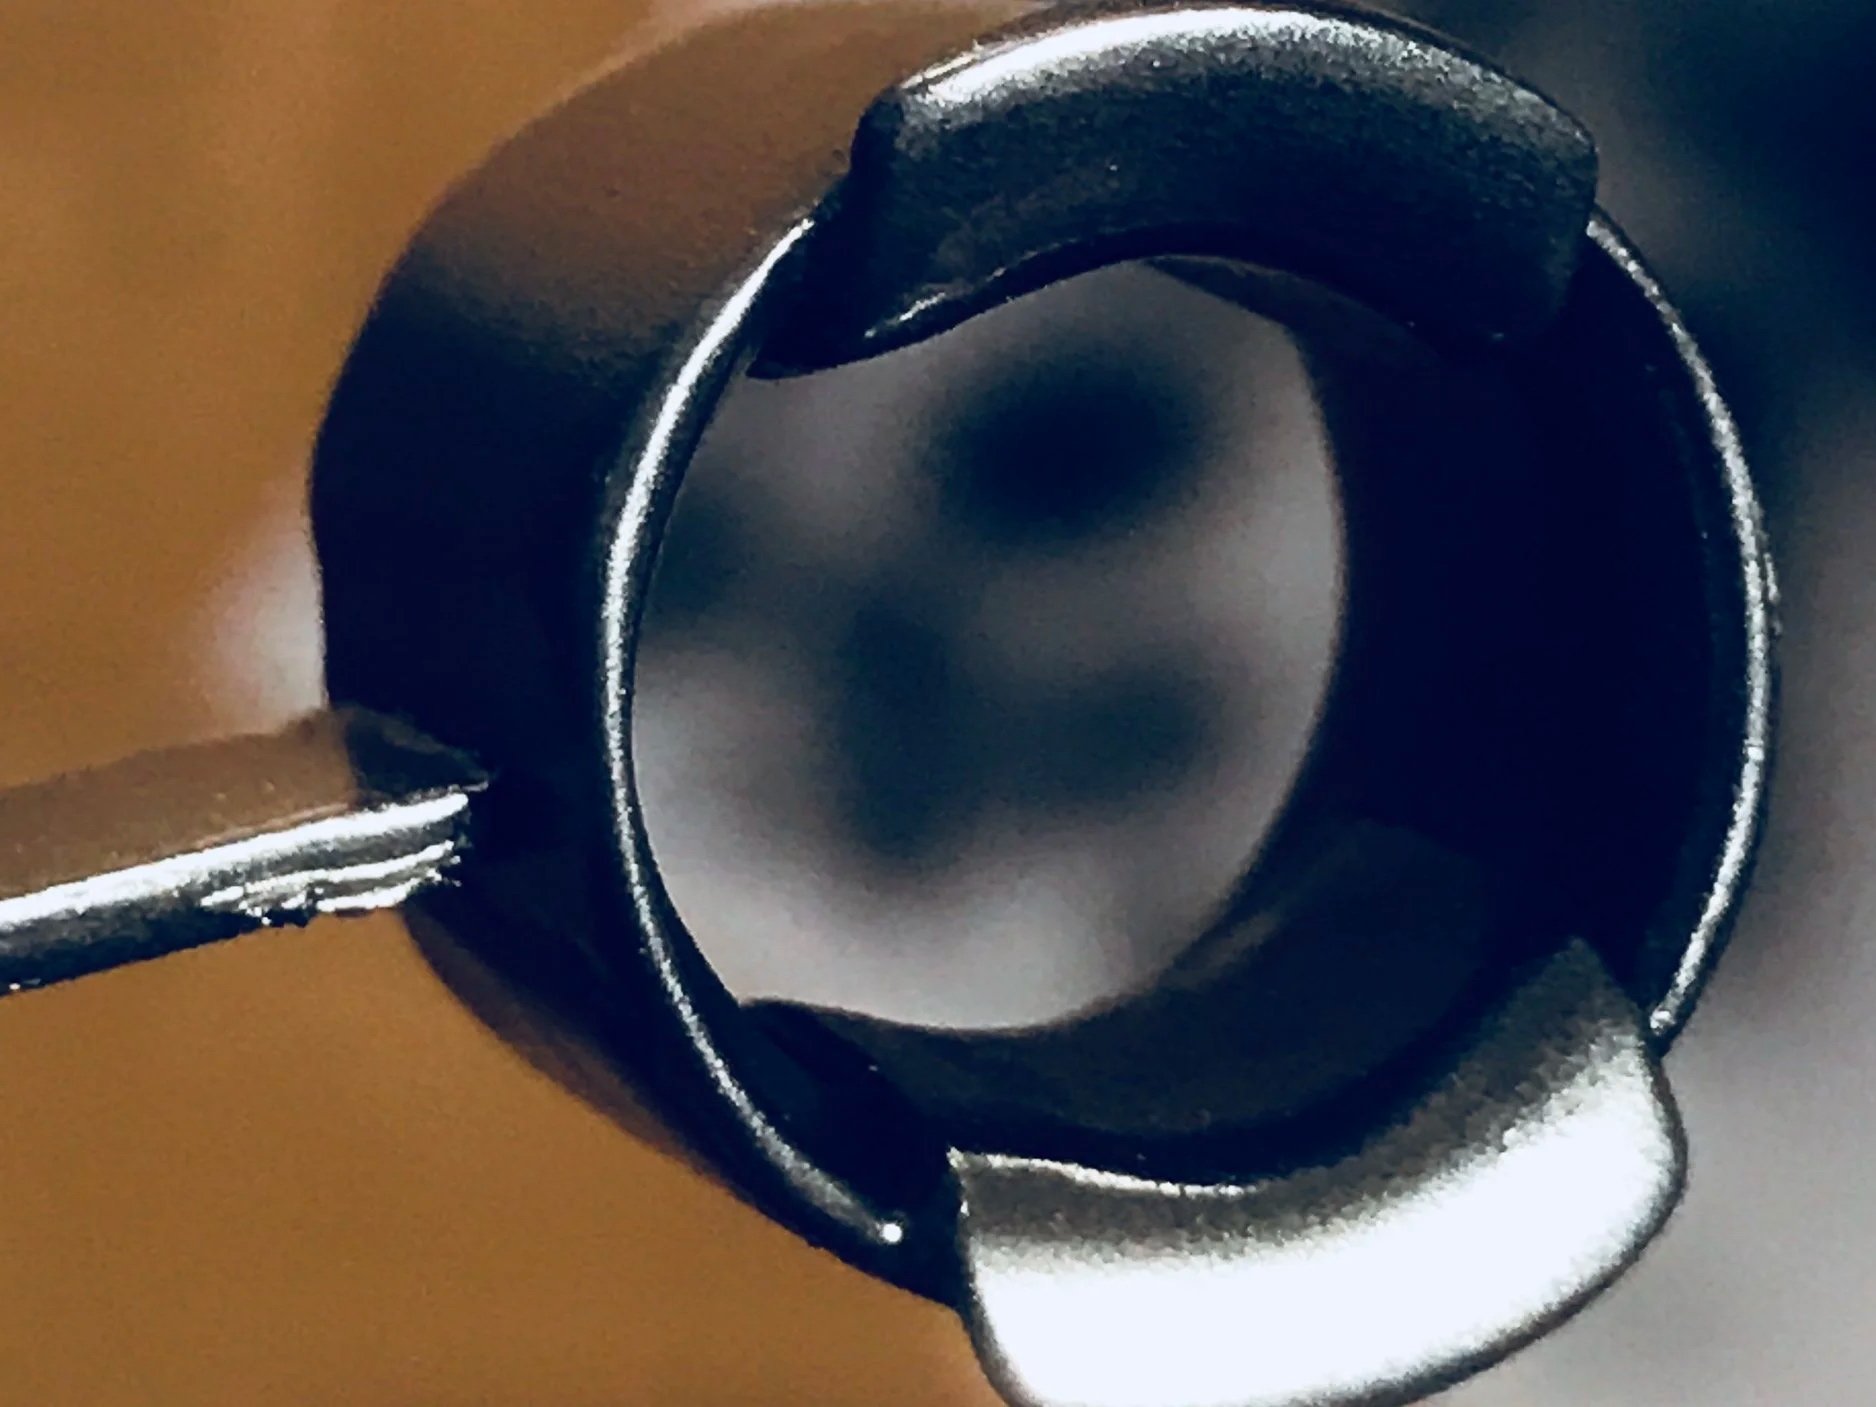
The individual parts made from polystyrene were easy to work with. All shapes could be cut using a sharp scalpel and bonded with Revell Contacta cement, making the basic assembly super convenient.
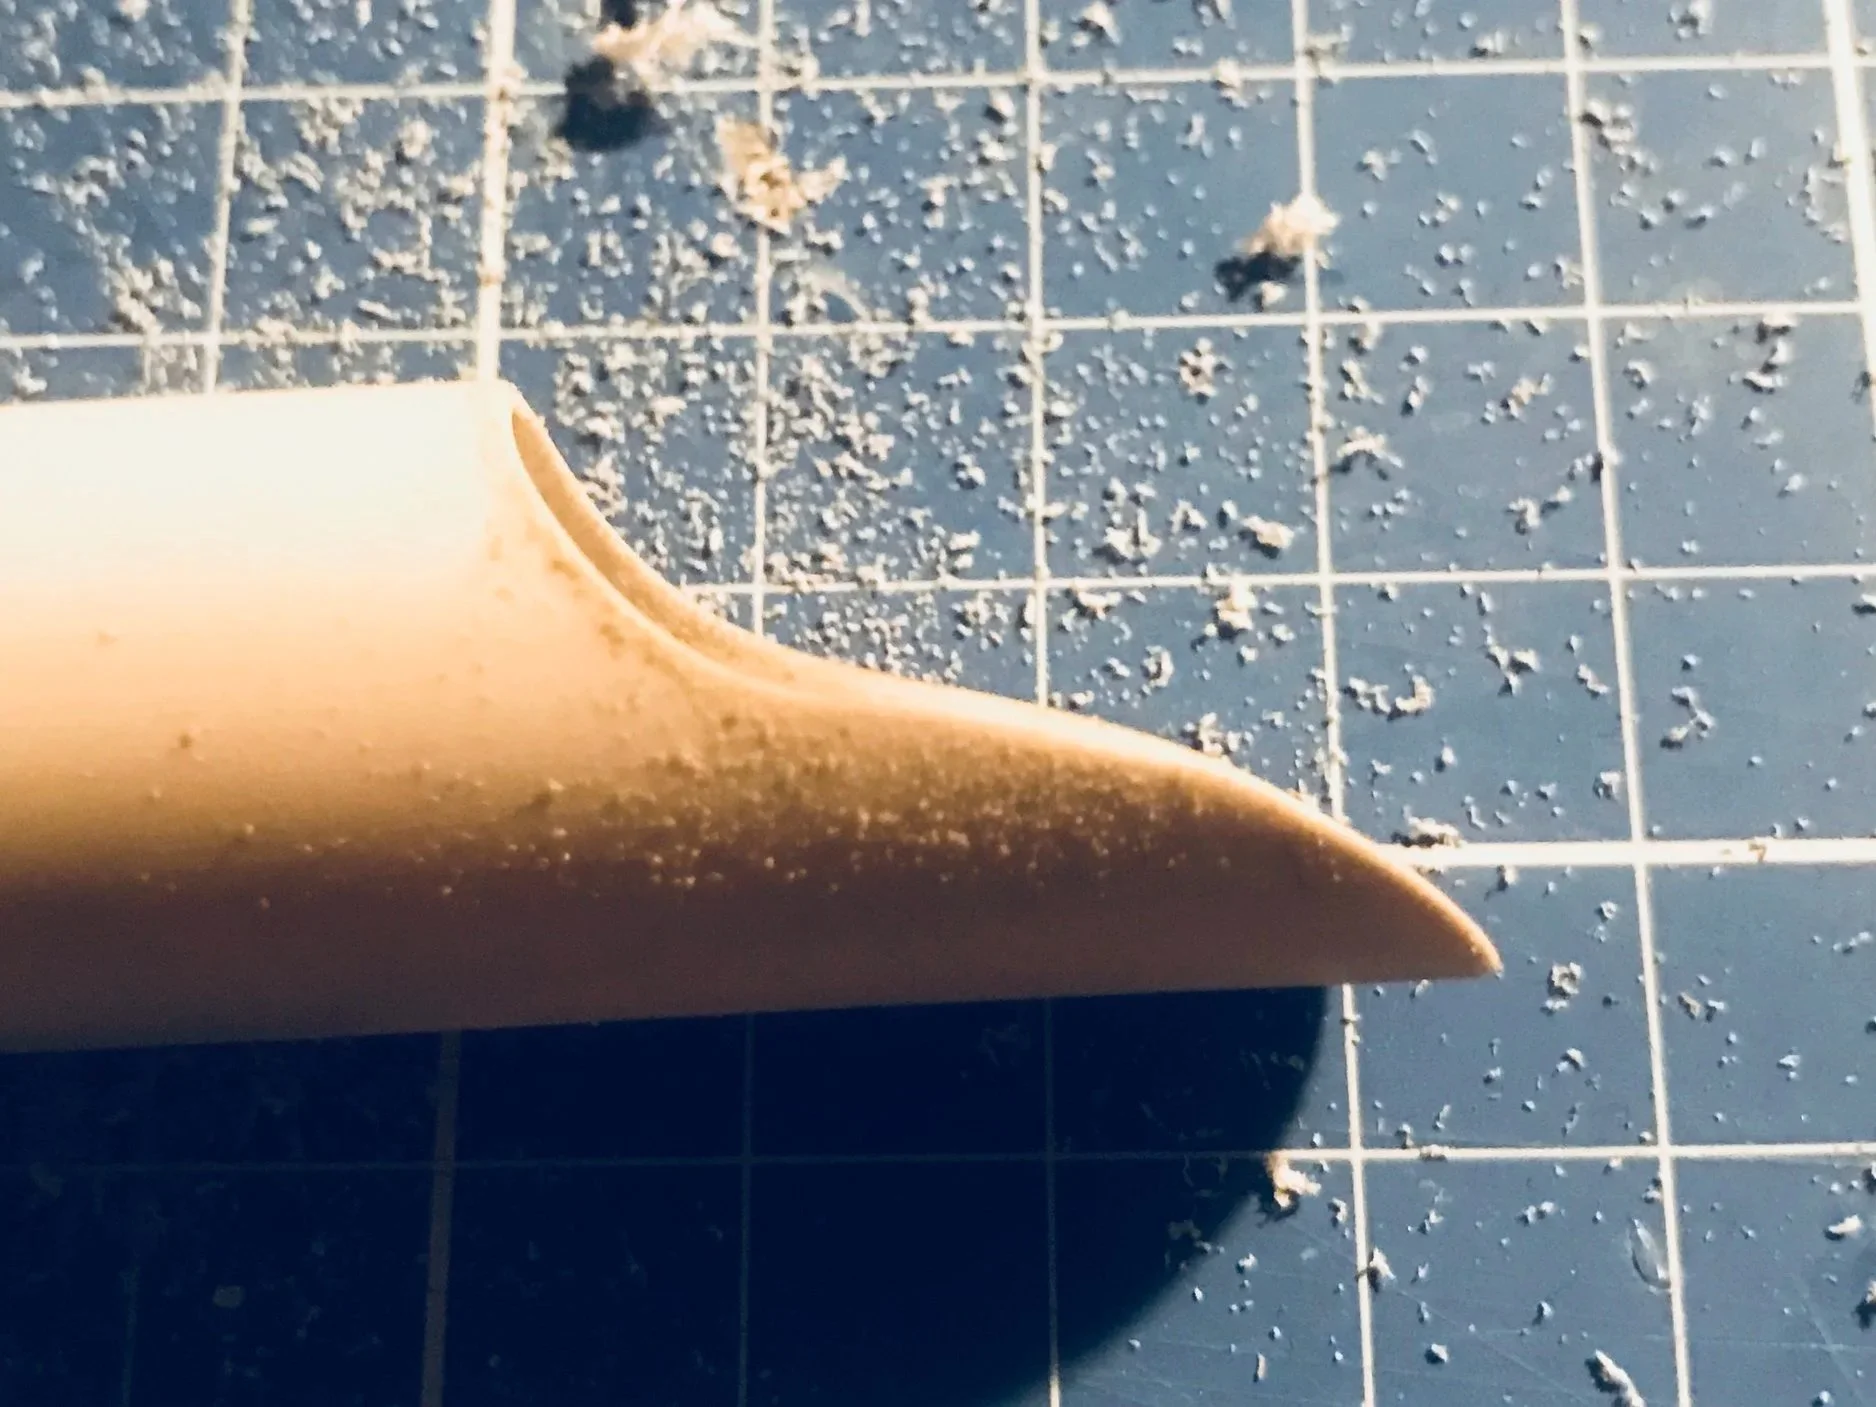
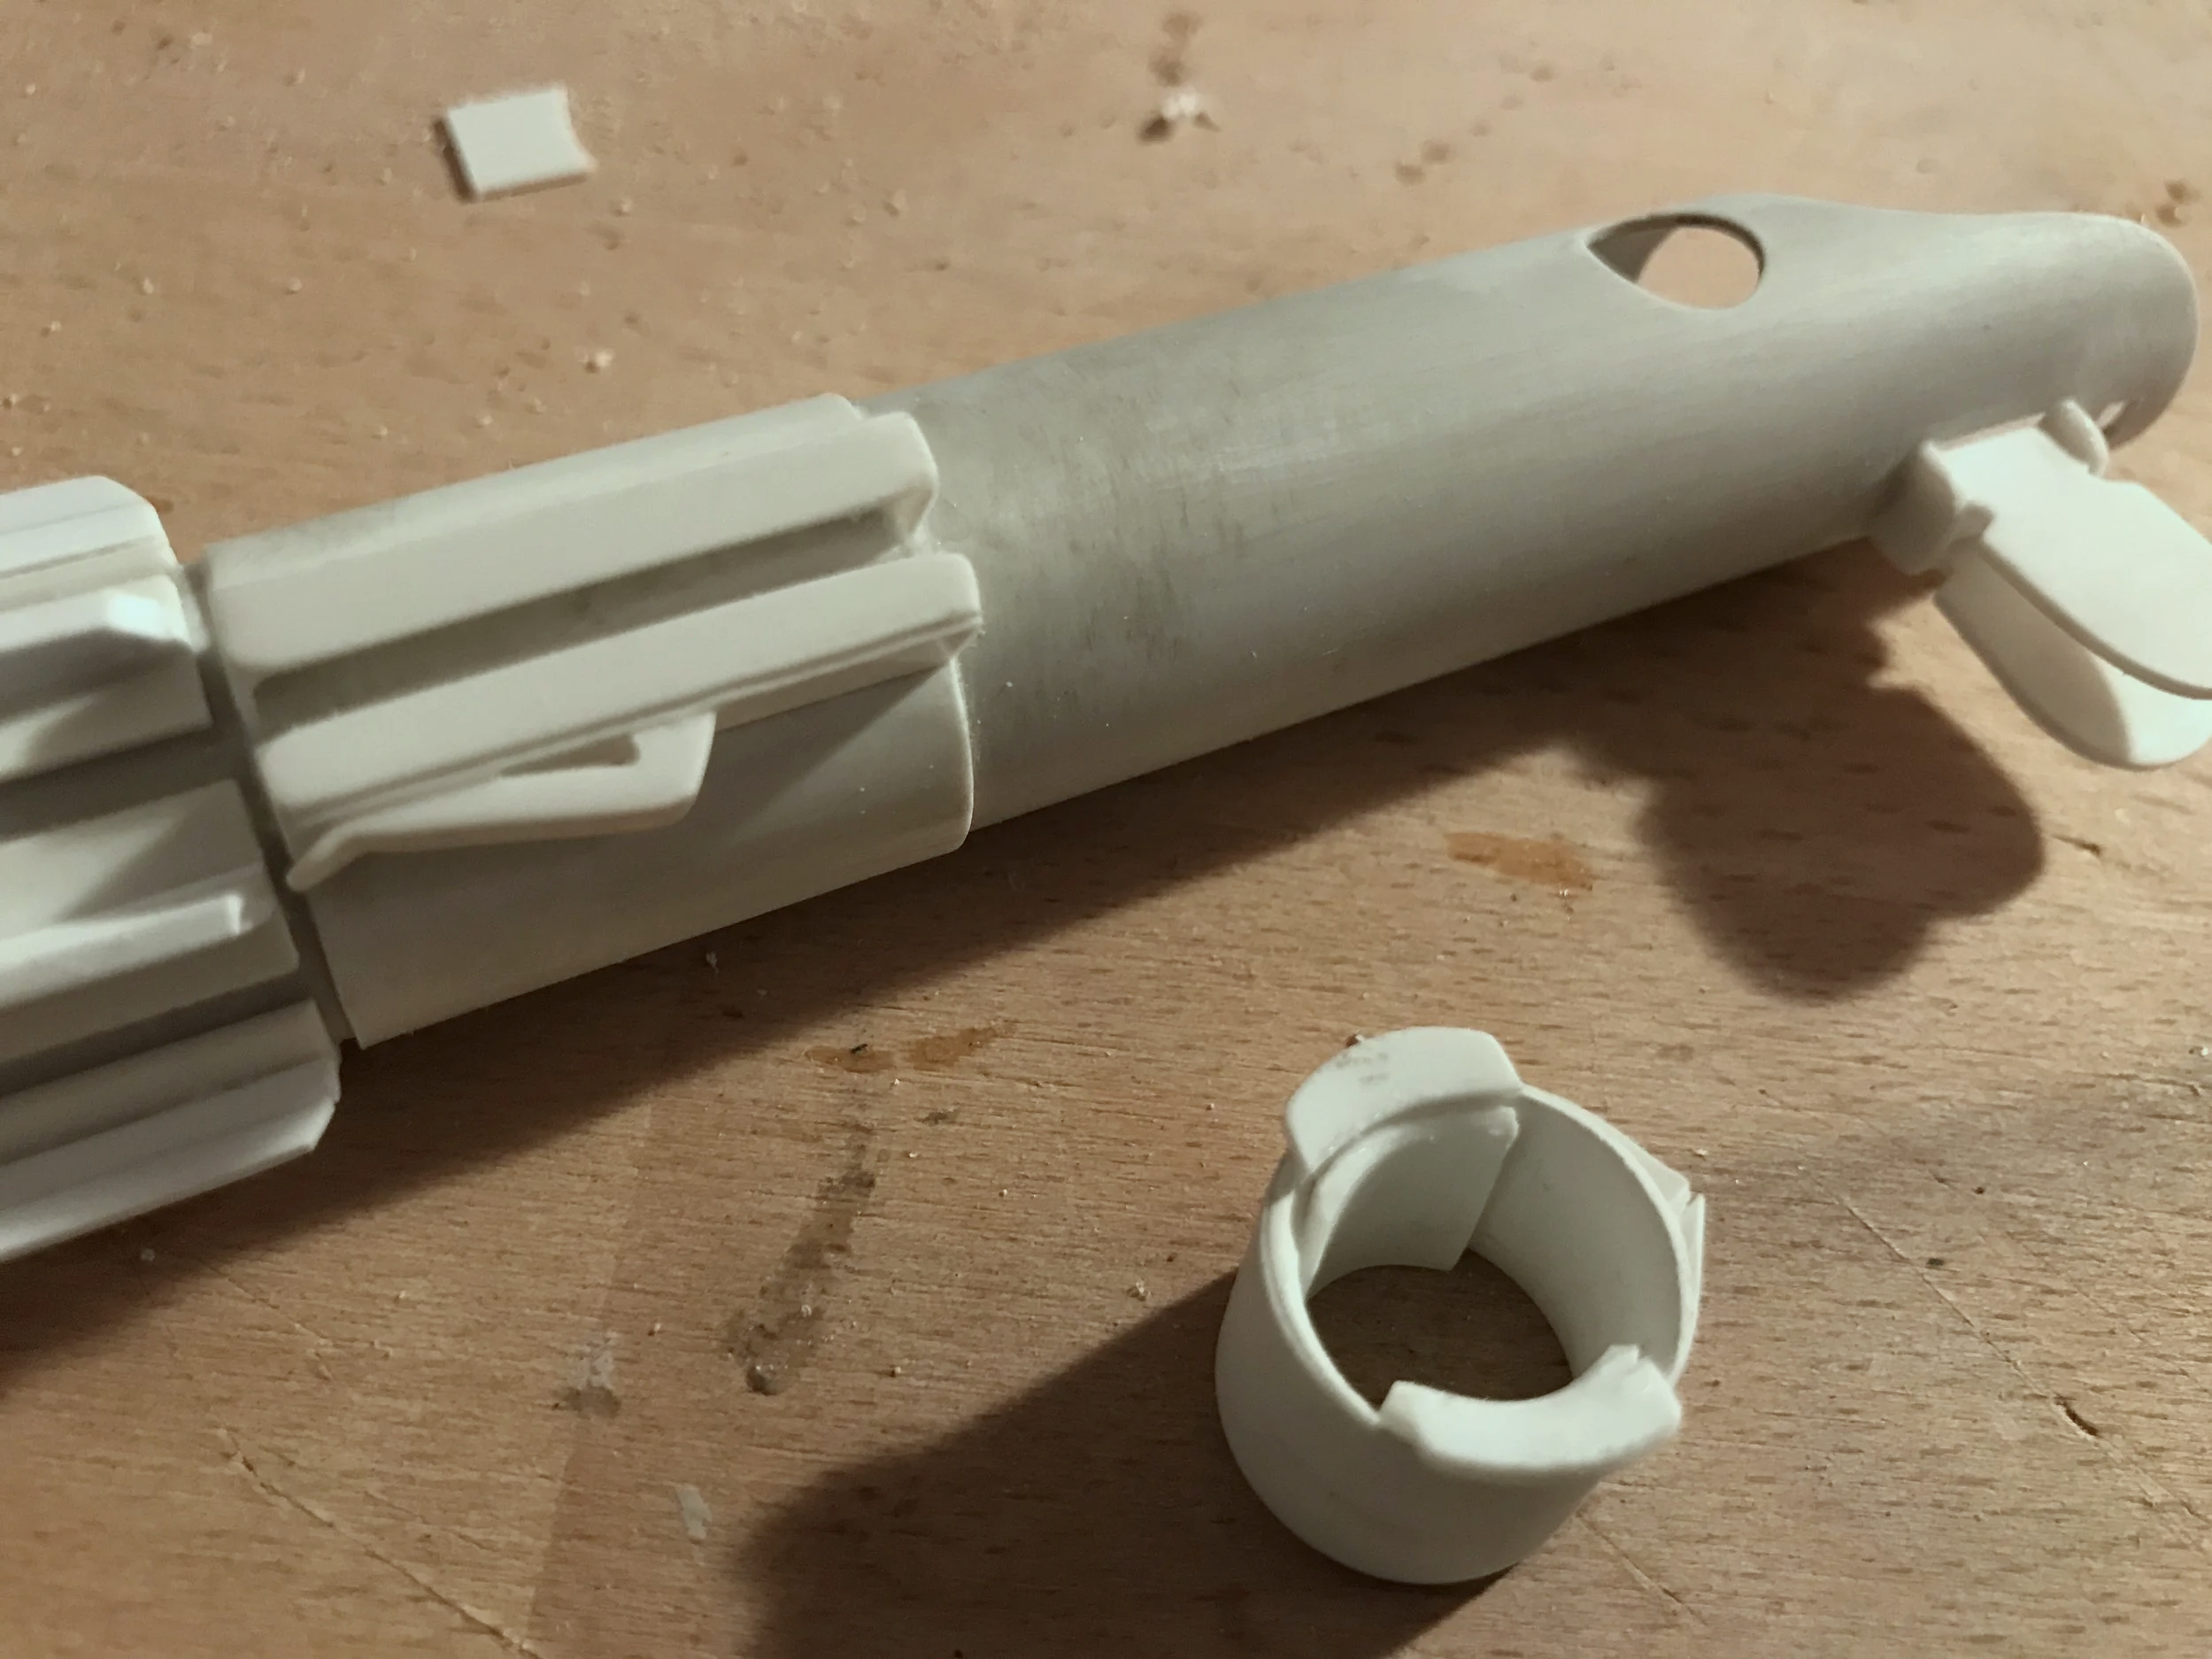
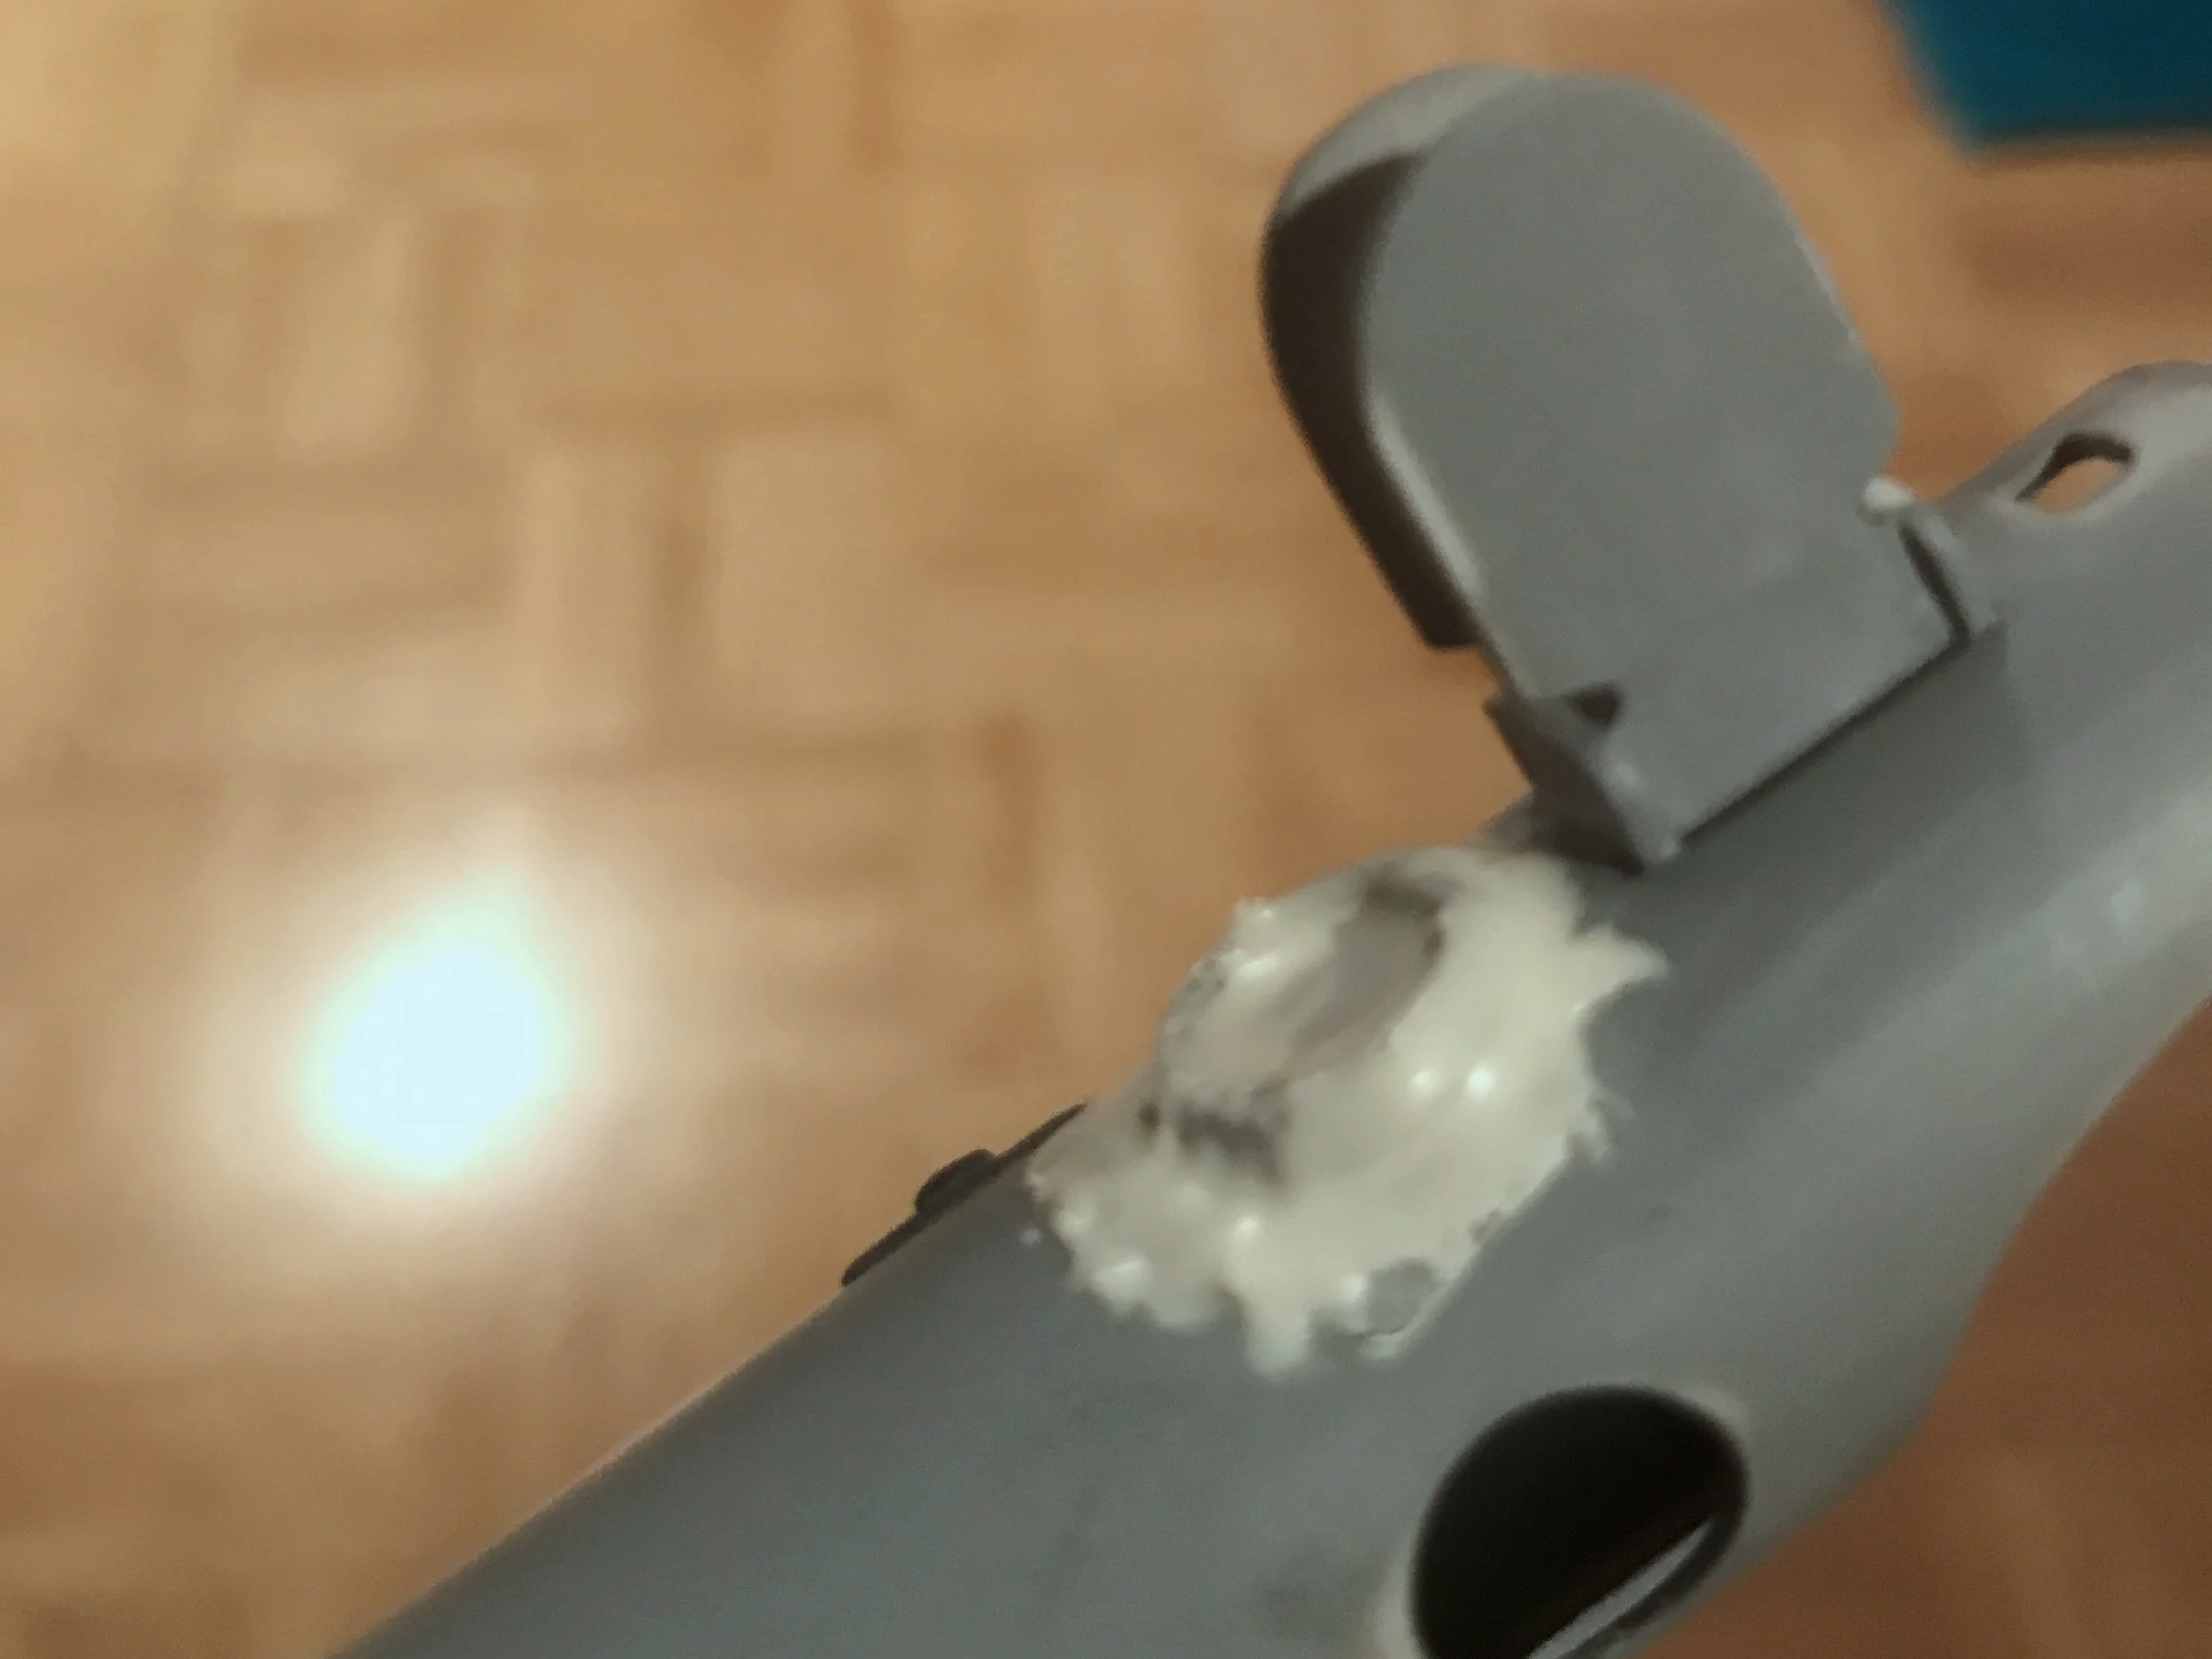
The real challenge, however, was the transitions. The original ESB parts do not feature sharp, angular edges; instead, the surfaces flow smoothly into one another and appear almost cast as a single piece. When looking at the area around the red button, for example, a subtle raised contour is clearly visible. This kind of organic transition cannot be achieved with flat plastic sheet alone.
Filler putty was required to blend the edges, soften the transitions, and recreate the smooth, molded look of the original prop.

Time to prime
After assembling all grip components and leaving only the parts that would be added after priming, it was time to coat the grip with grey Tamiya primer. The result was really good.
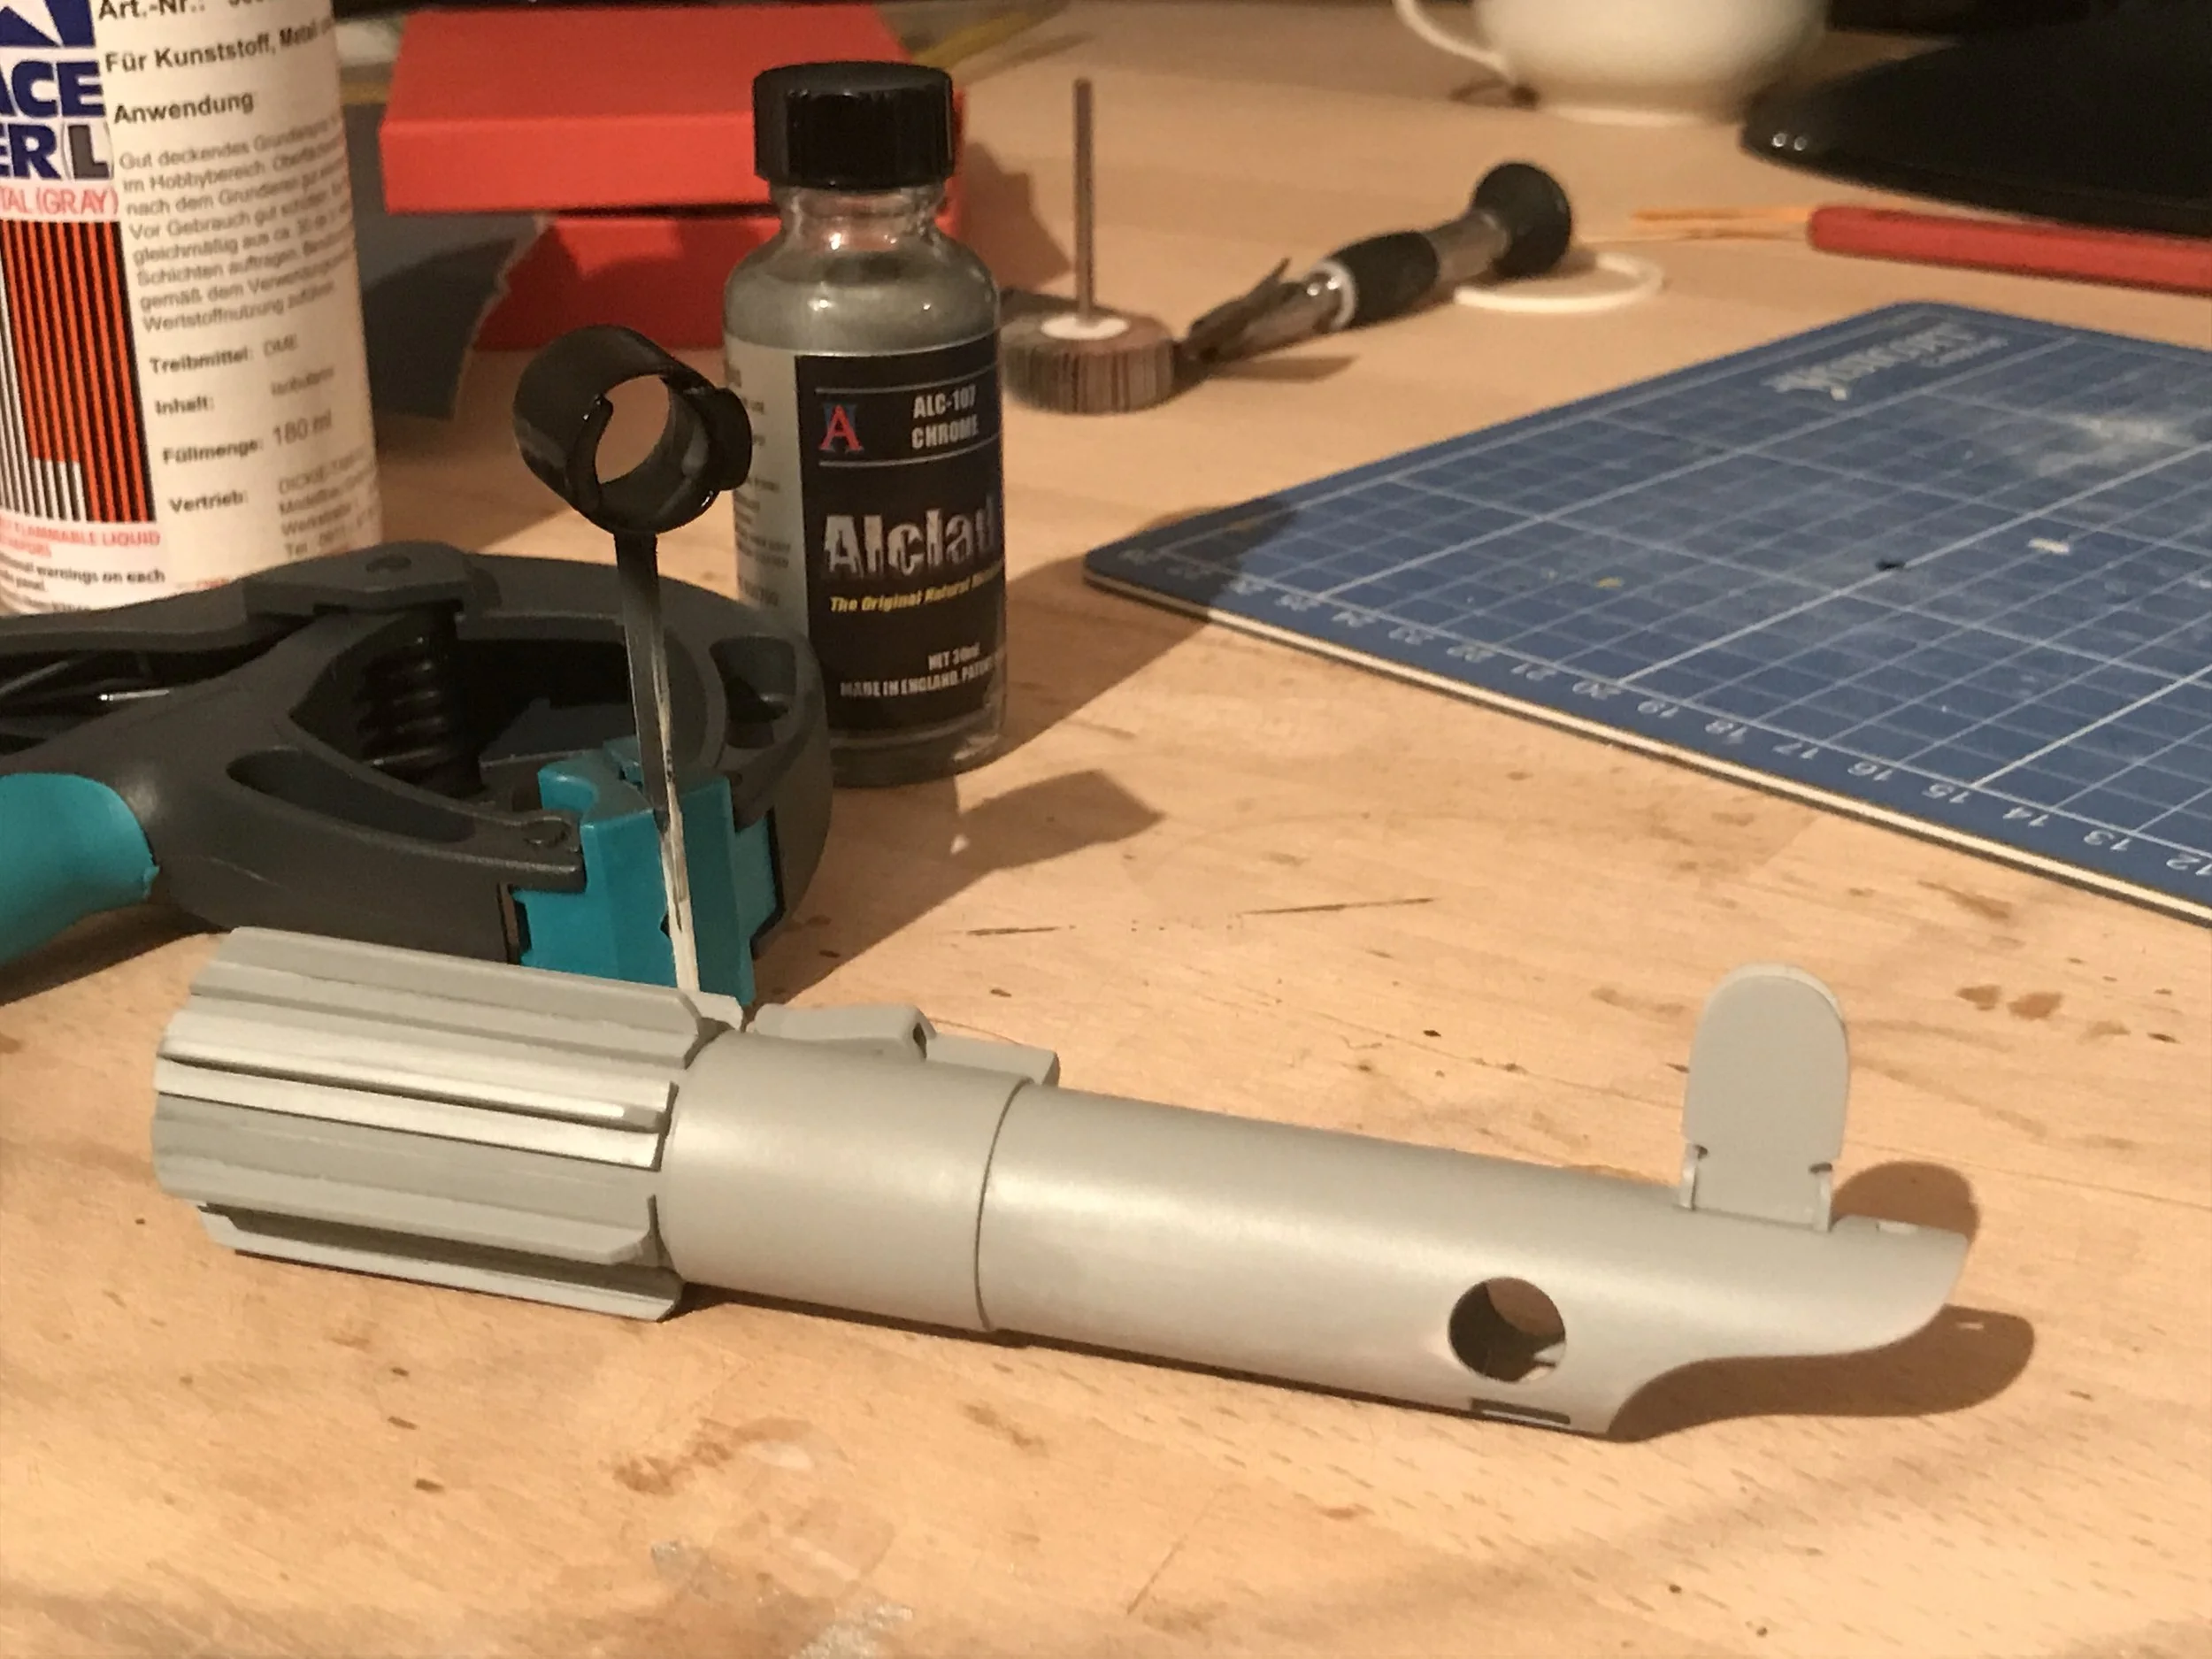


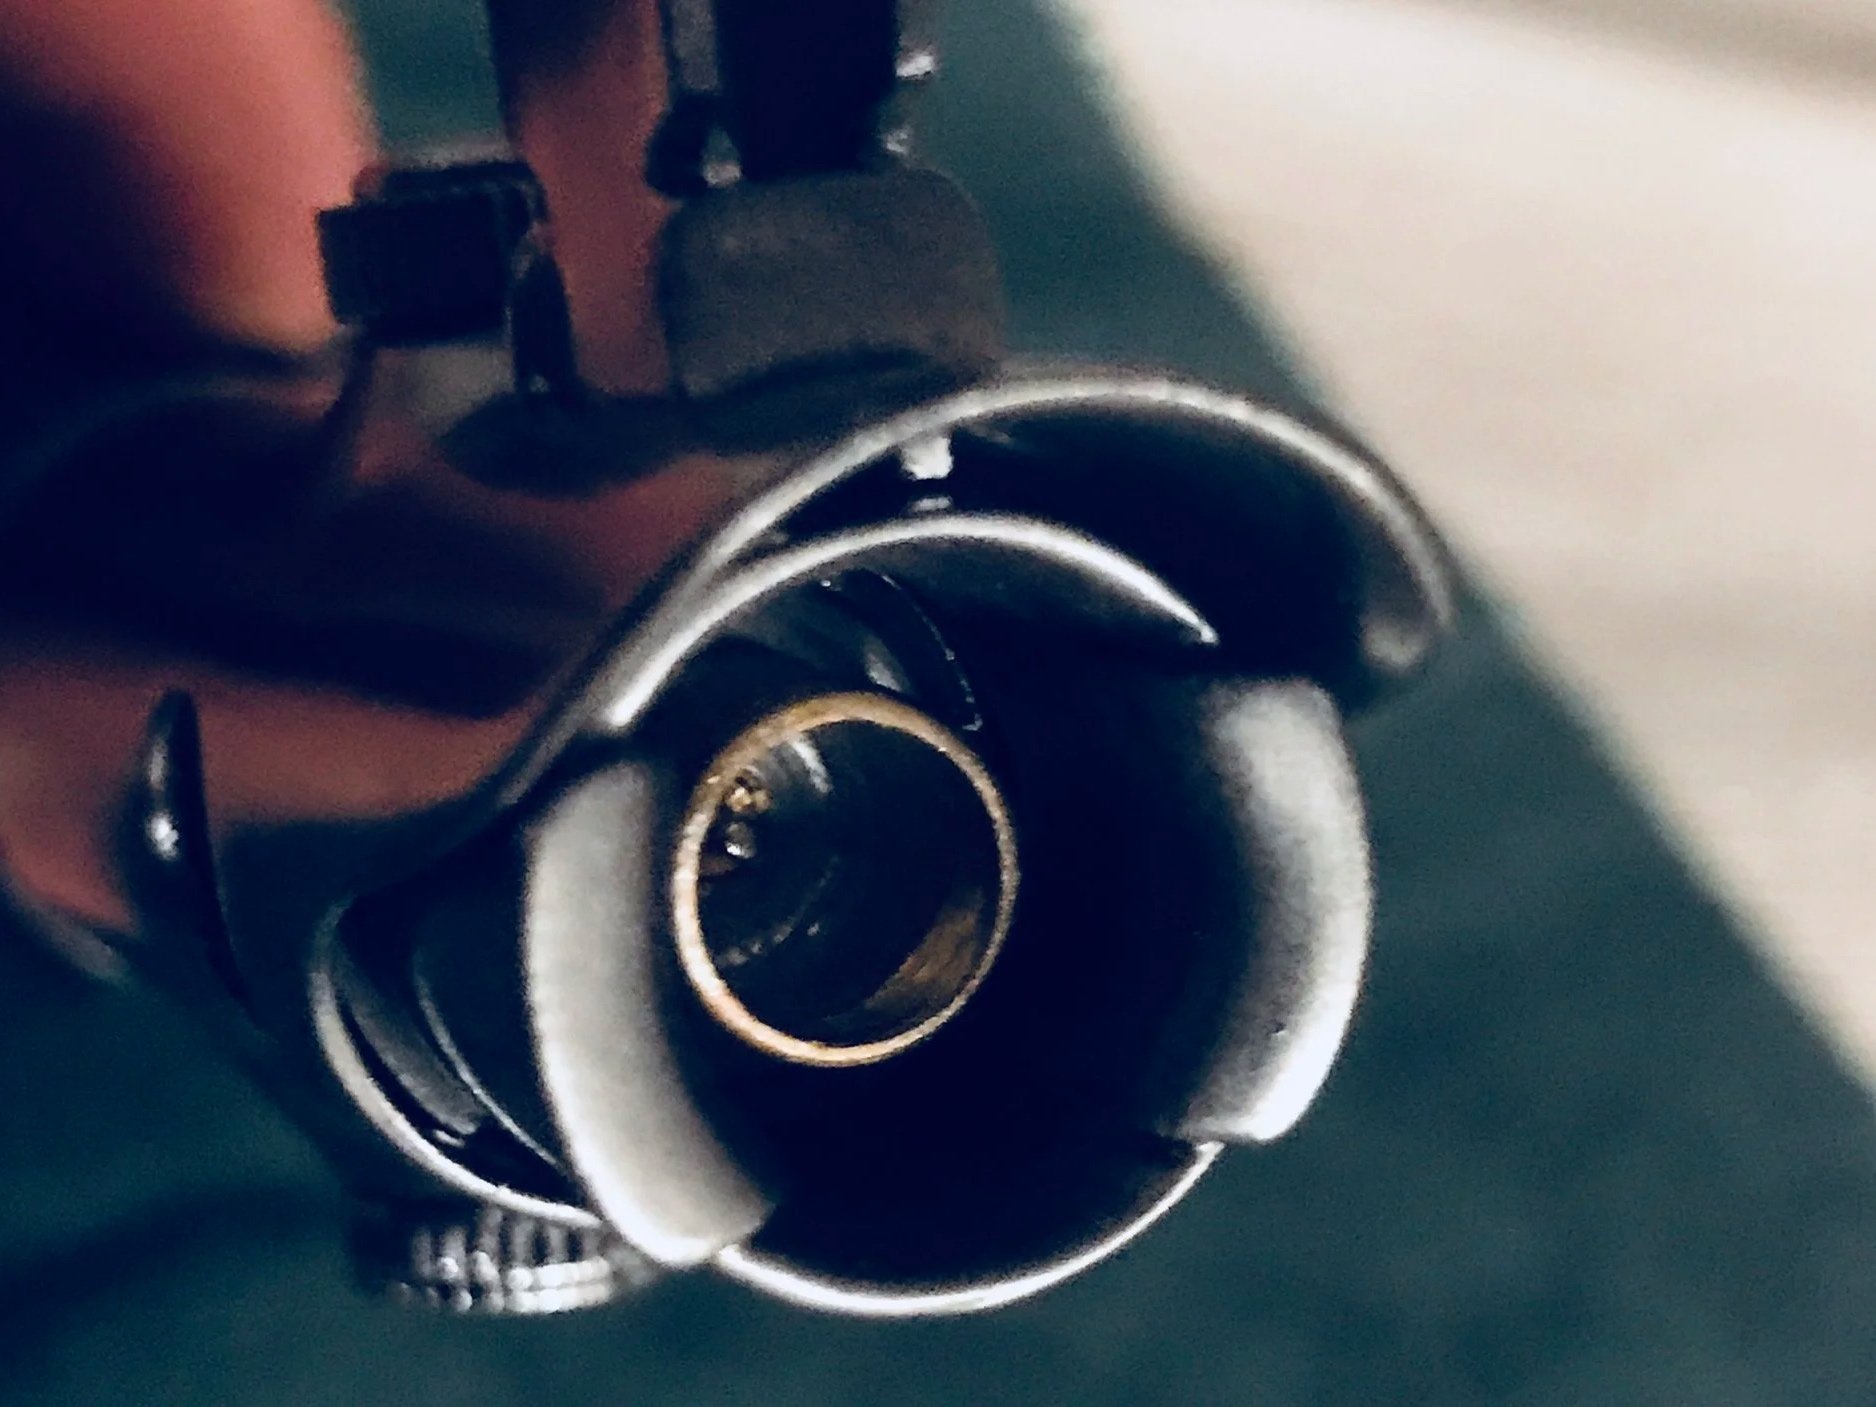
CHROME FINISH
fter priming, the biggest challenge followed: applying the chrome layer. This step had to be done using an airbrush. Achieving a convincing chrome finish on plastic parts is considered the champions league in prop making.
The process requires the part to be painted in high-gloss black first, with absolutely no room for errors. Once dry, the surface must be completely free of dust and fingerprints, as any imperfection will show through the chrome layer. The quality of the preparation directly defines the quality of the final result.
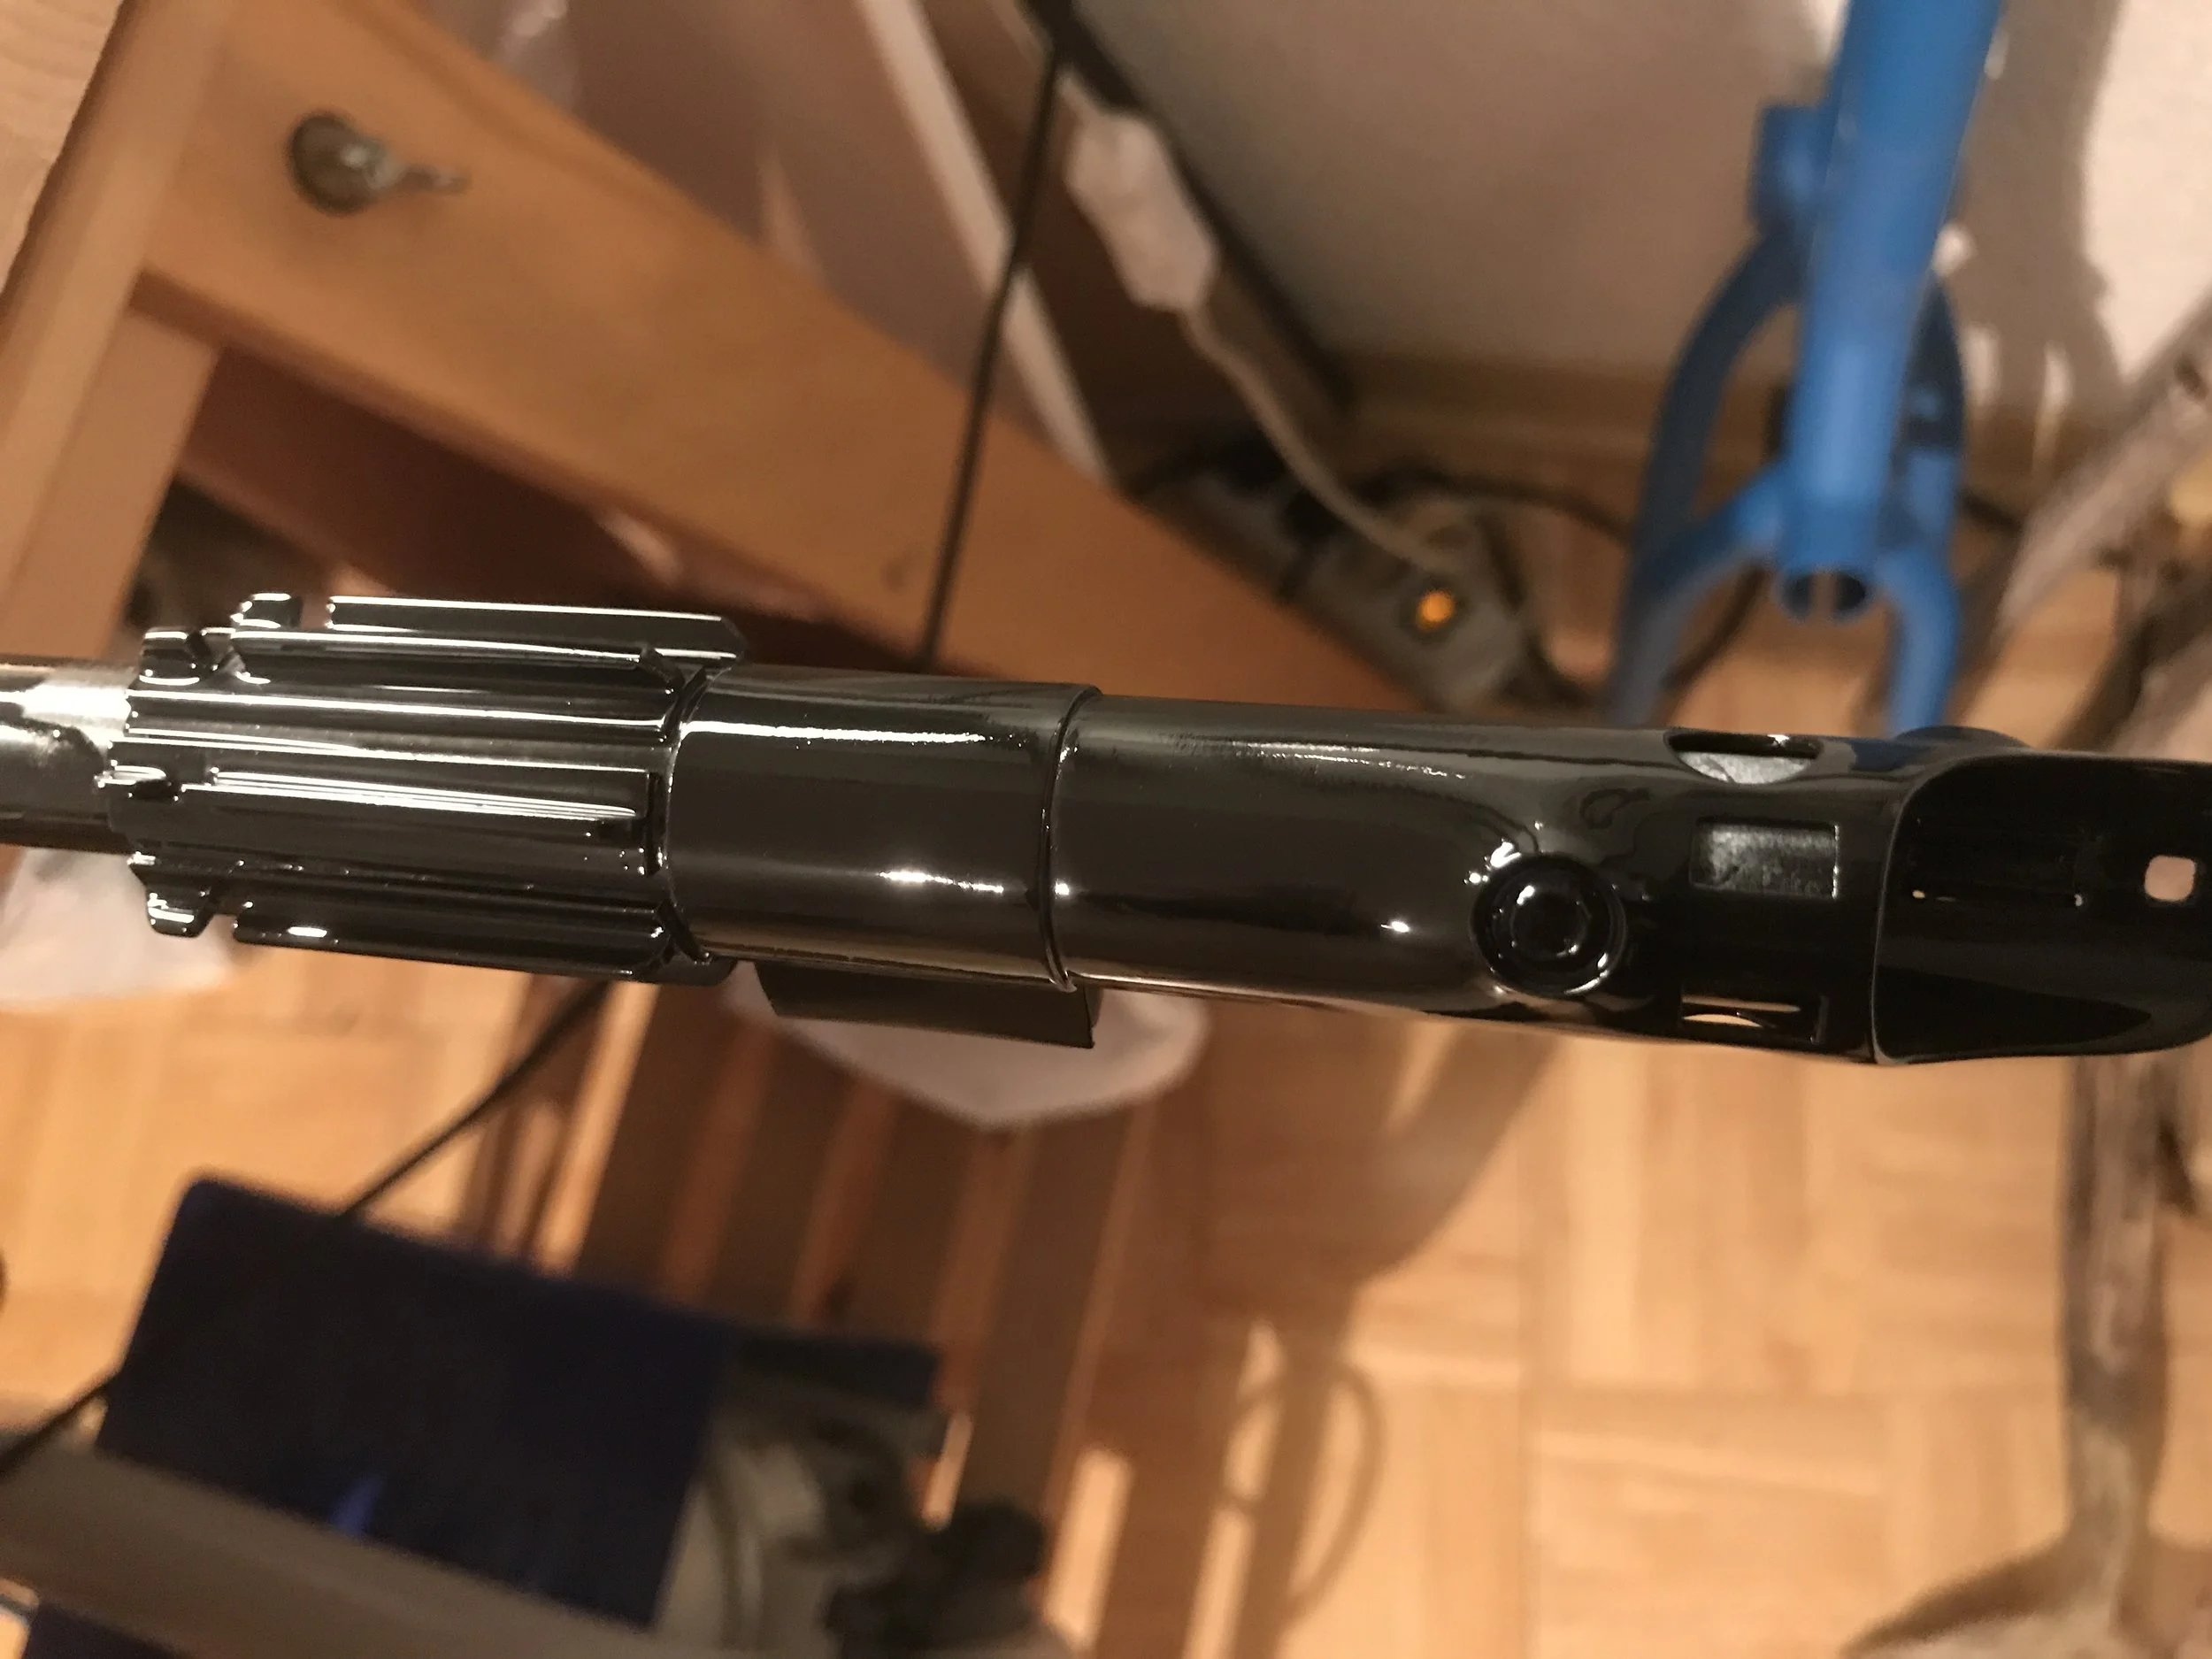
It took two attempts to apply the high-gloss black perfectly. The paint needs to be wet enough to level and shine, but not too wet that it runs. Once fully cured, the chrome effect was achieved by carefully misting on Alclad Chrome in extremely thin layers, producing a surprisingly realistic chrome finish.
ASSEMBLING
The “chroming” process was a complete success. All that remained was to install the screws, mount the circuit board, and attach the clip at the bottom. Everything went smoothly, and the final result is my Graflex ESB miniature lightsaber. I really love it!