JEDI TRAINING REMOTE
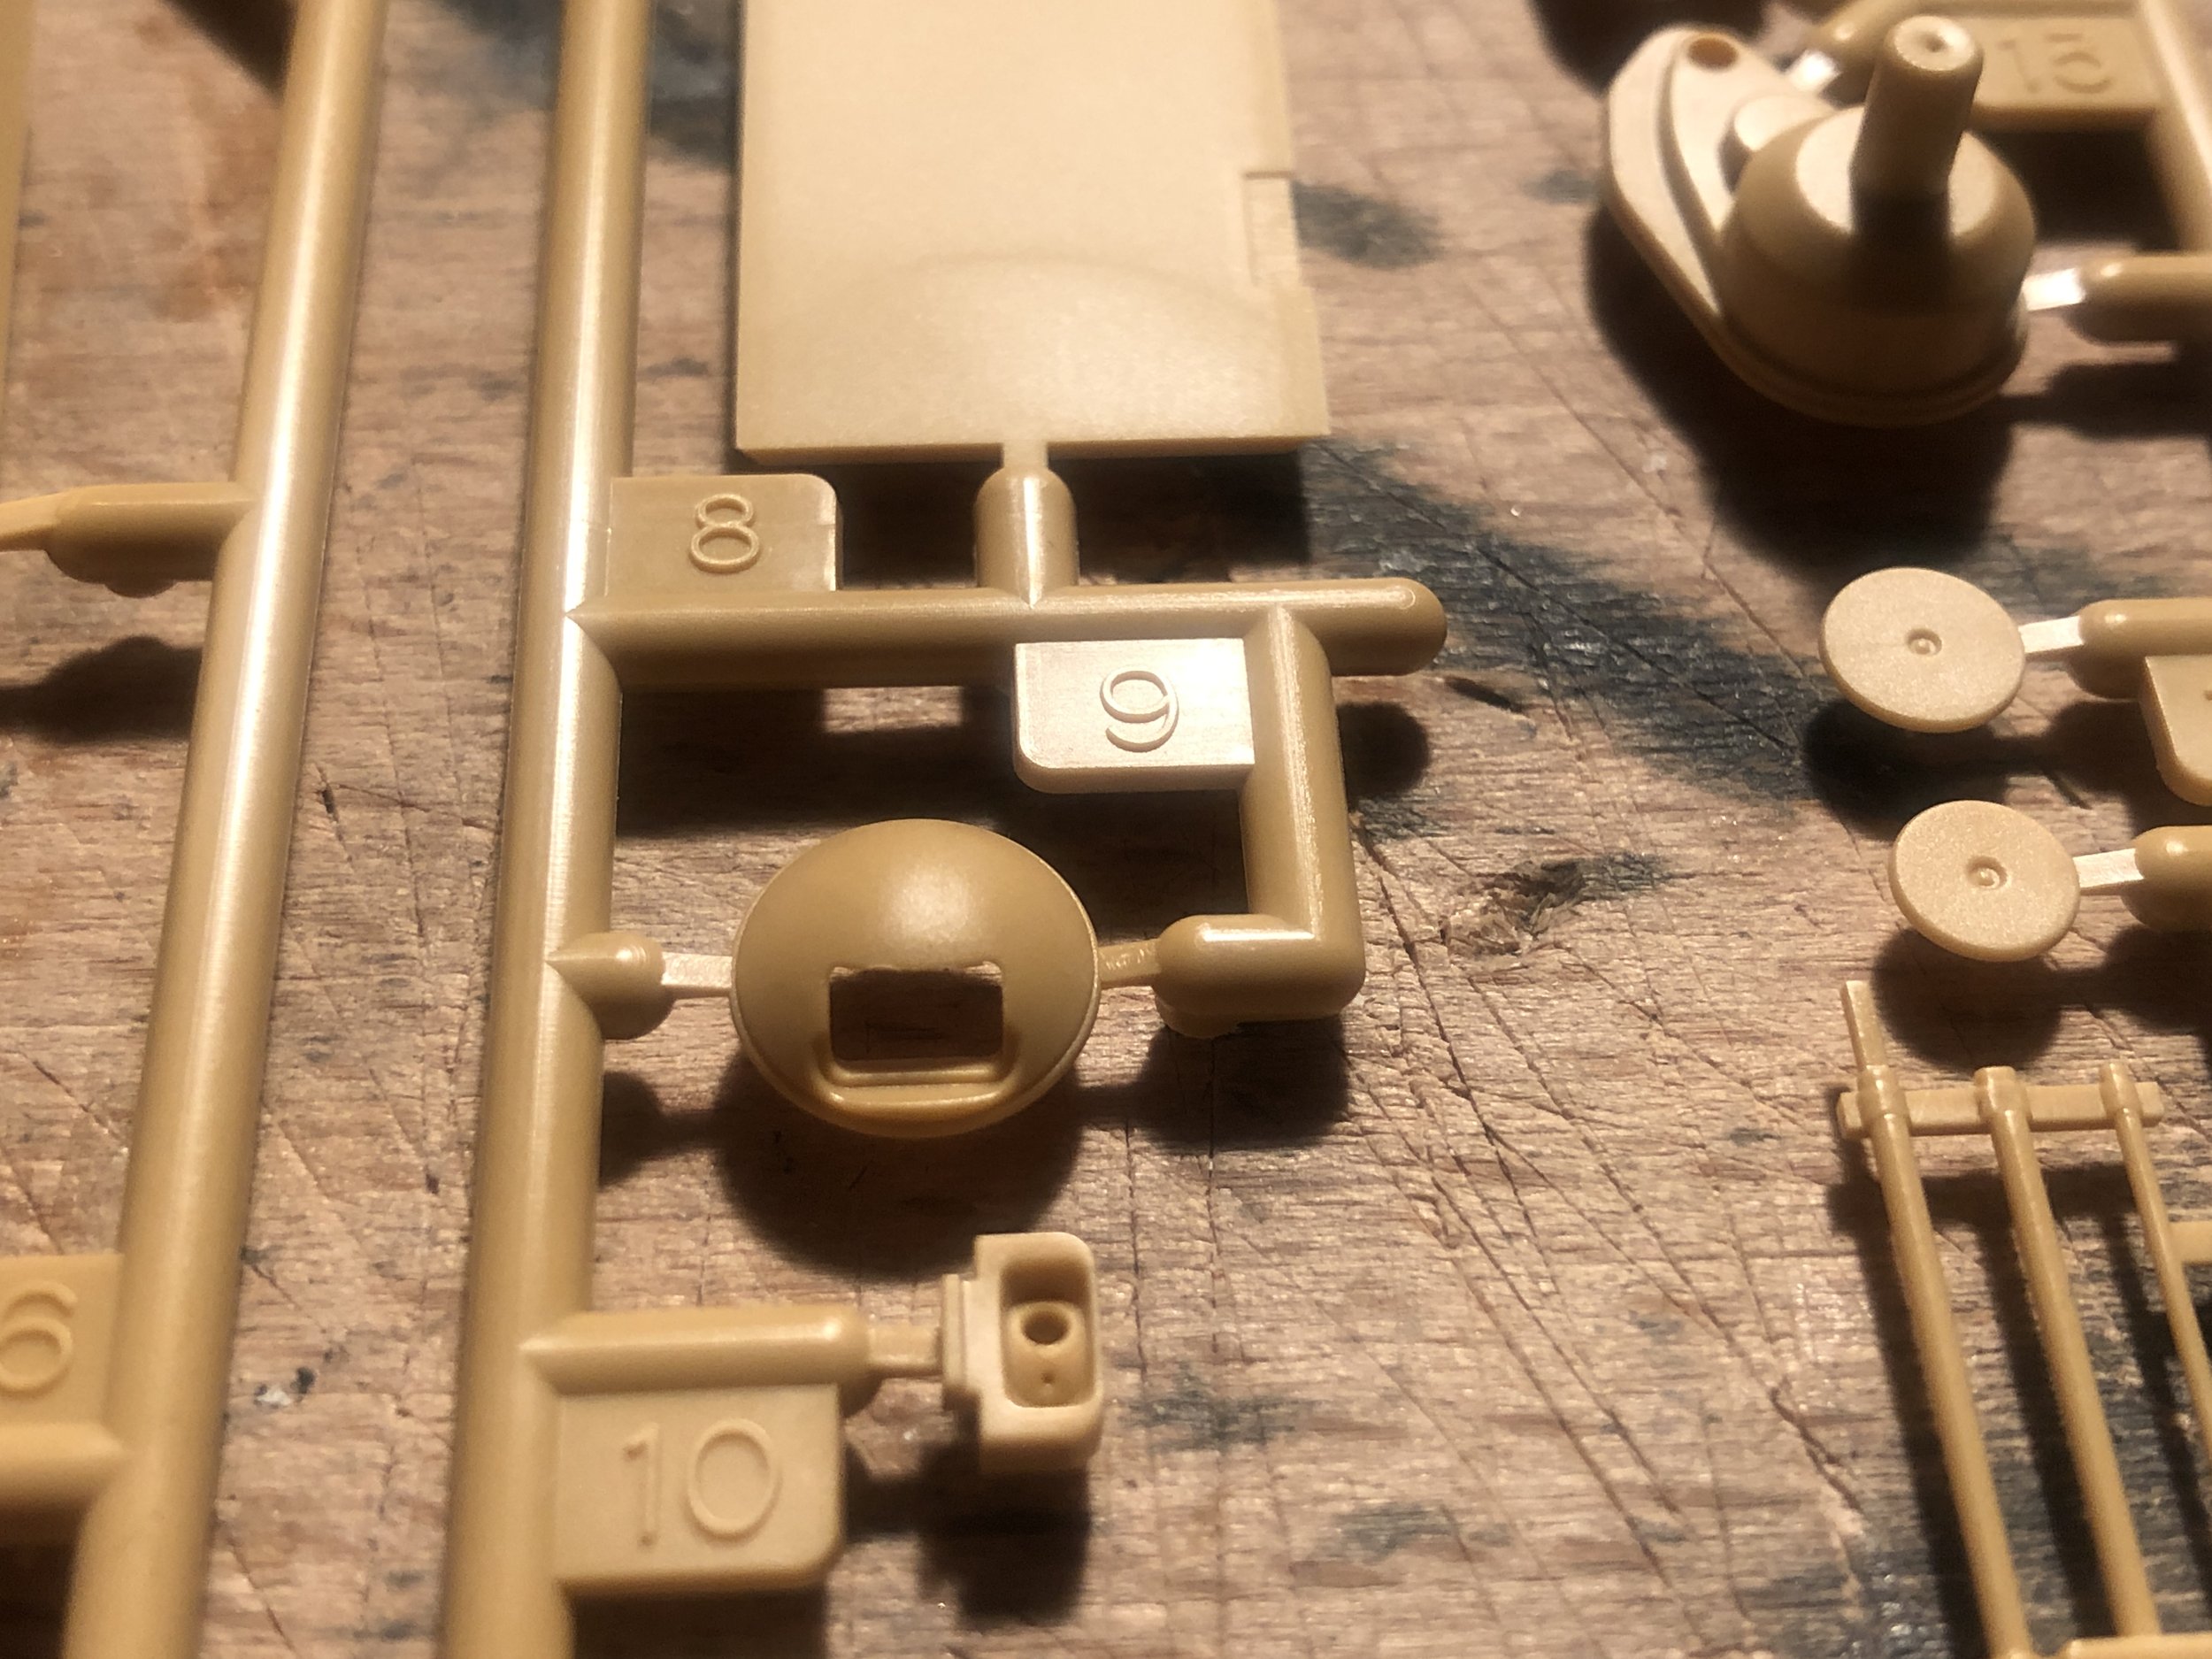
I’ve been interested in models ever since was a child. And when I talk about models, I don’t mean ready-made kits, but rather film props that were originally built for movies. I grew up with Star Wars, and I was always fascinated by the small Jedi training remote that appeared in A NEW HOPE for a few seconds. Through literature and online research, I was able to find out who built this prop, how it was made, and what materials were used. It became clear that the remote was scratch-built, but assembled using parts from various commercial model kits. These included Peterbilt truck rims and, for the most part, tank components such as hatches and track parts.
KITBASHING
Kitbashing is a modeling technique where parts from different model kits (and sometimes scratch-built pieces) are combined and modified to create a new, custom model that isn’t available as a single kit. It’s commonly used in scale modeling, sci-fi models, and dioramas to achieve unique designs, add detail, or replicate specific real-world objects more accurately.
In total, four different kits were used:
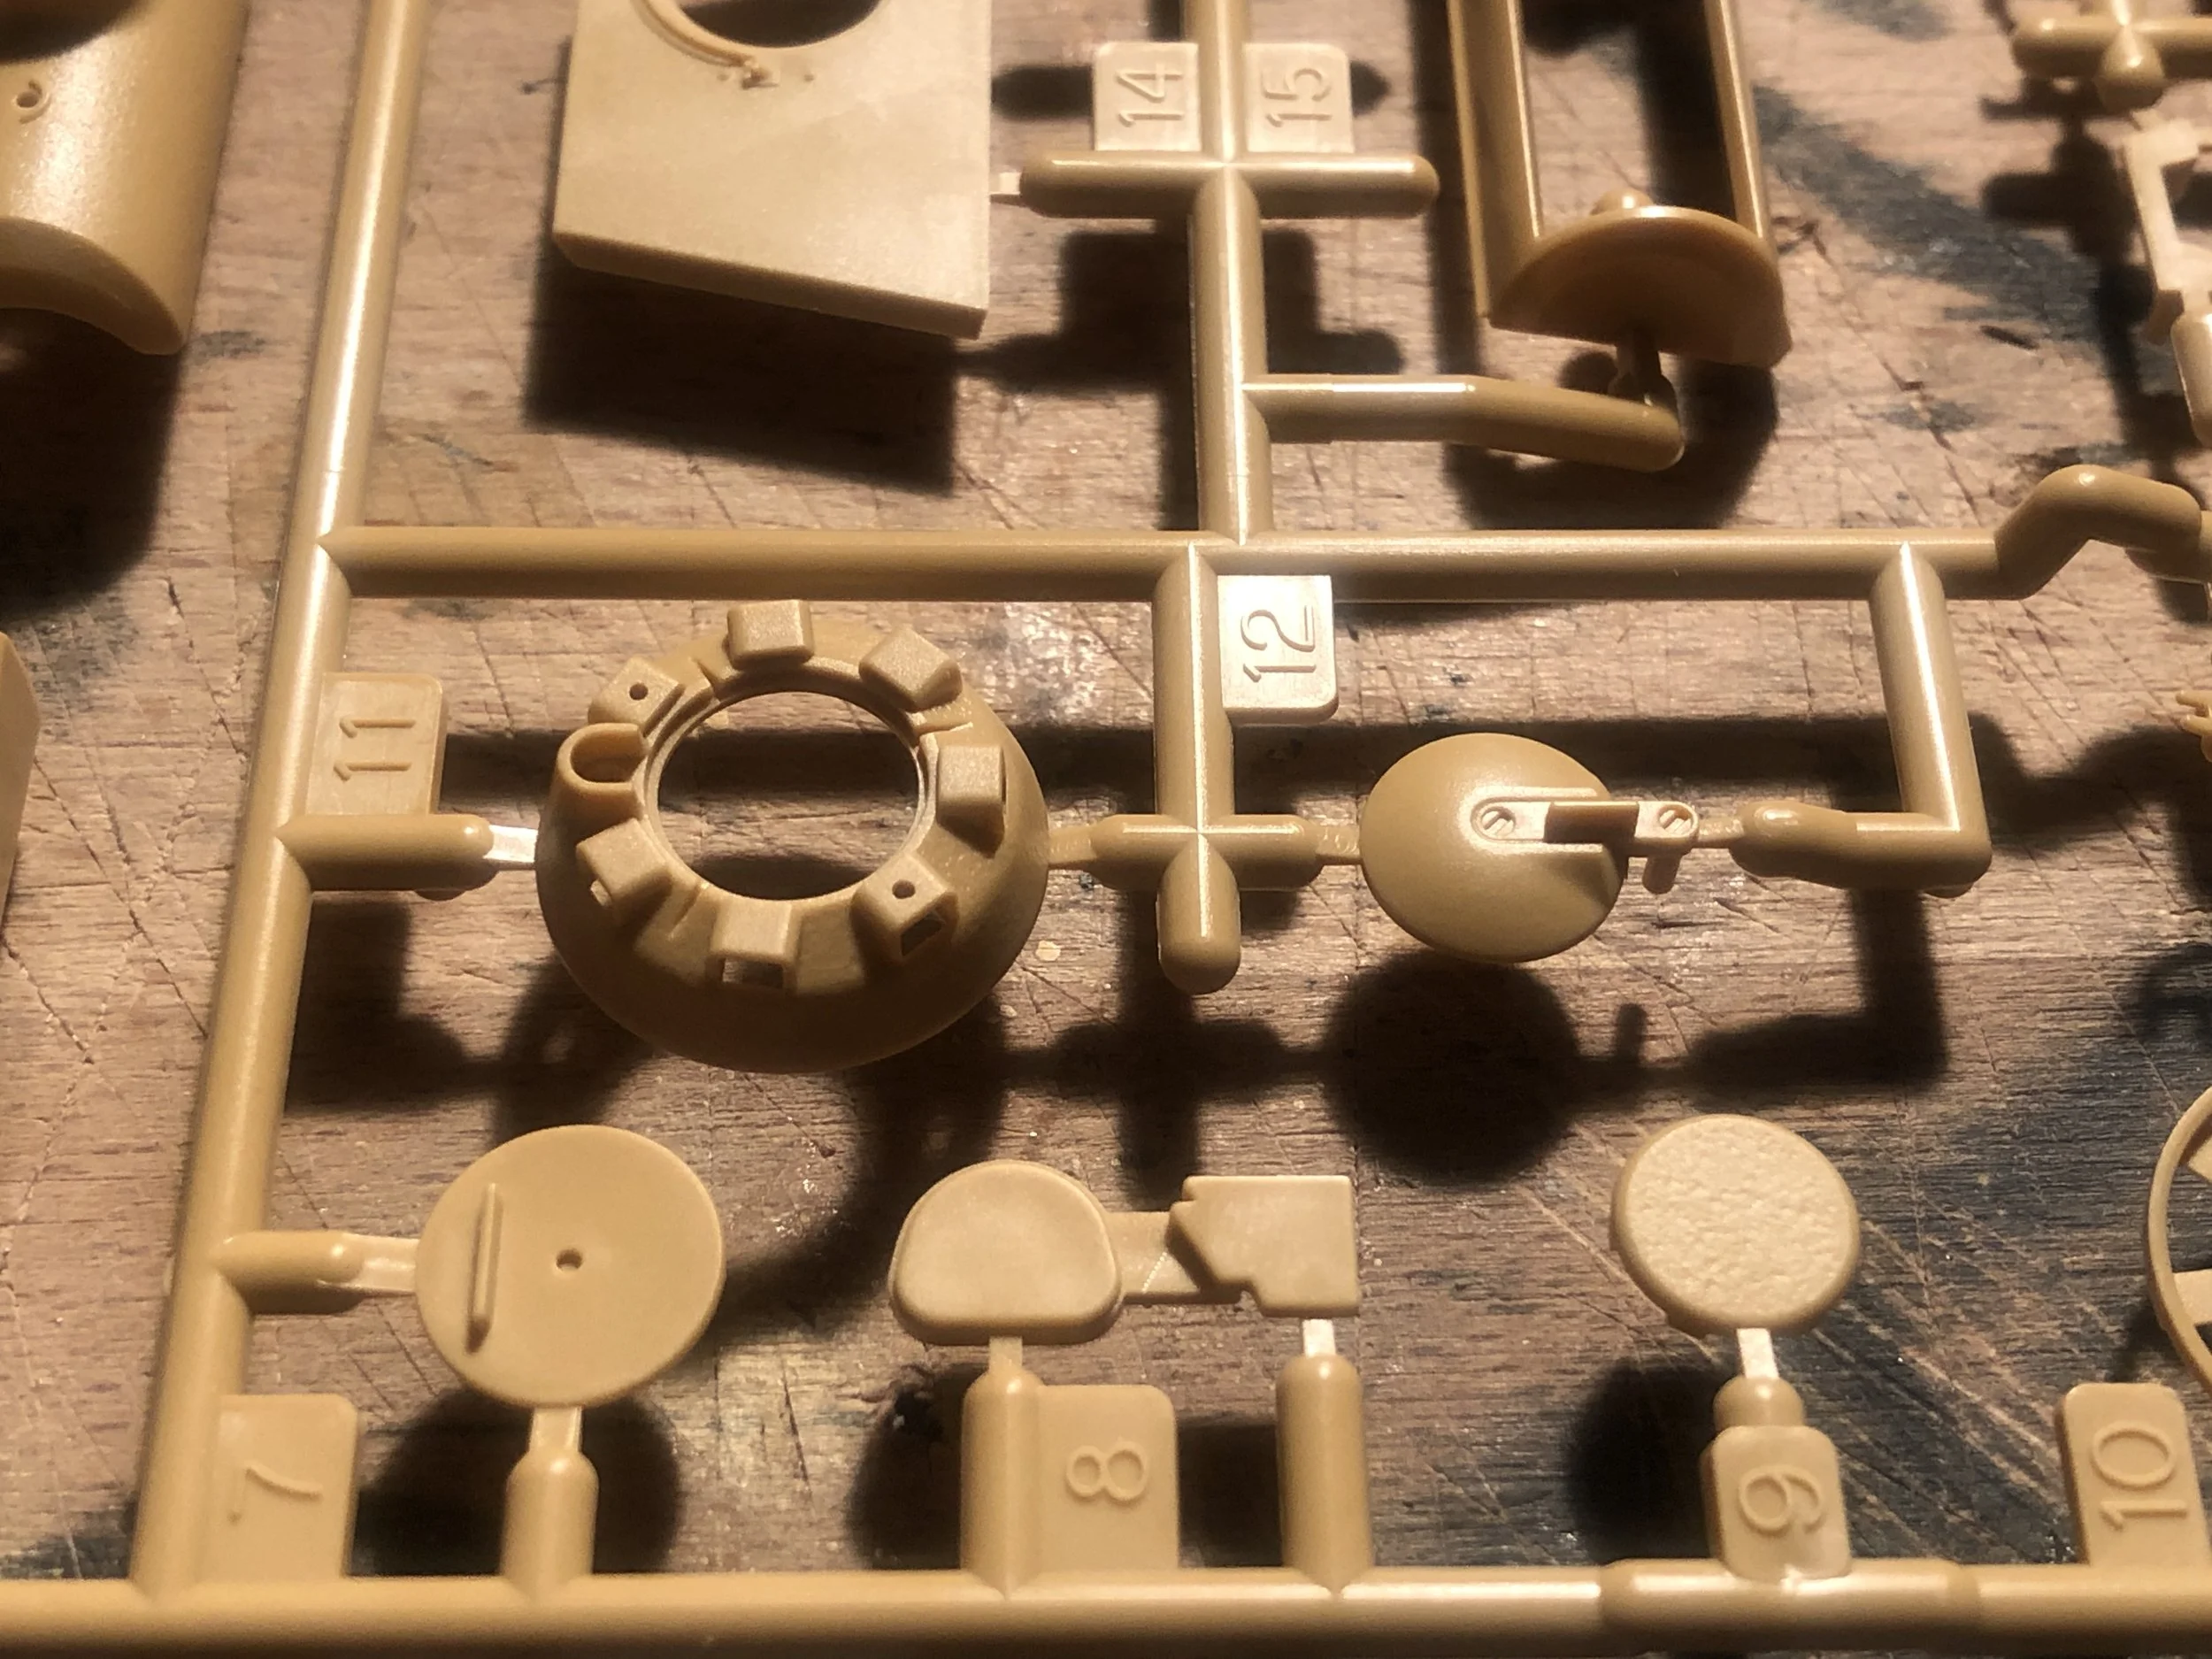
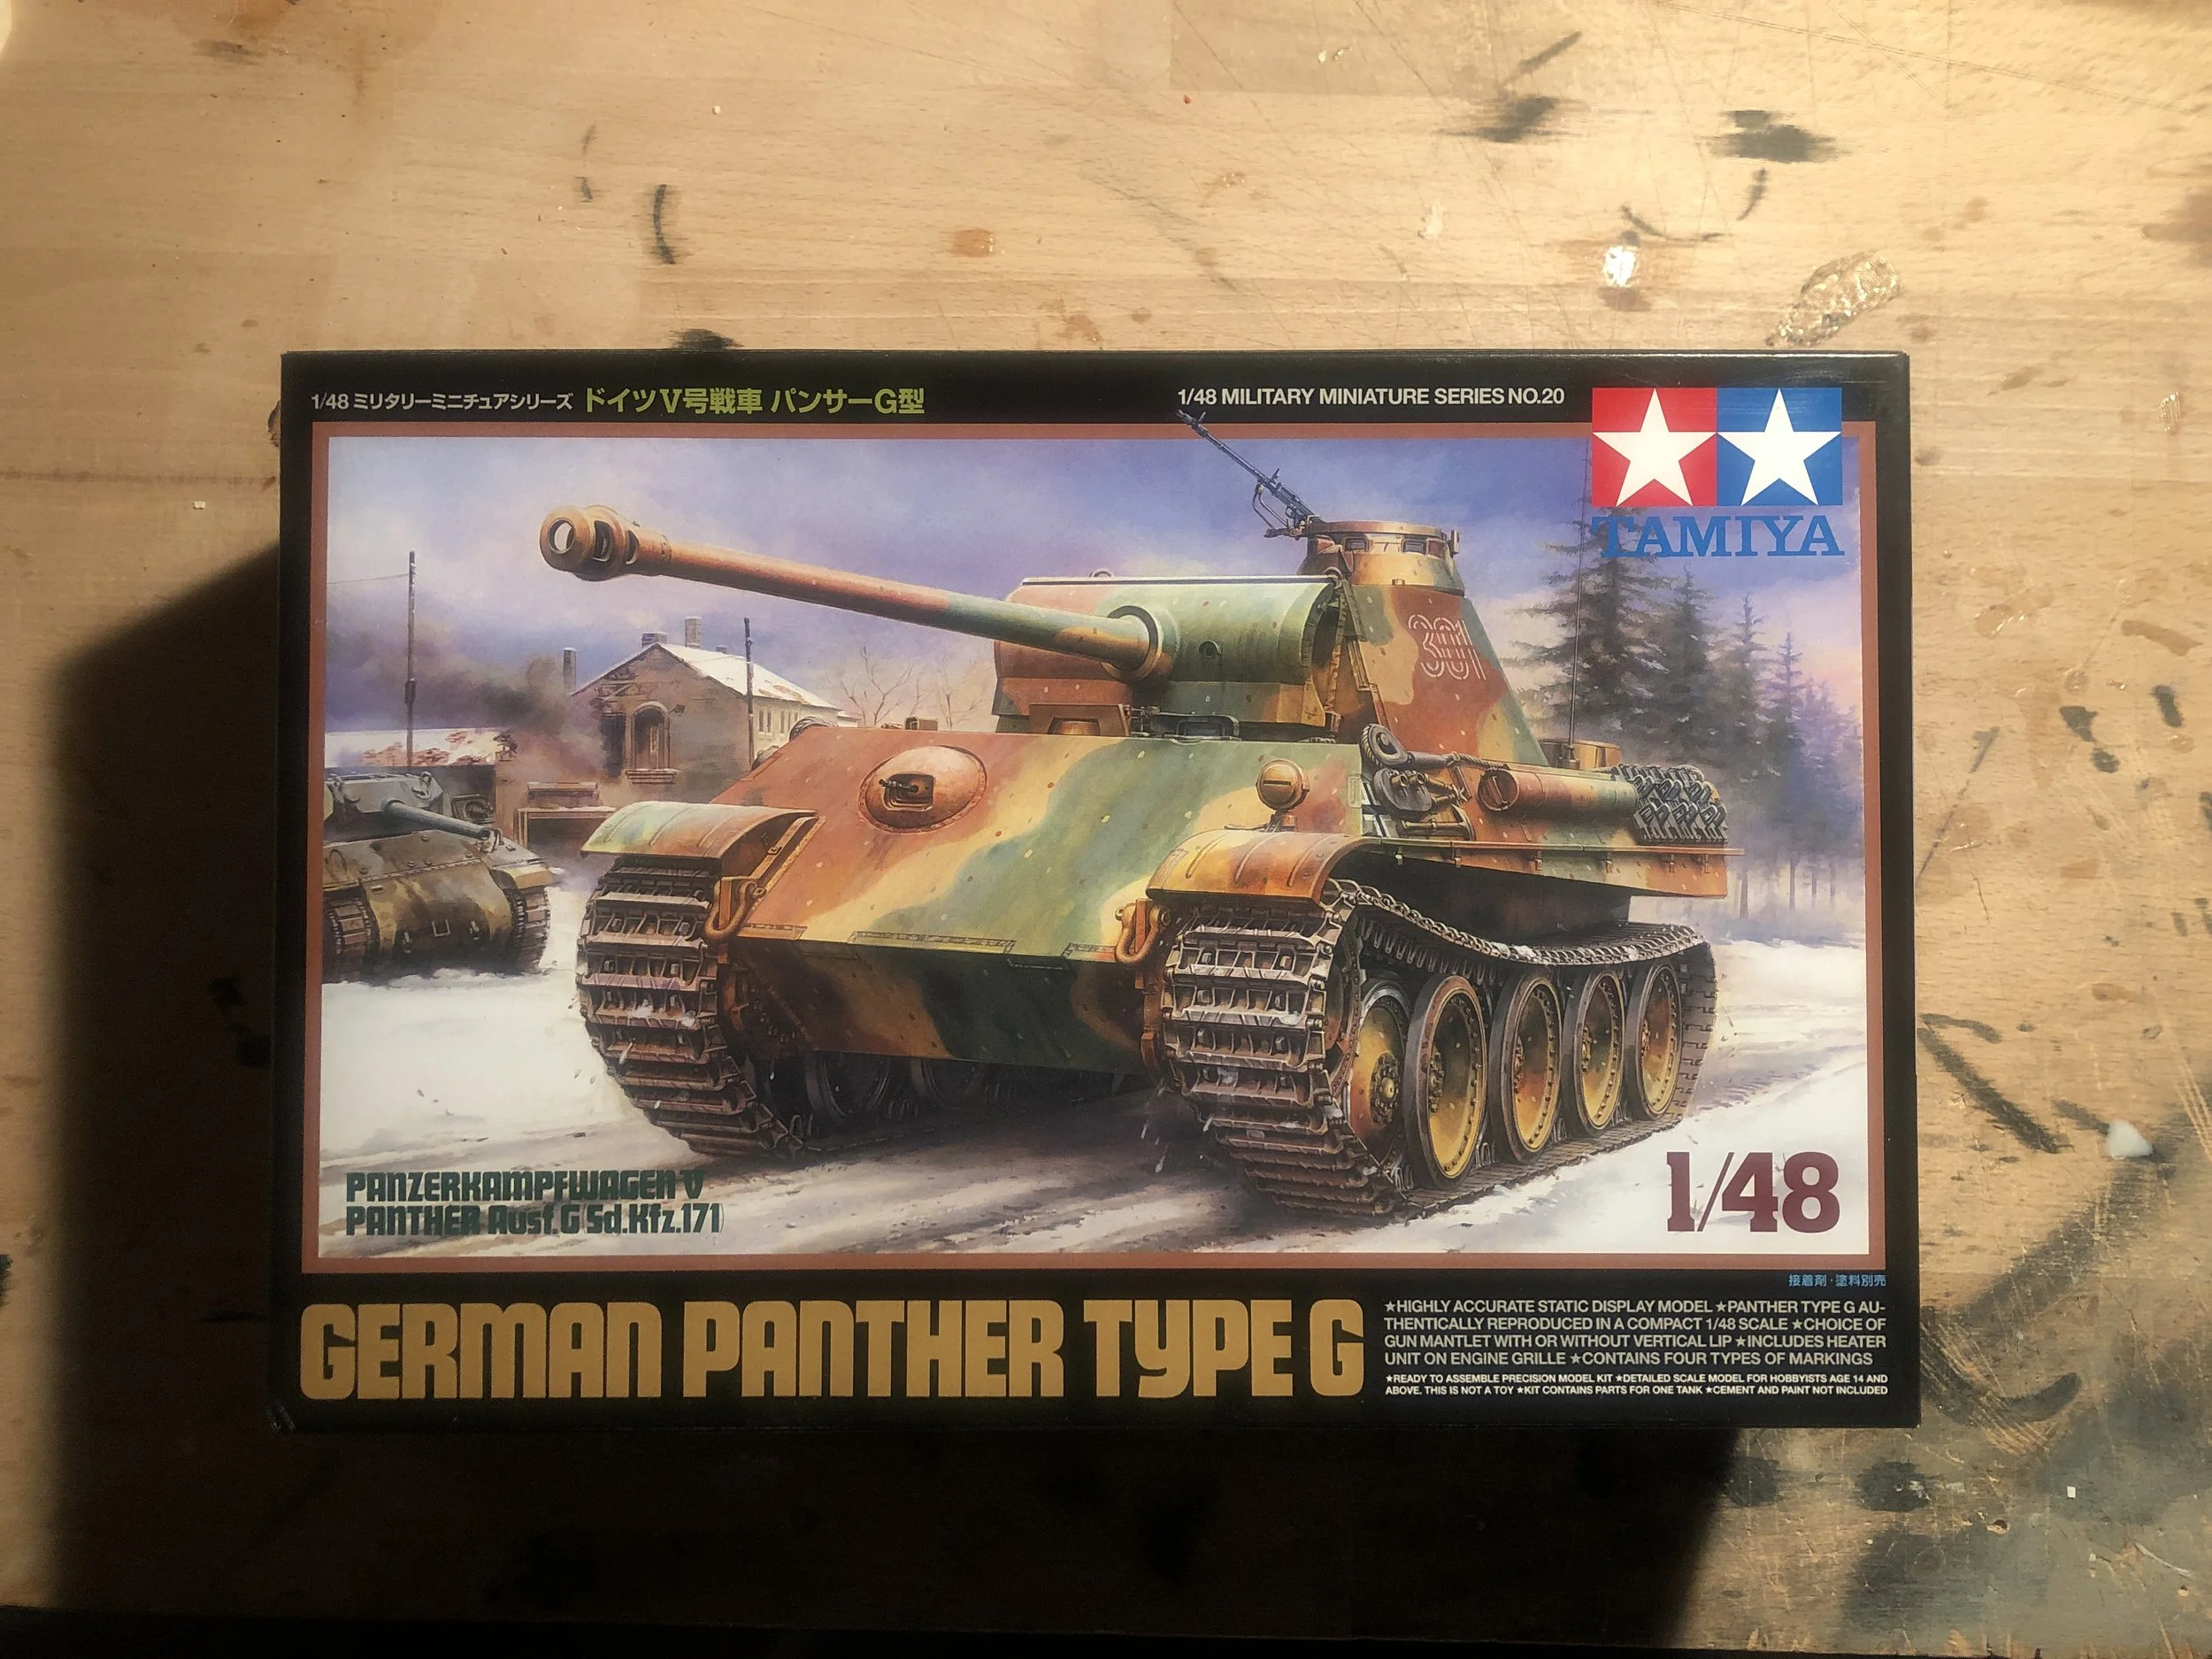
- German Panther Type G in 1:48 scale
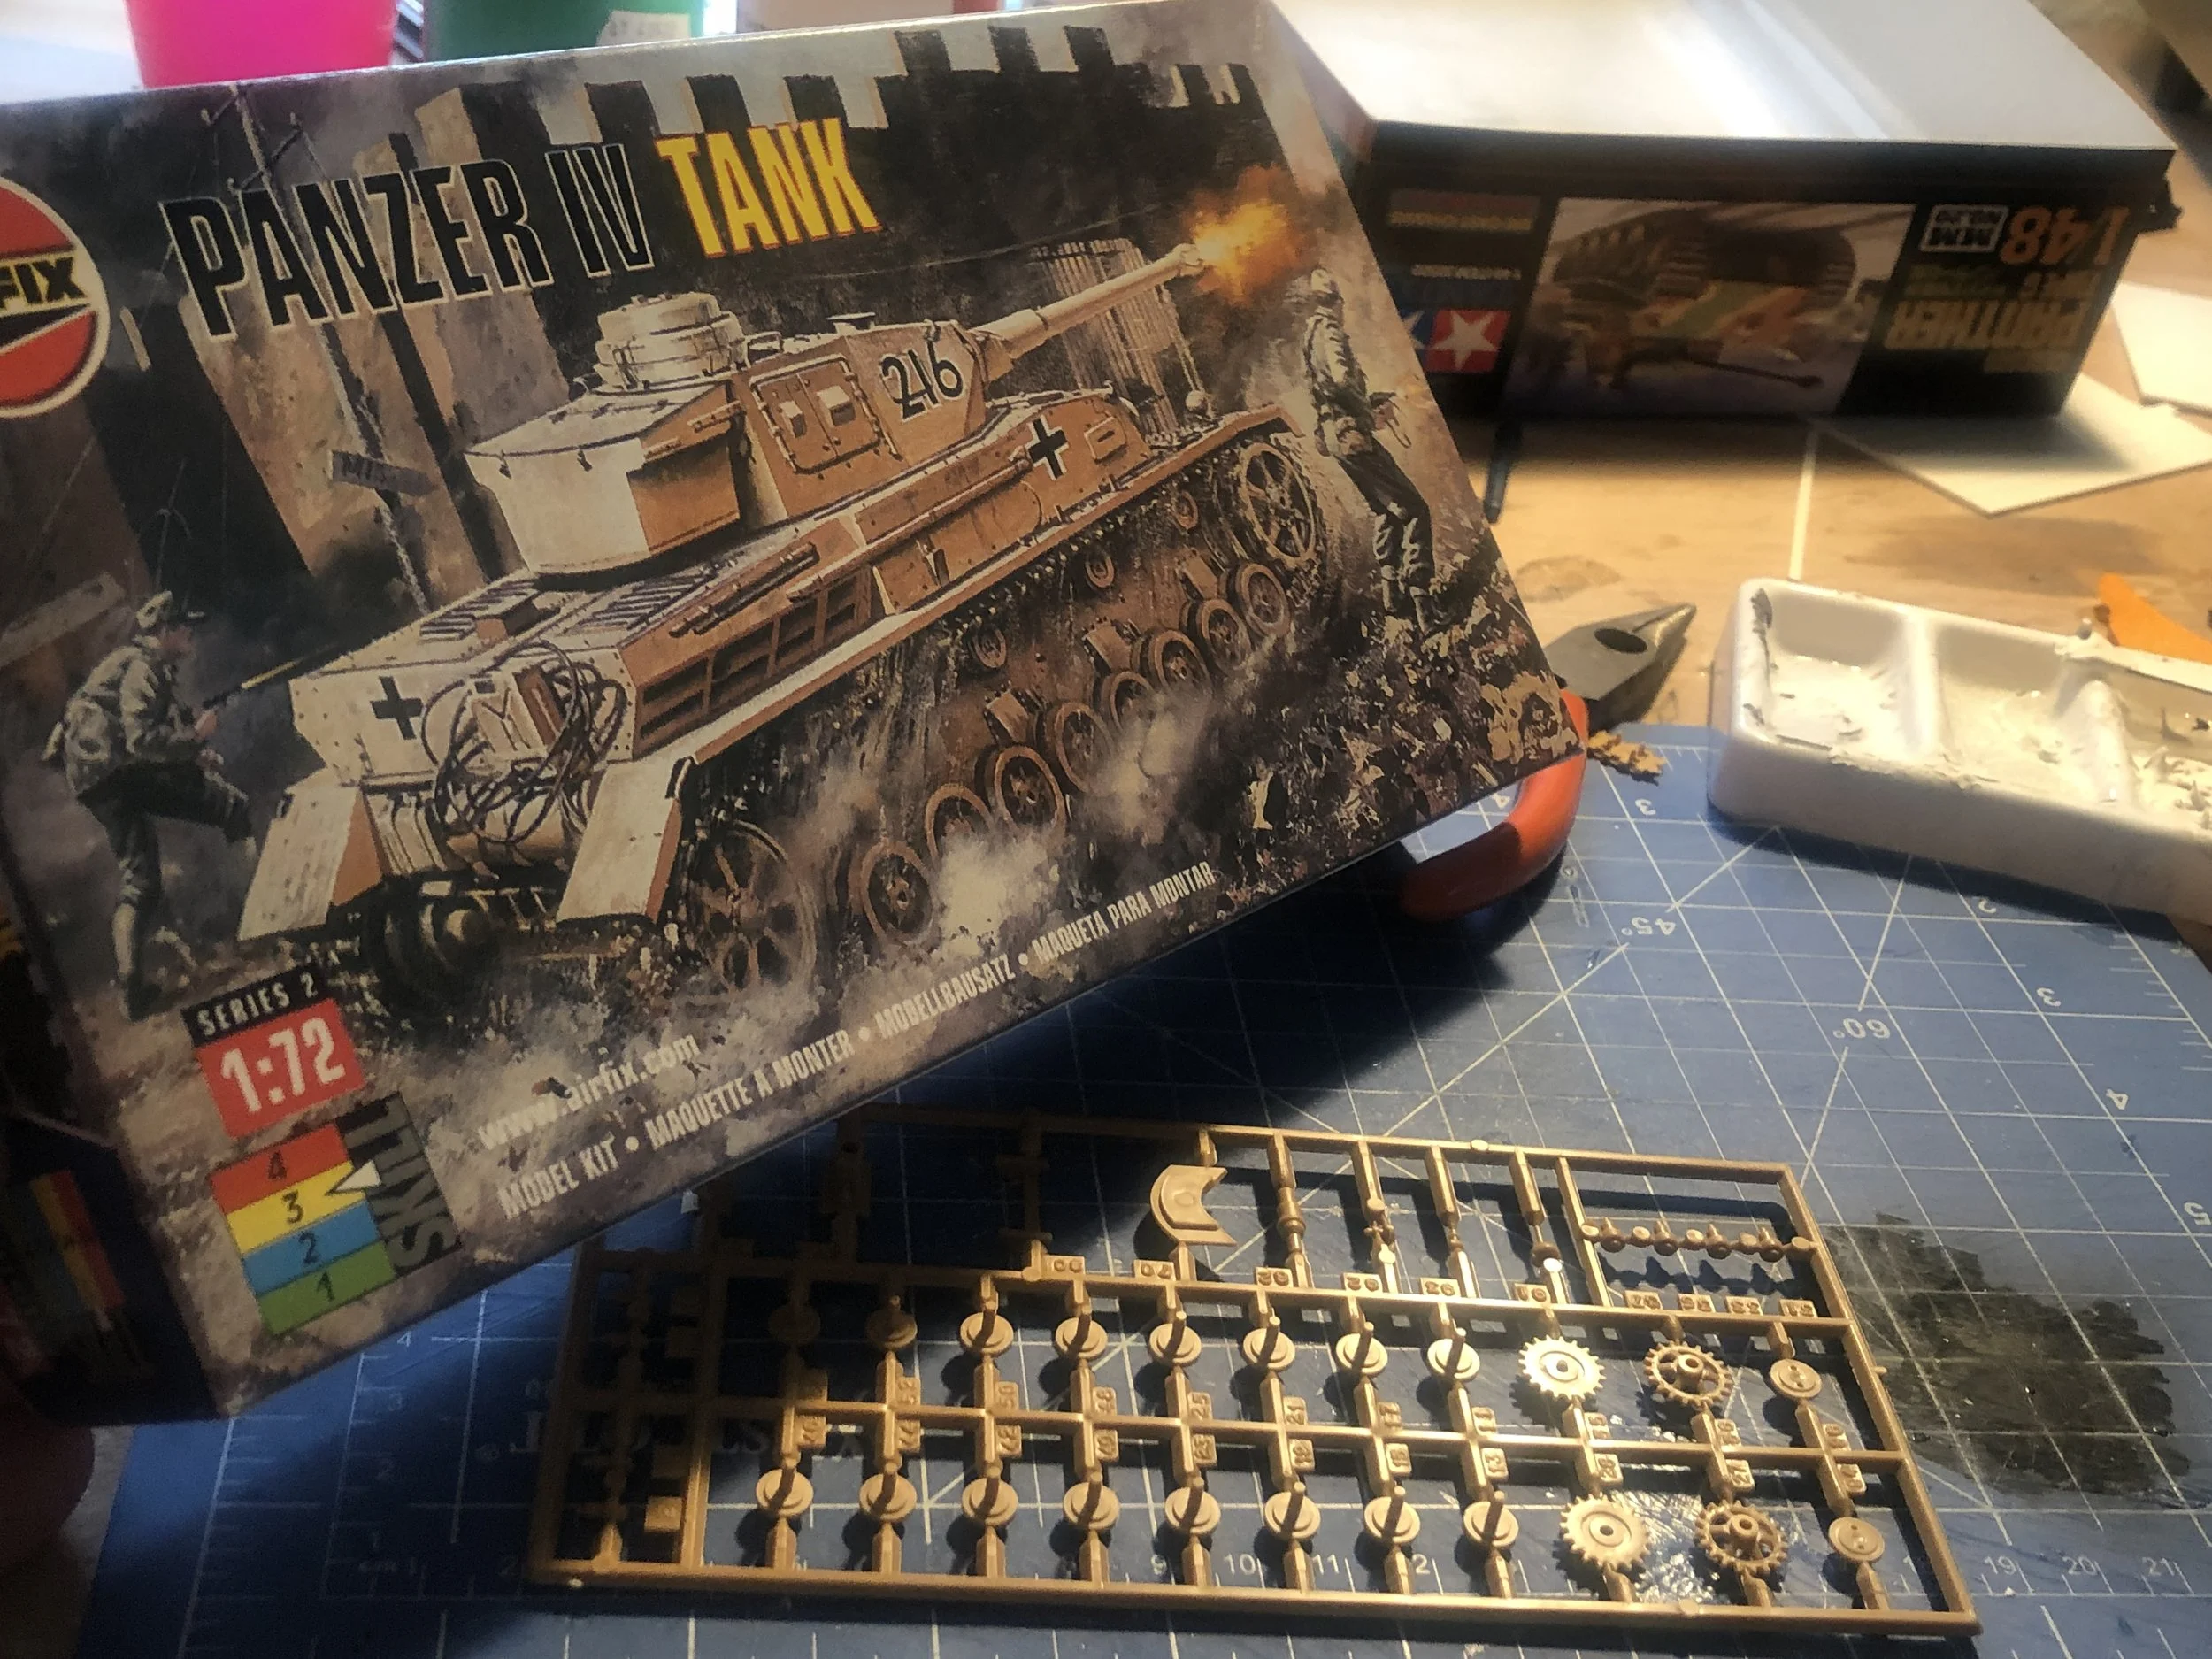
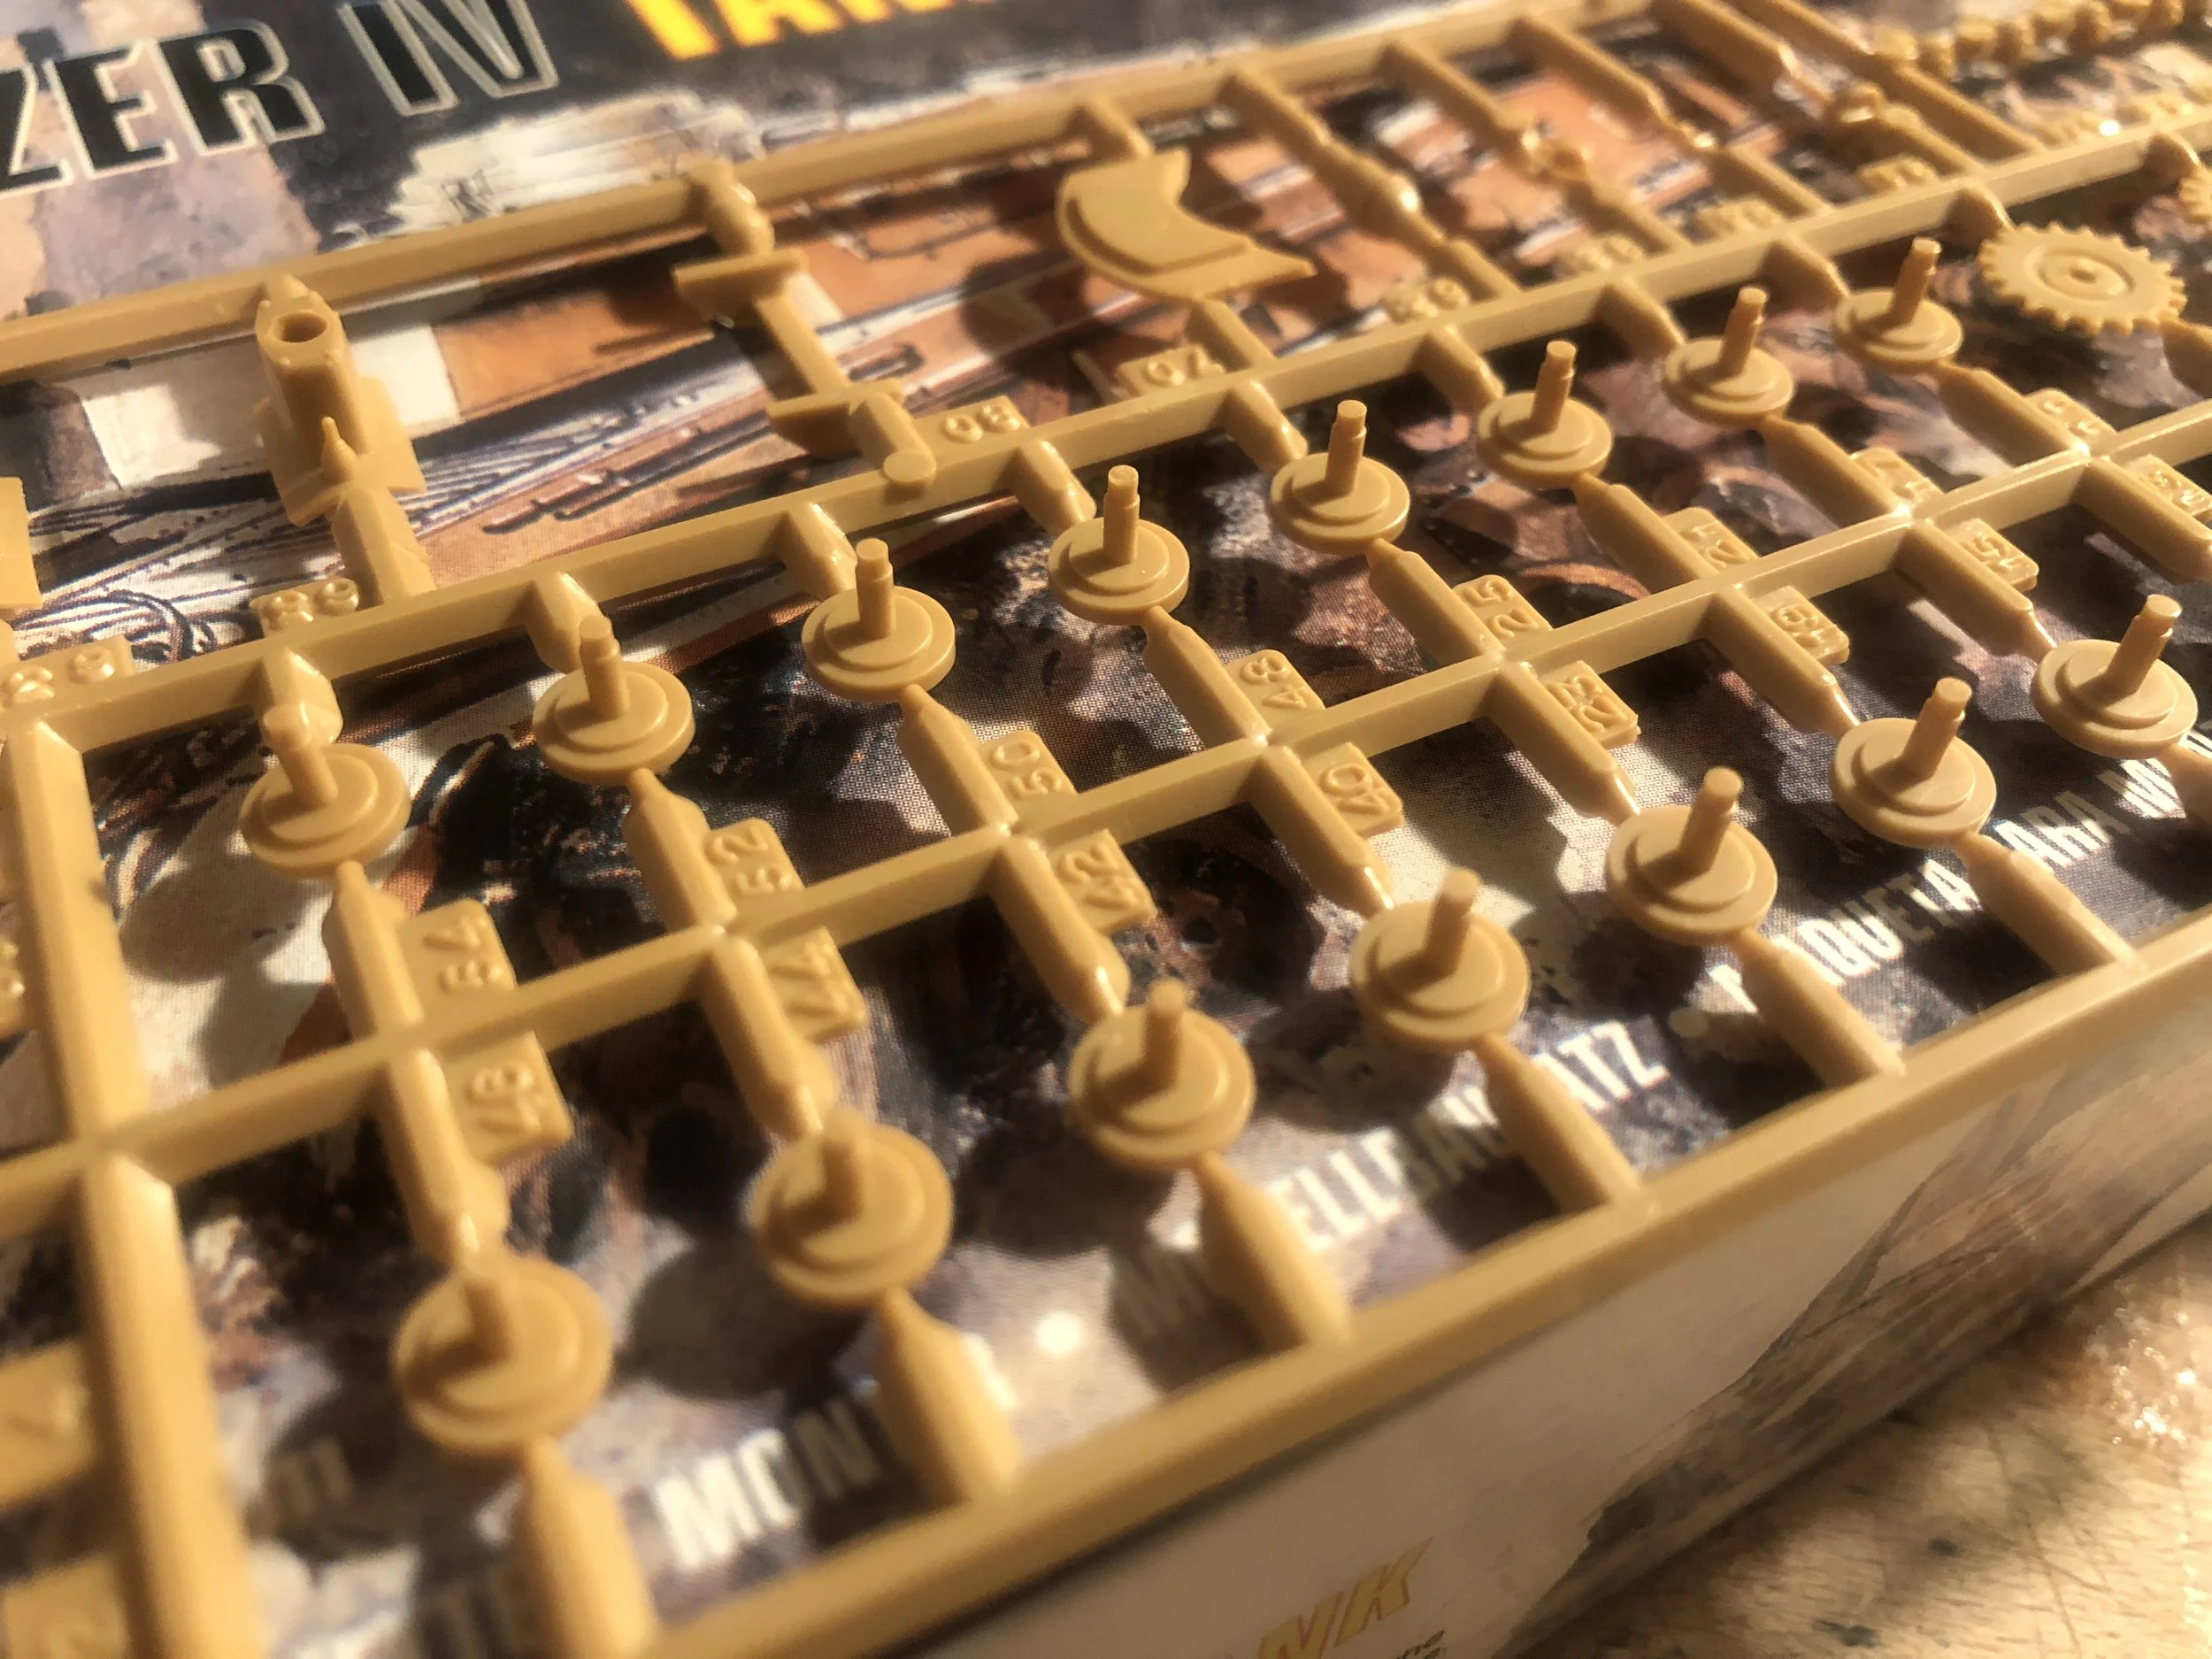
- Panzer IV in 1:72
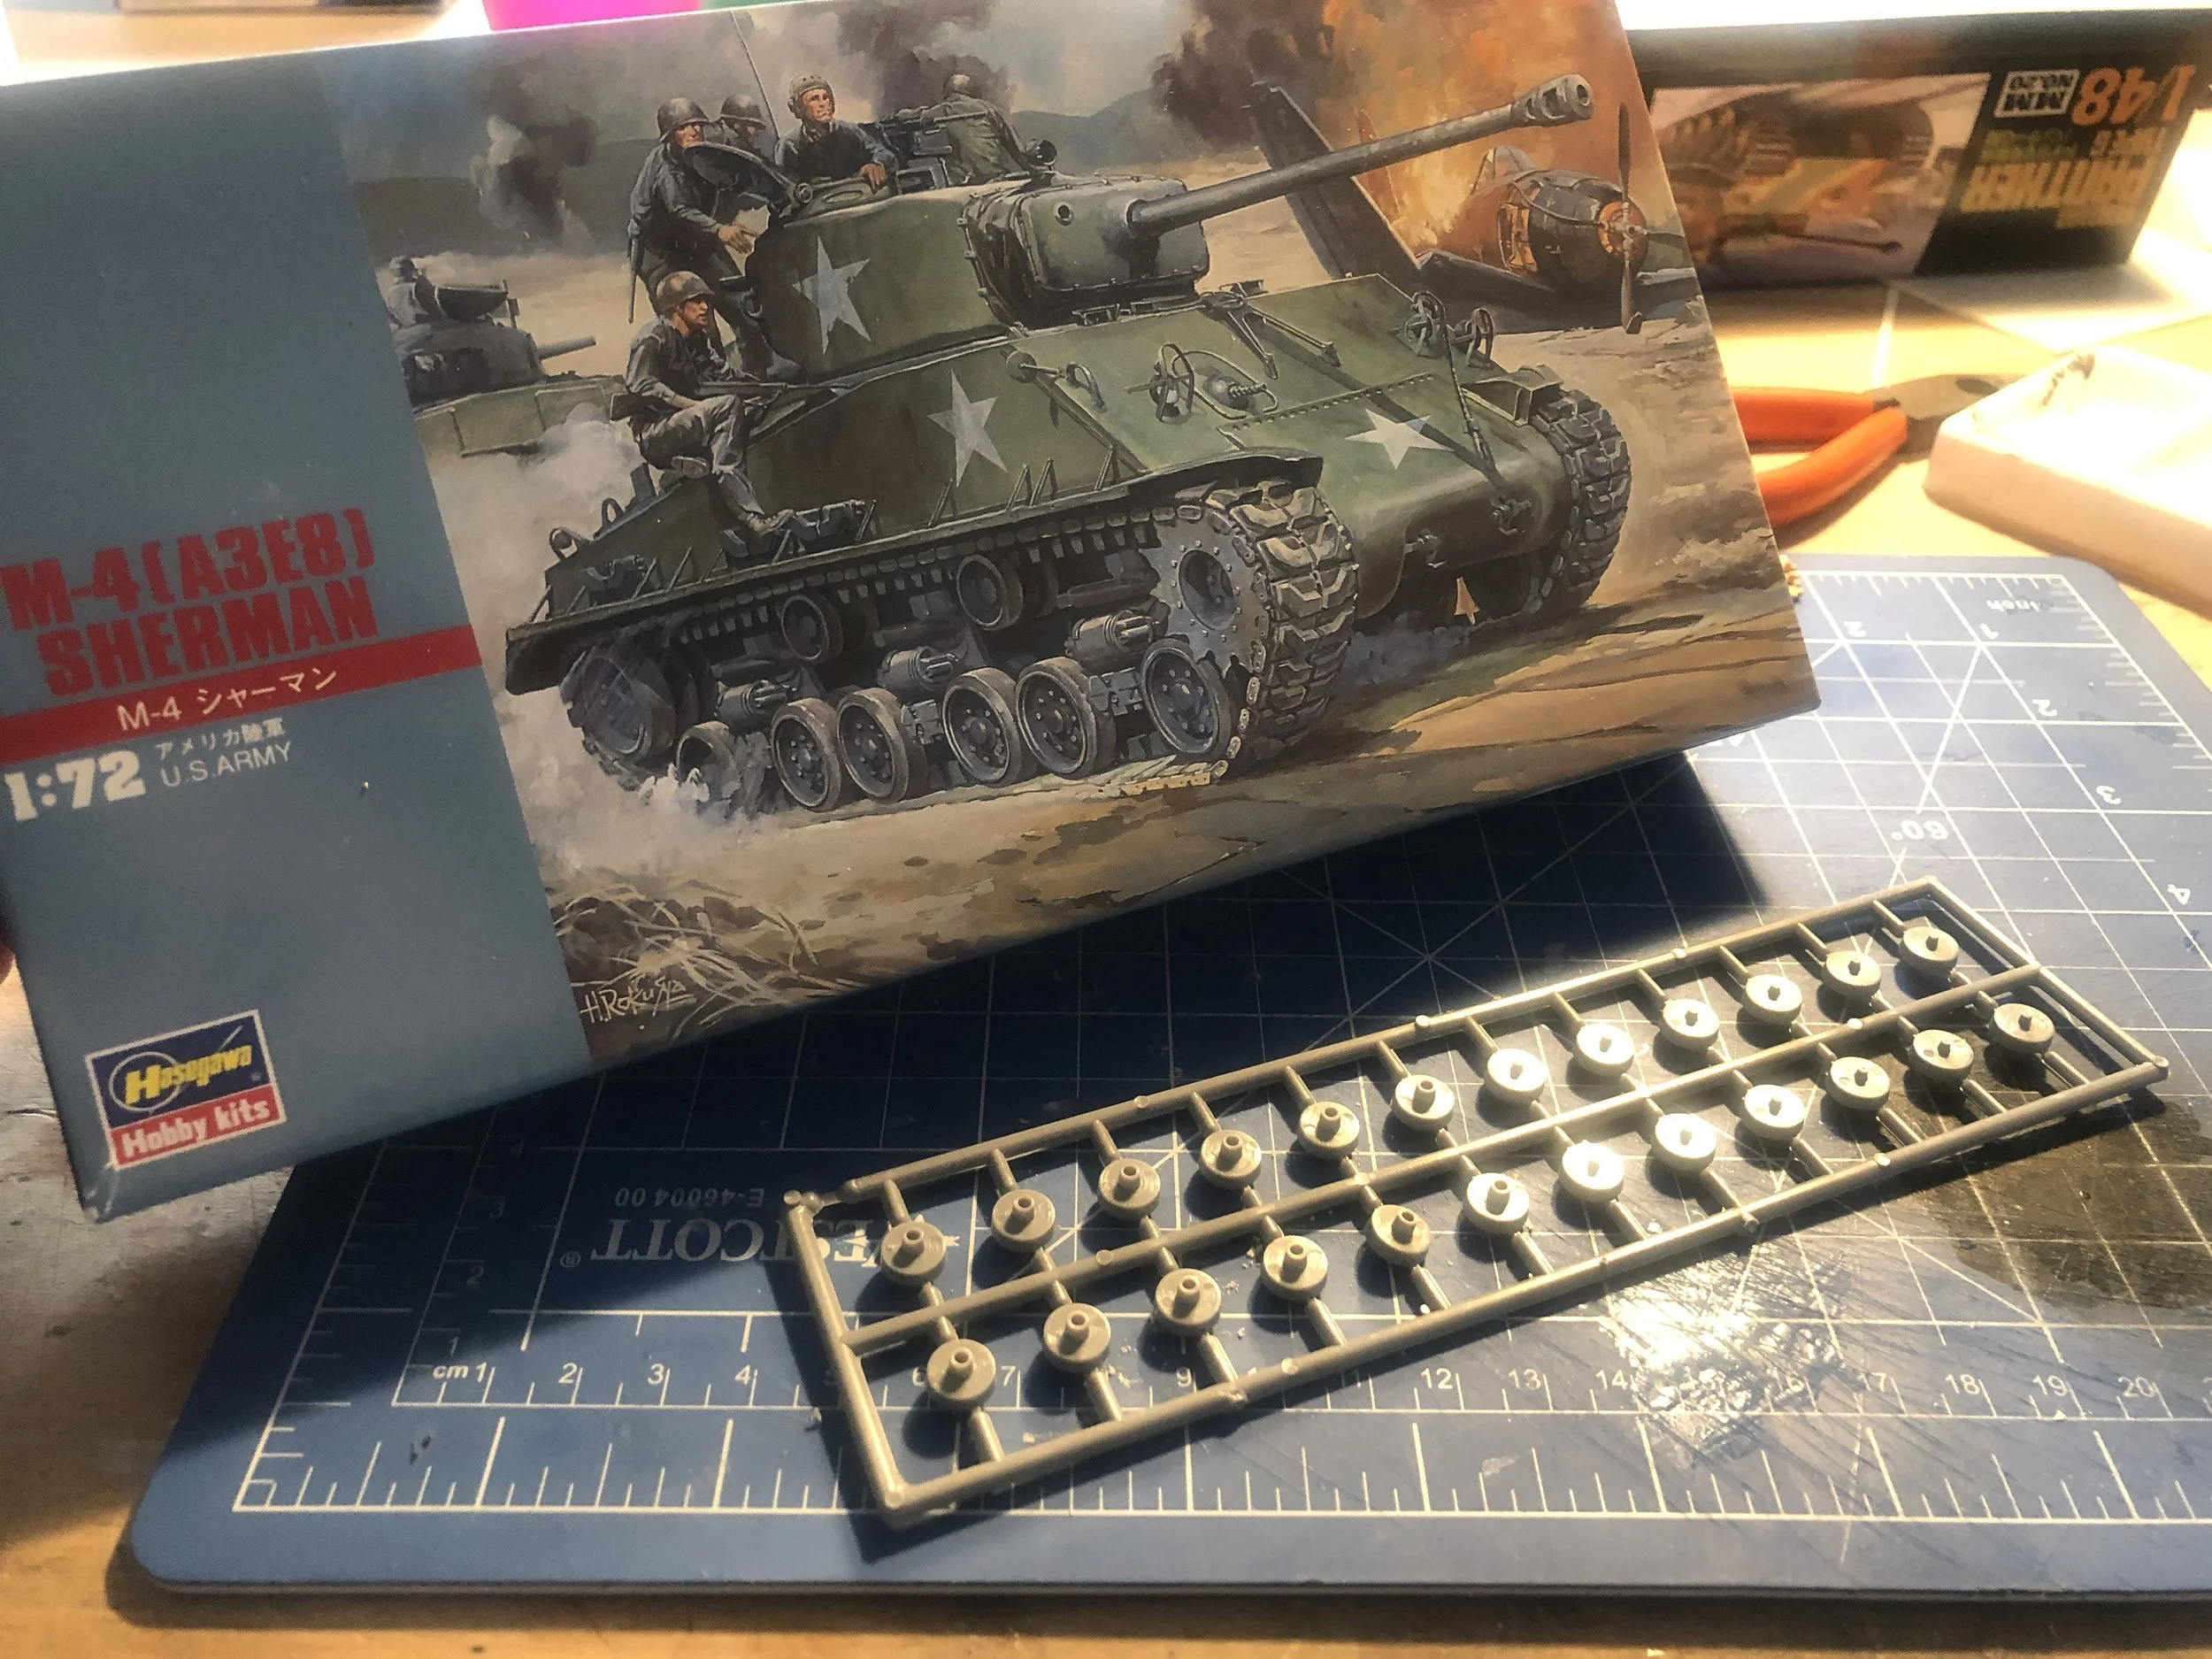
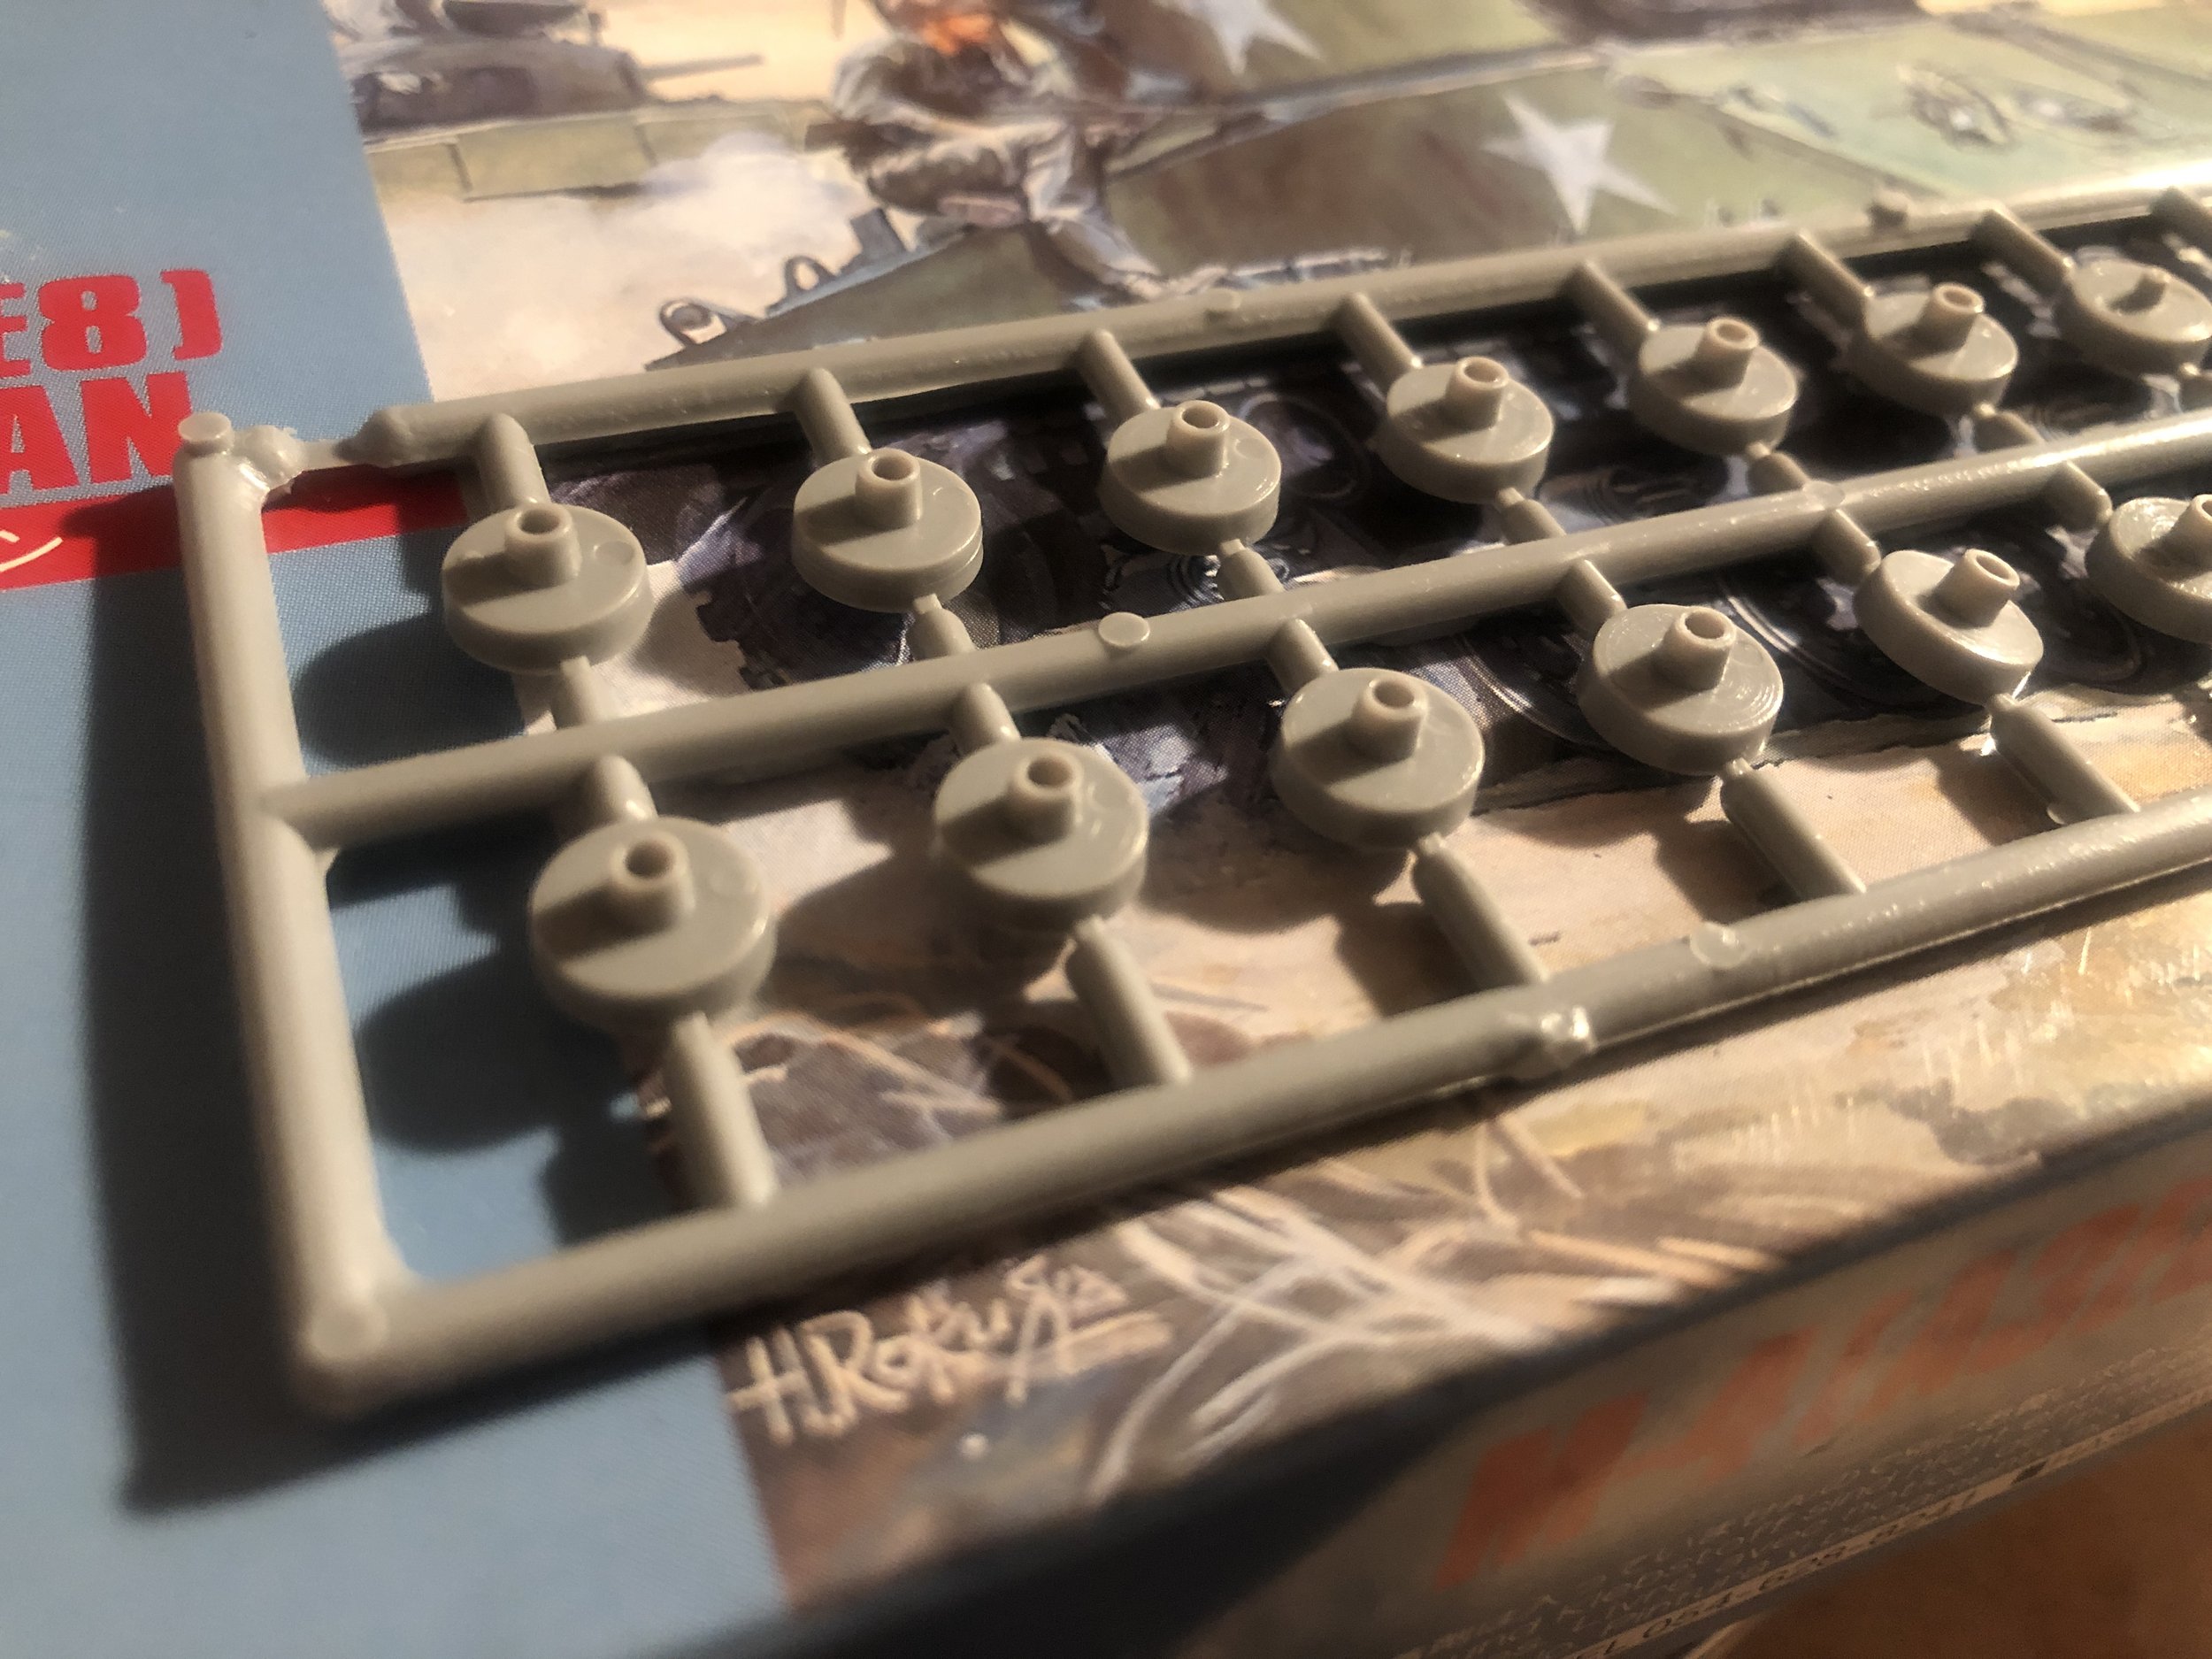
- M4 Sherman in 1:72
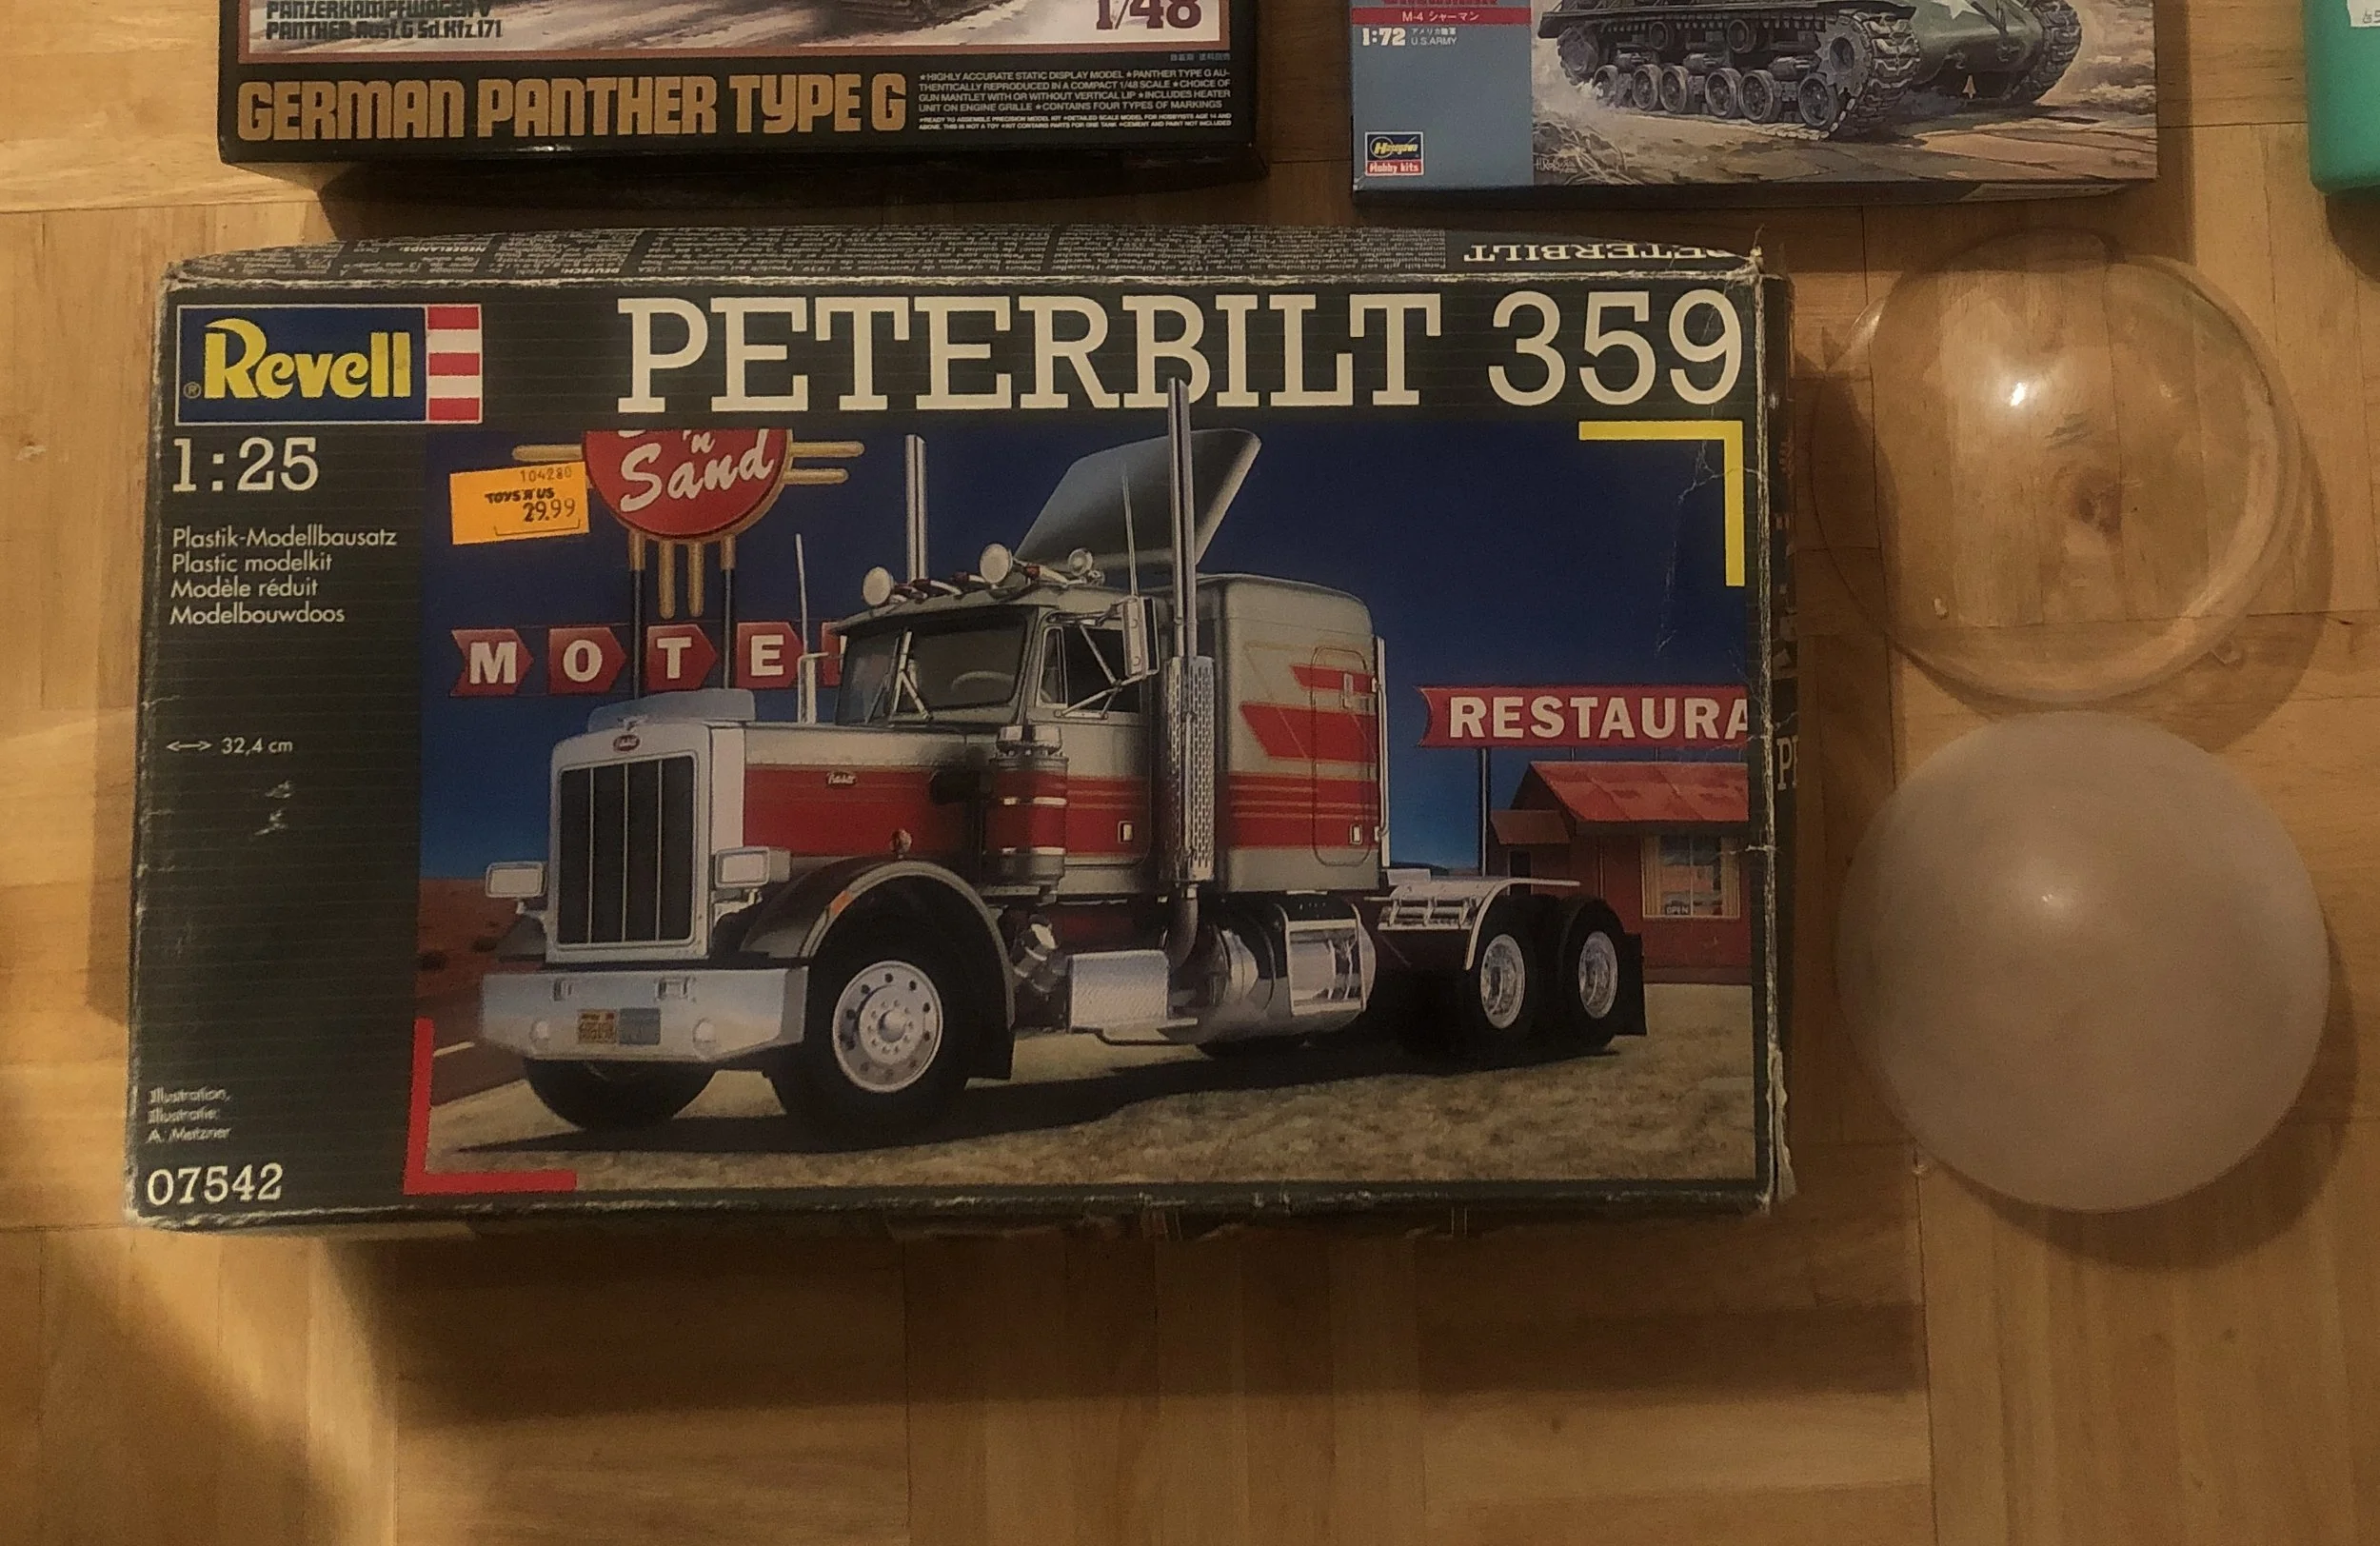
- chrome wheels of a Peterbilt truck in 1:25
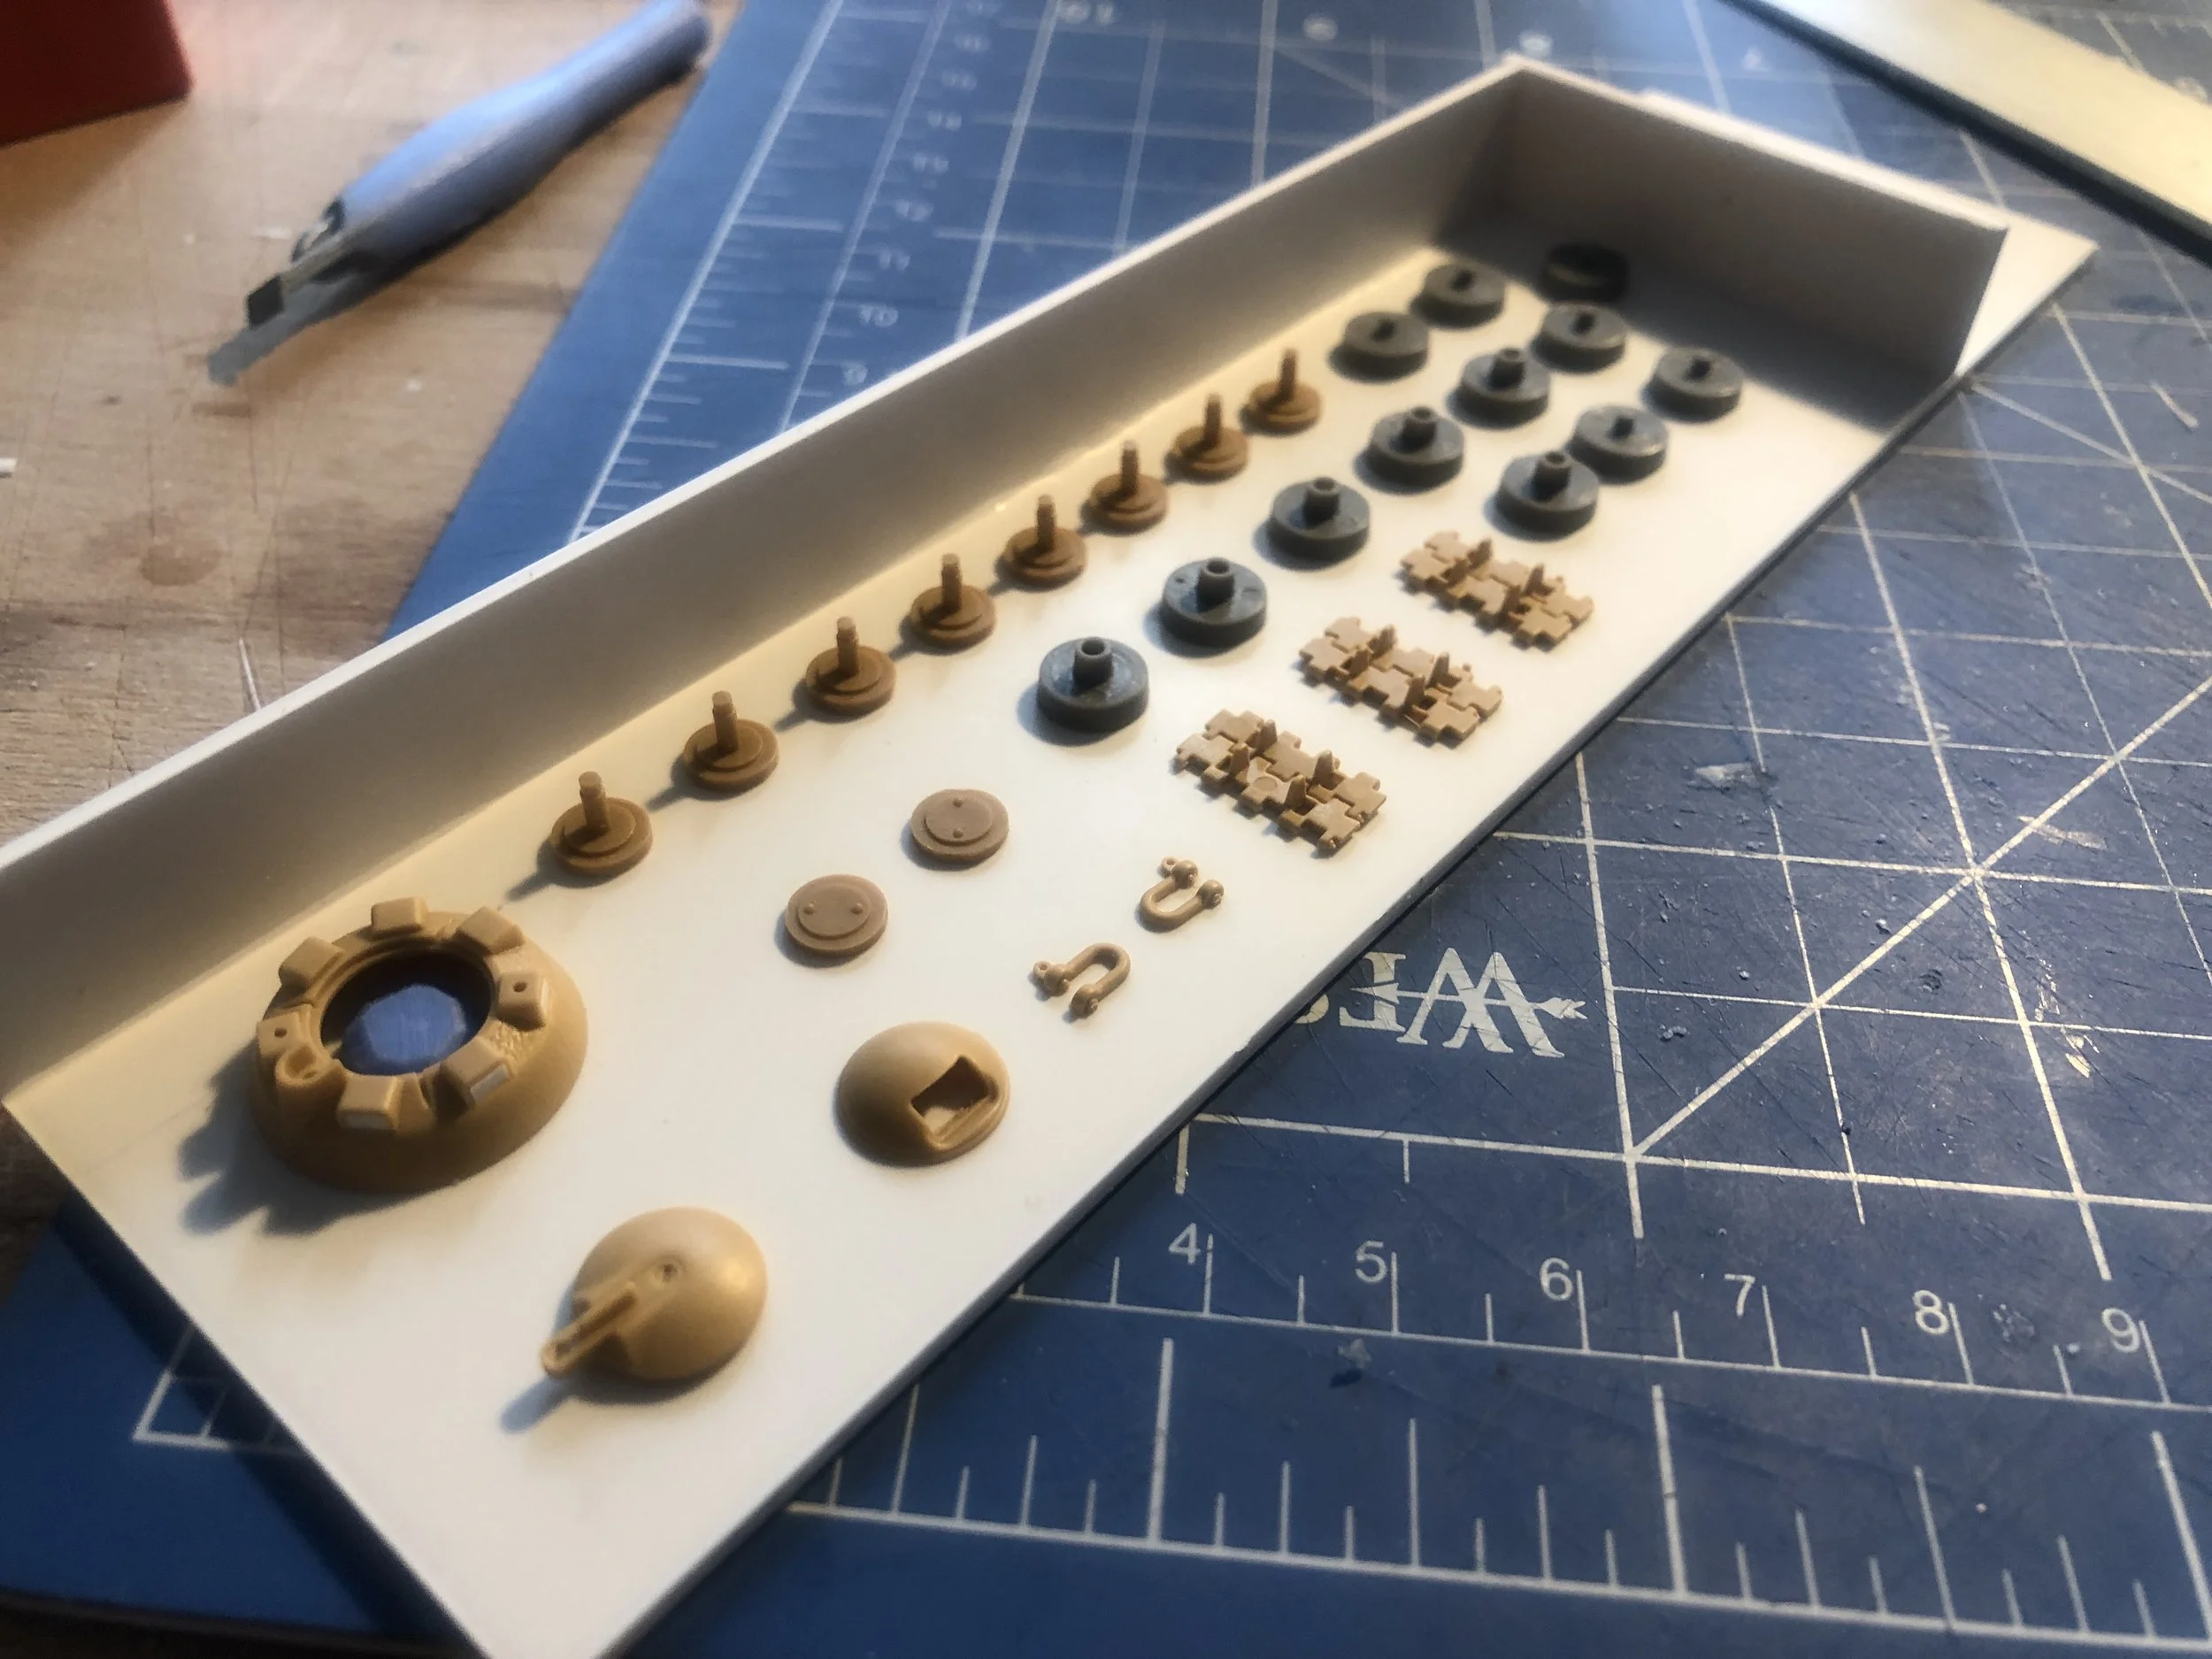
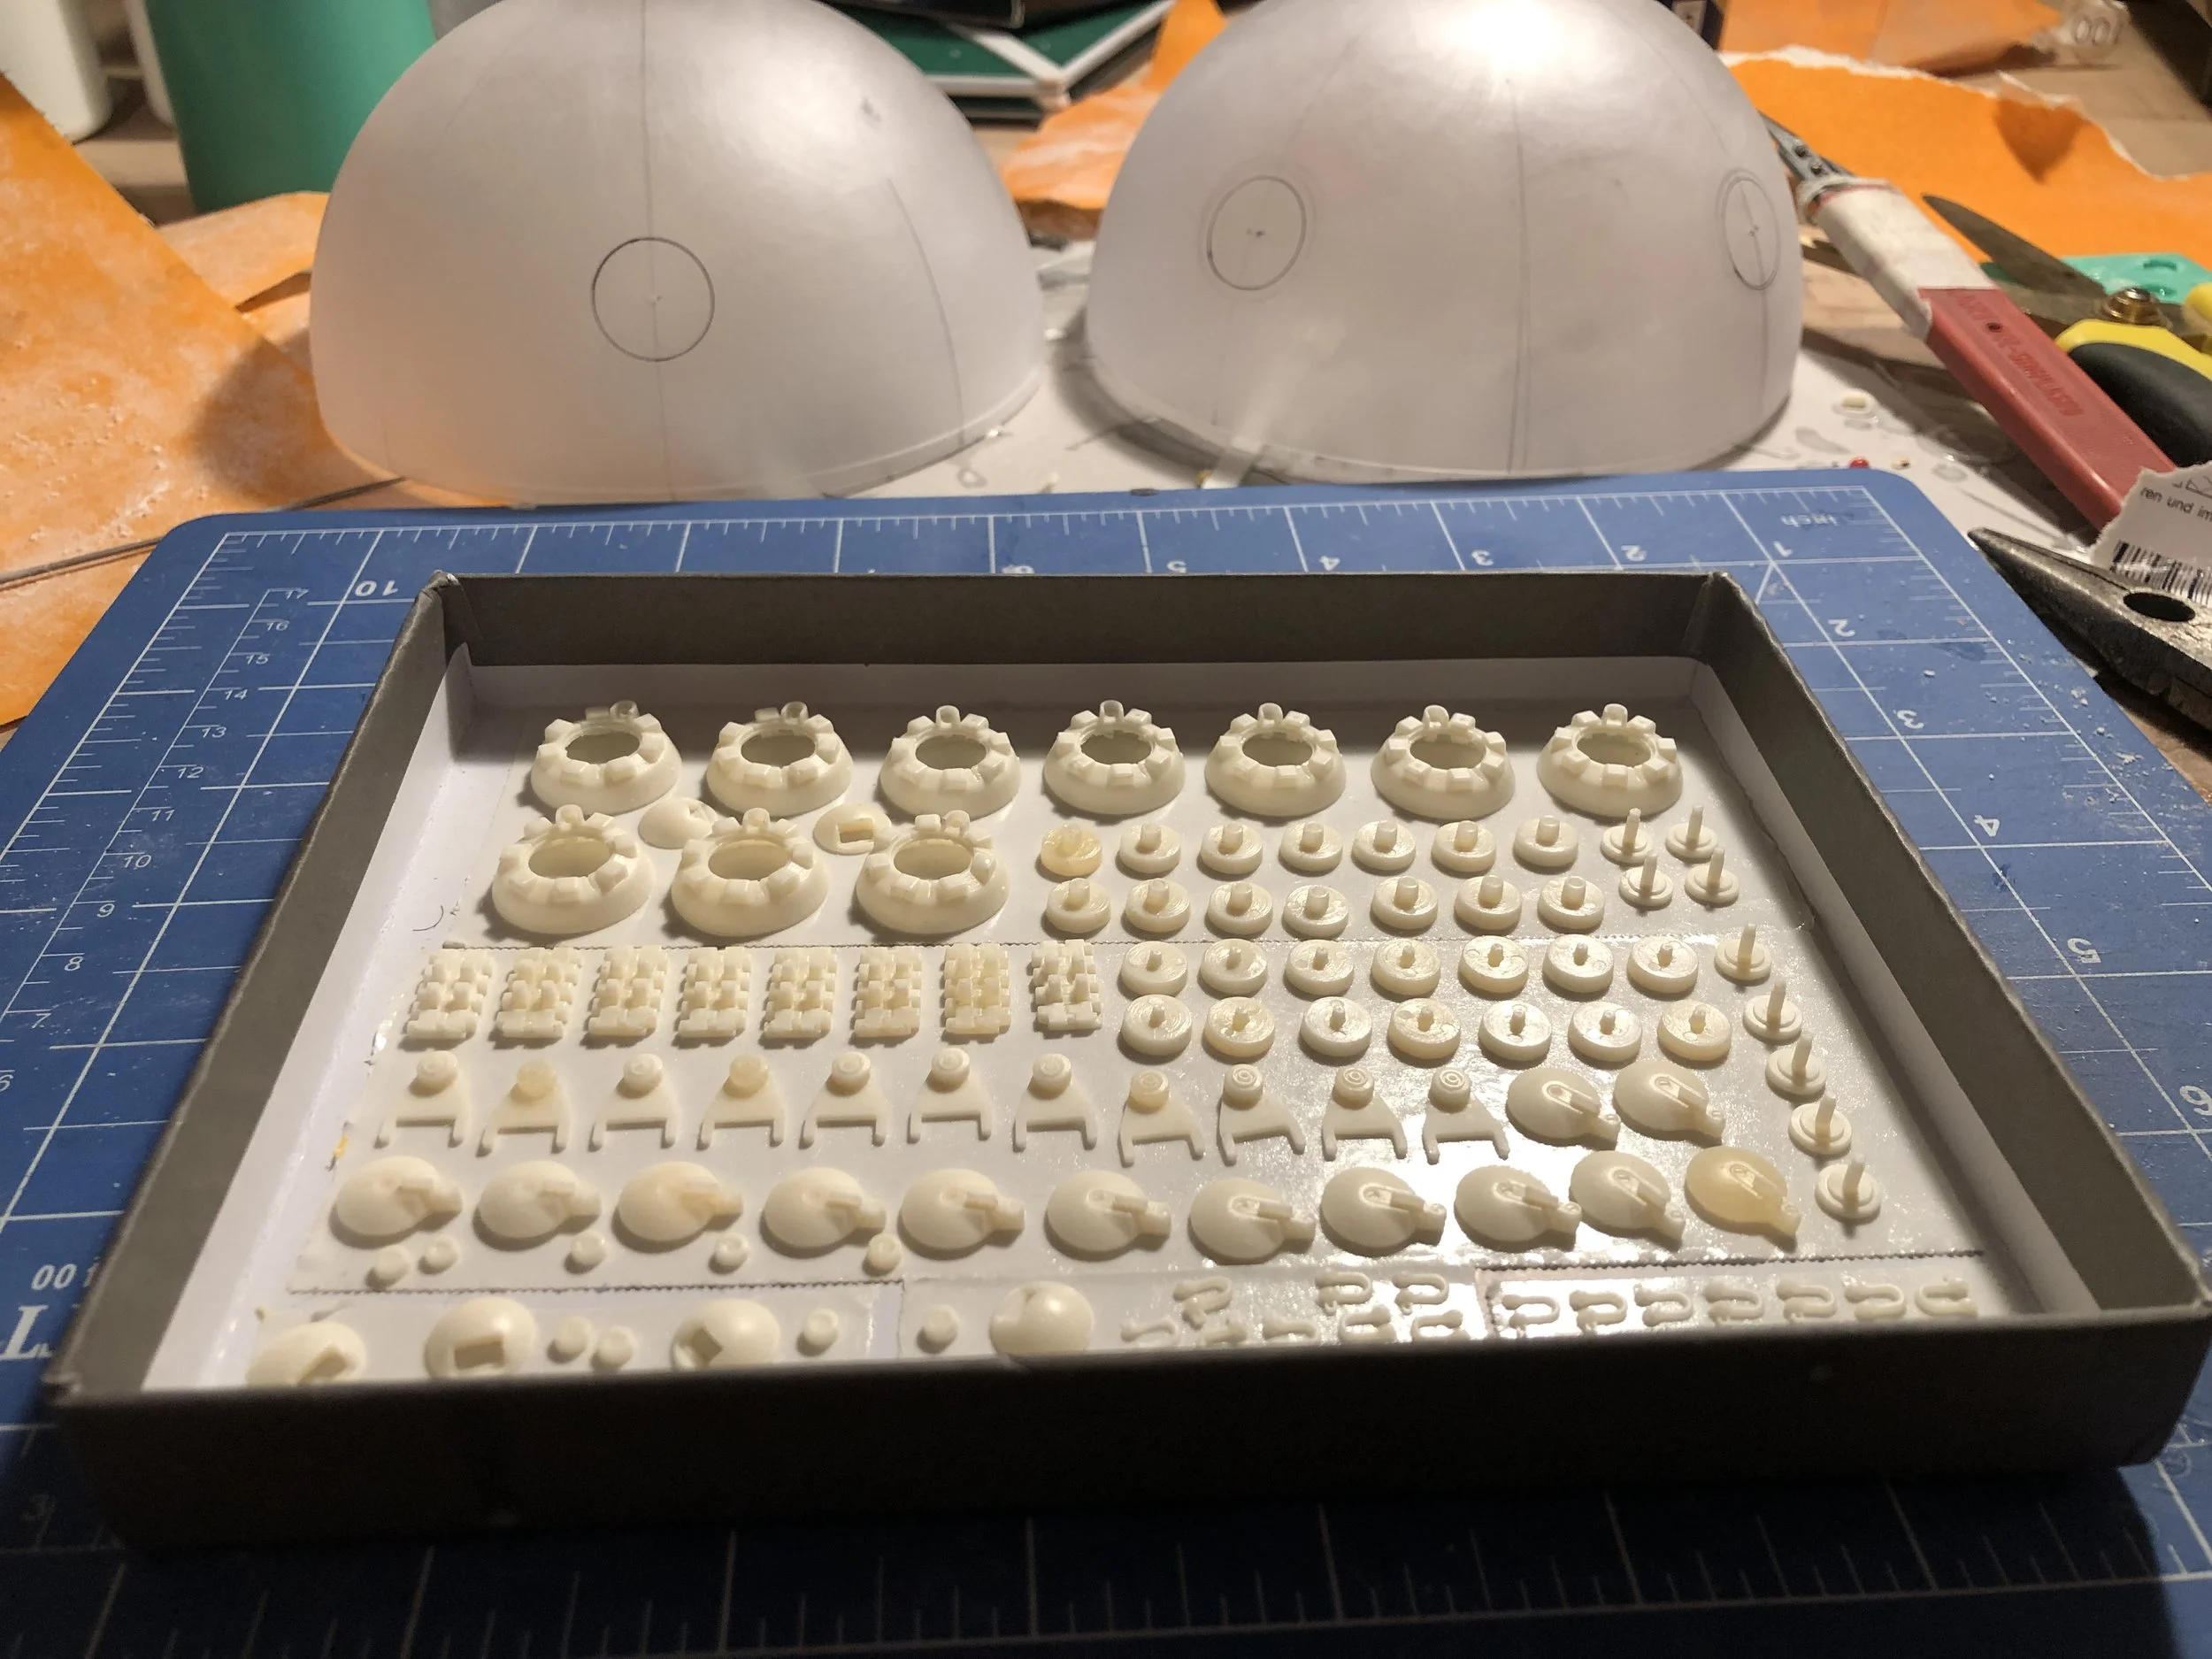
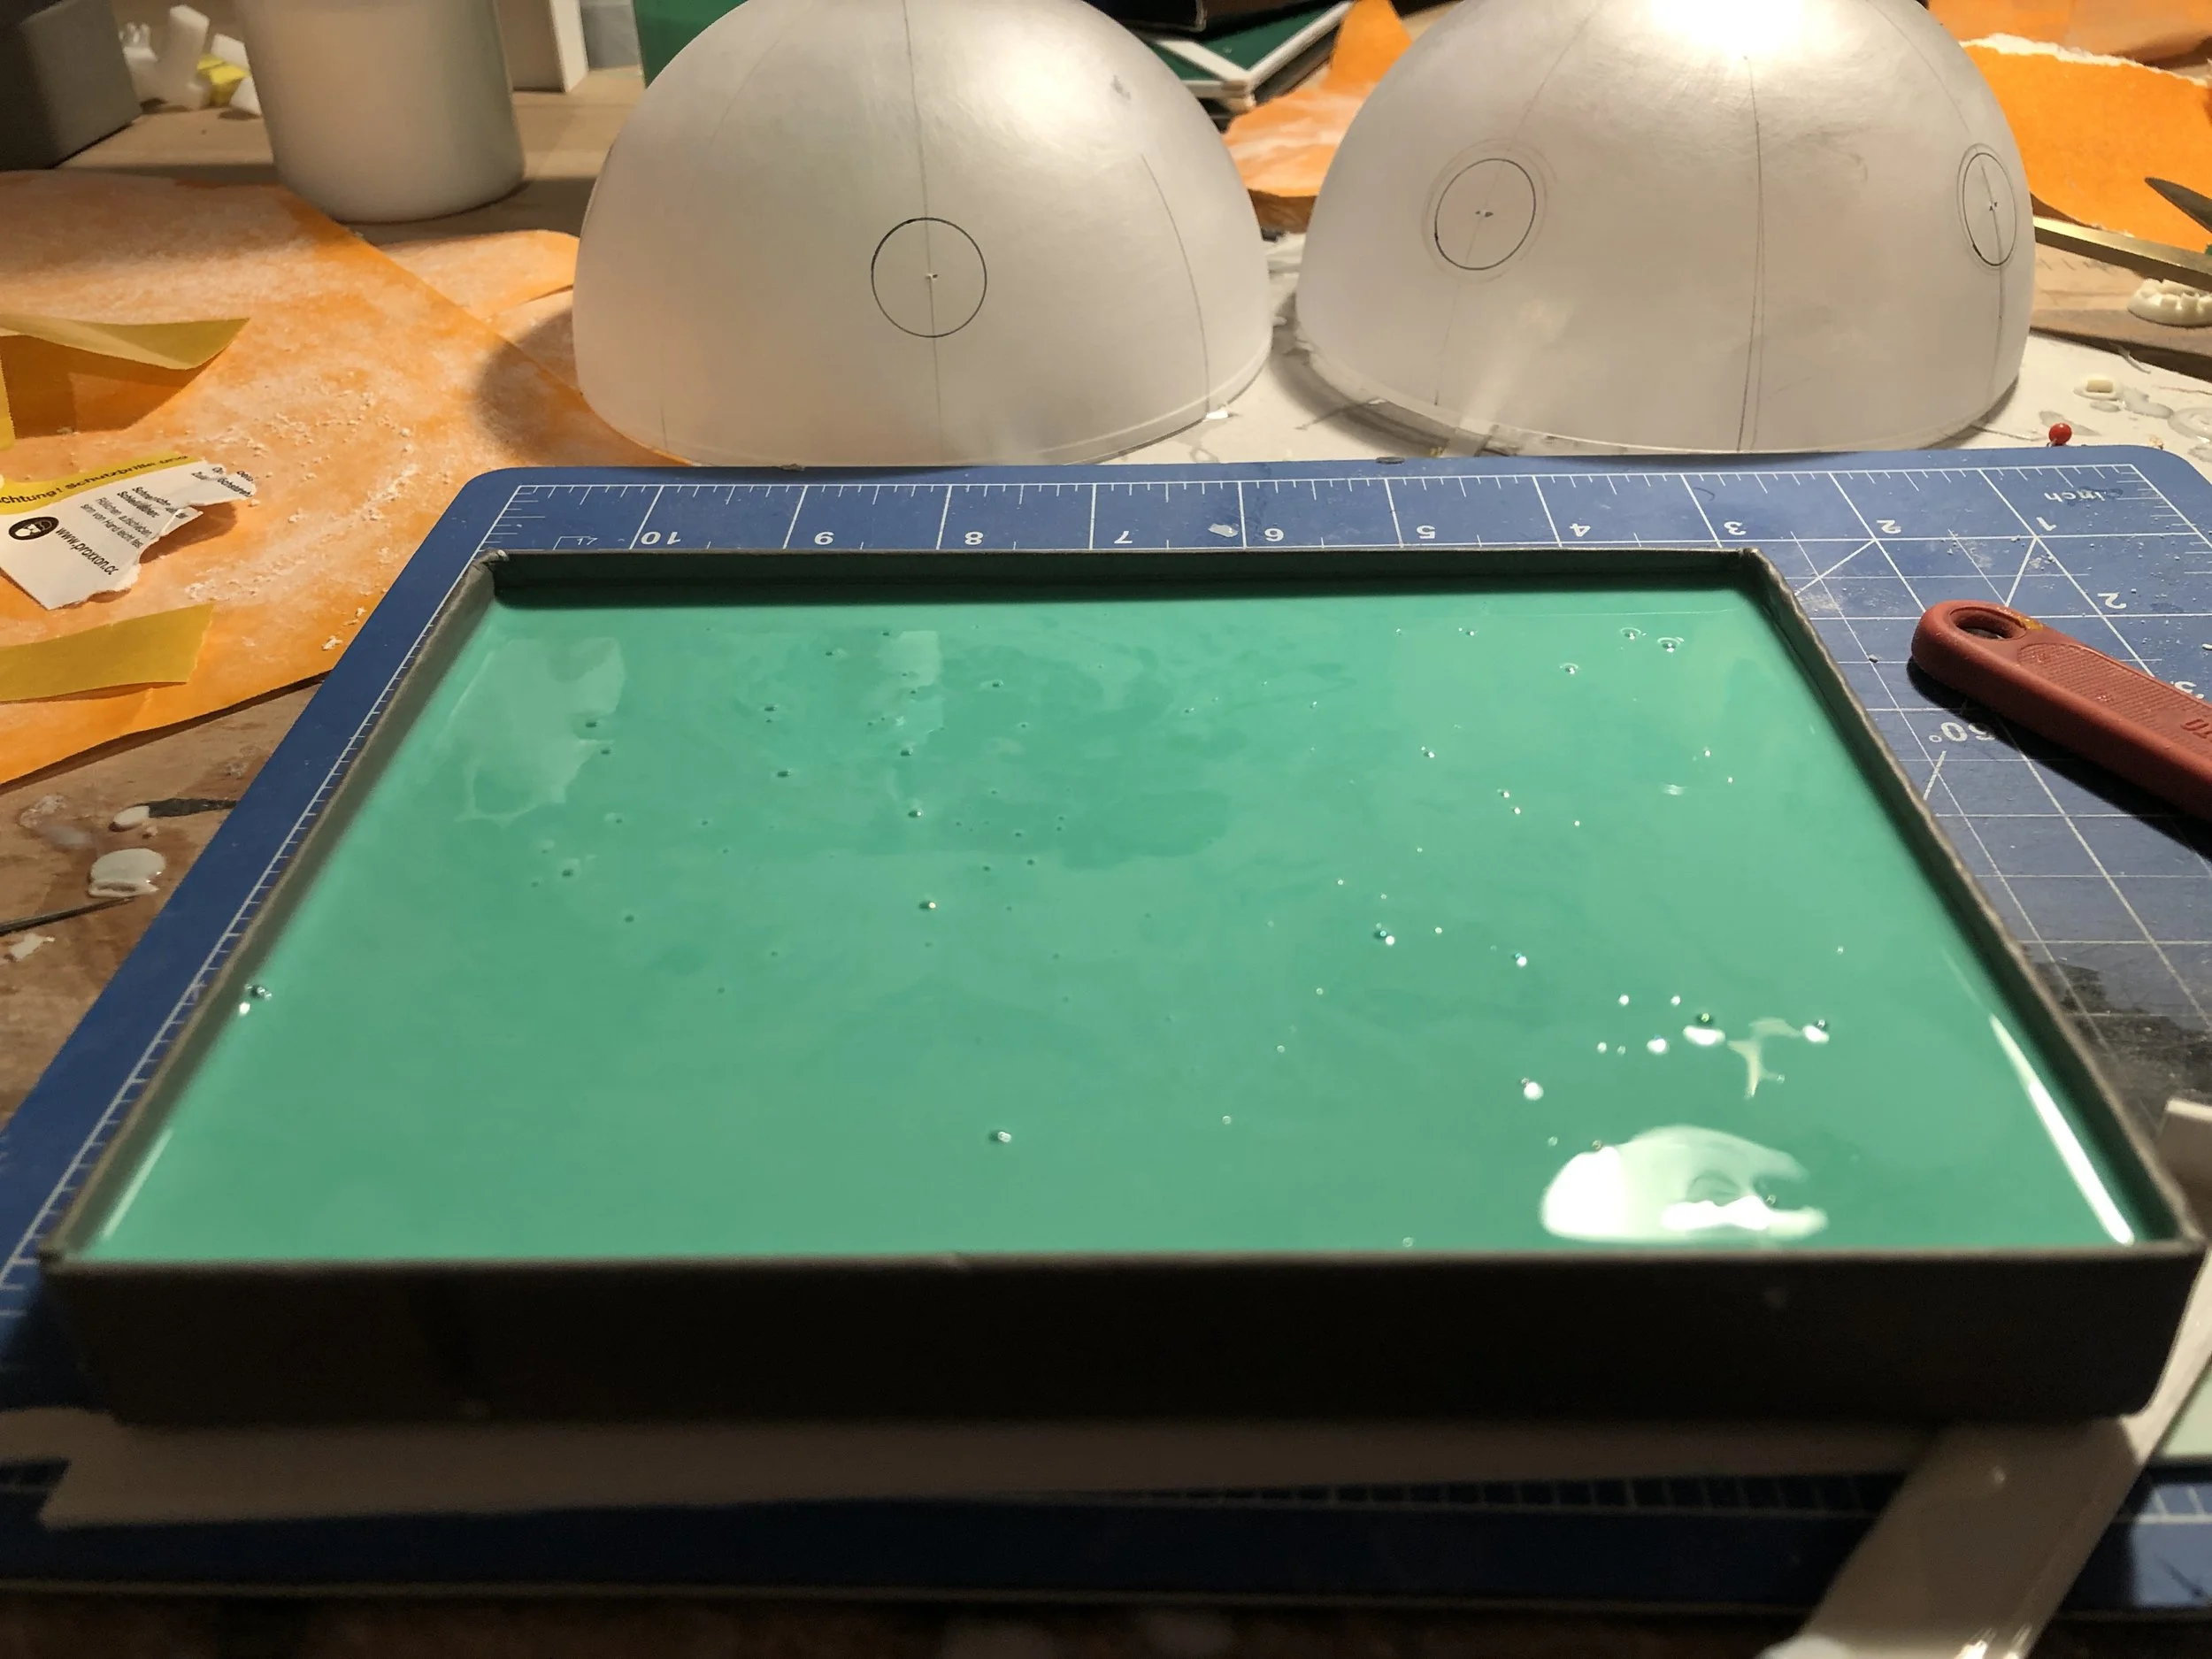
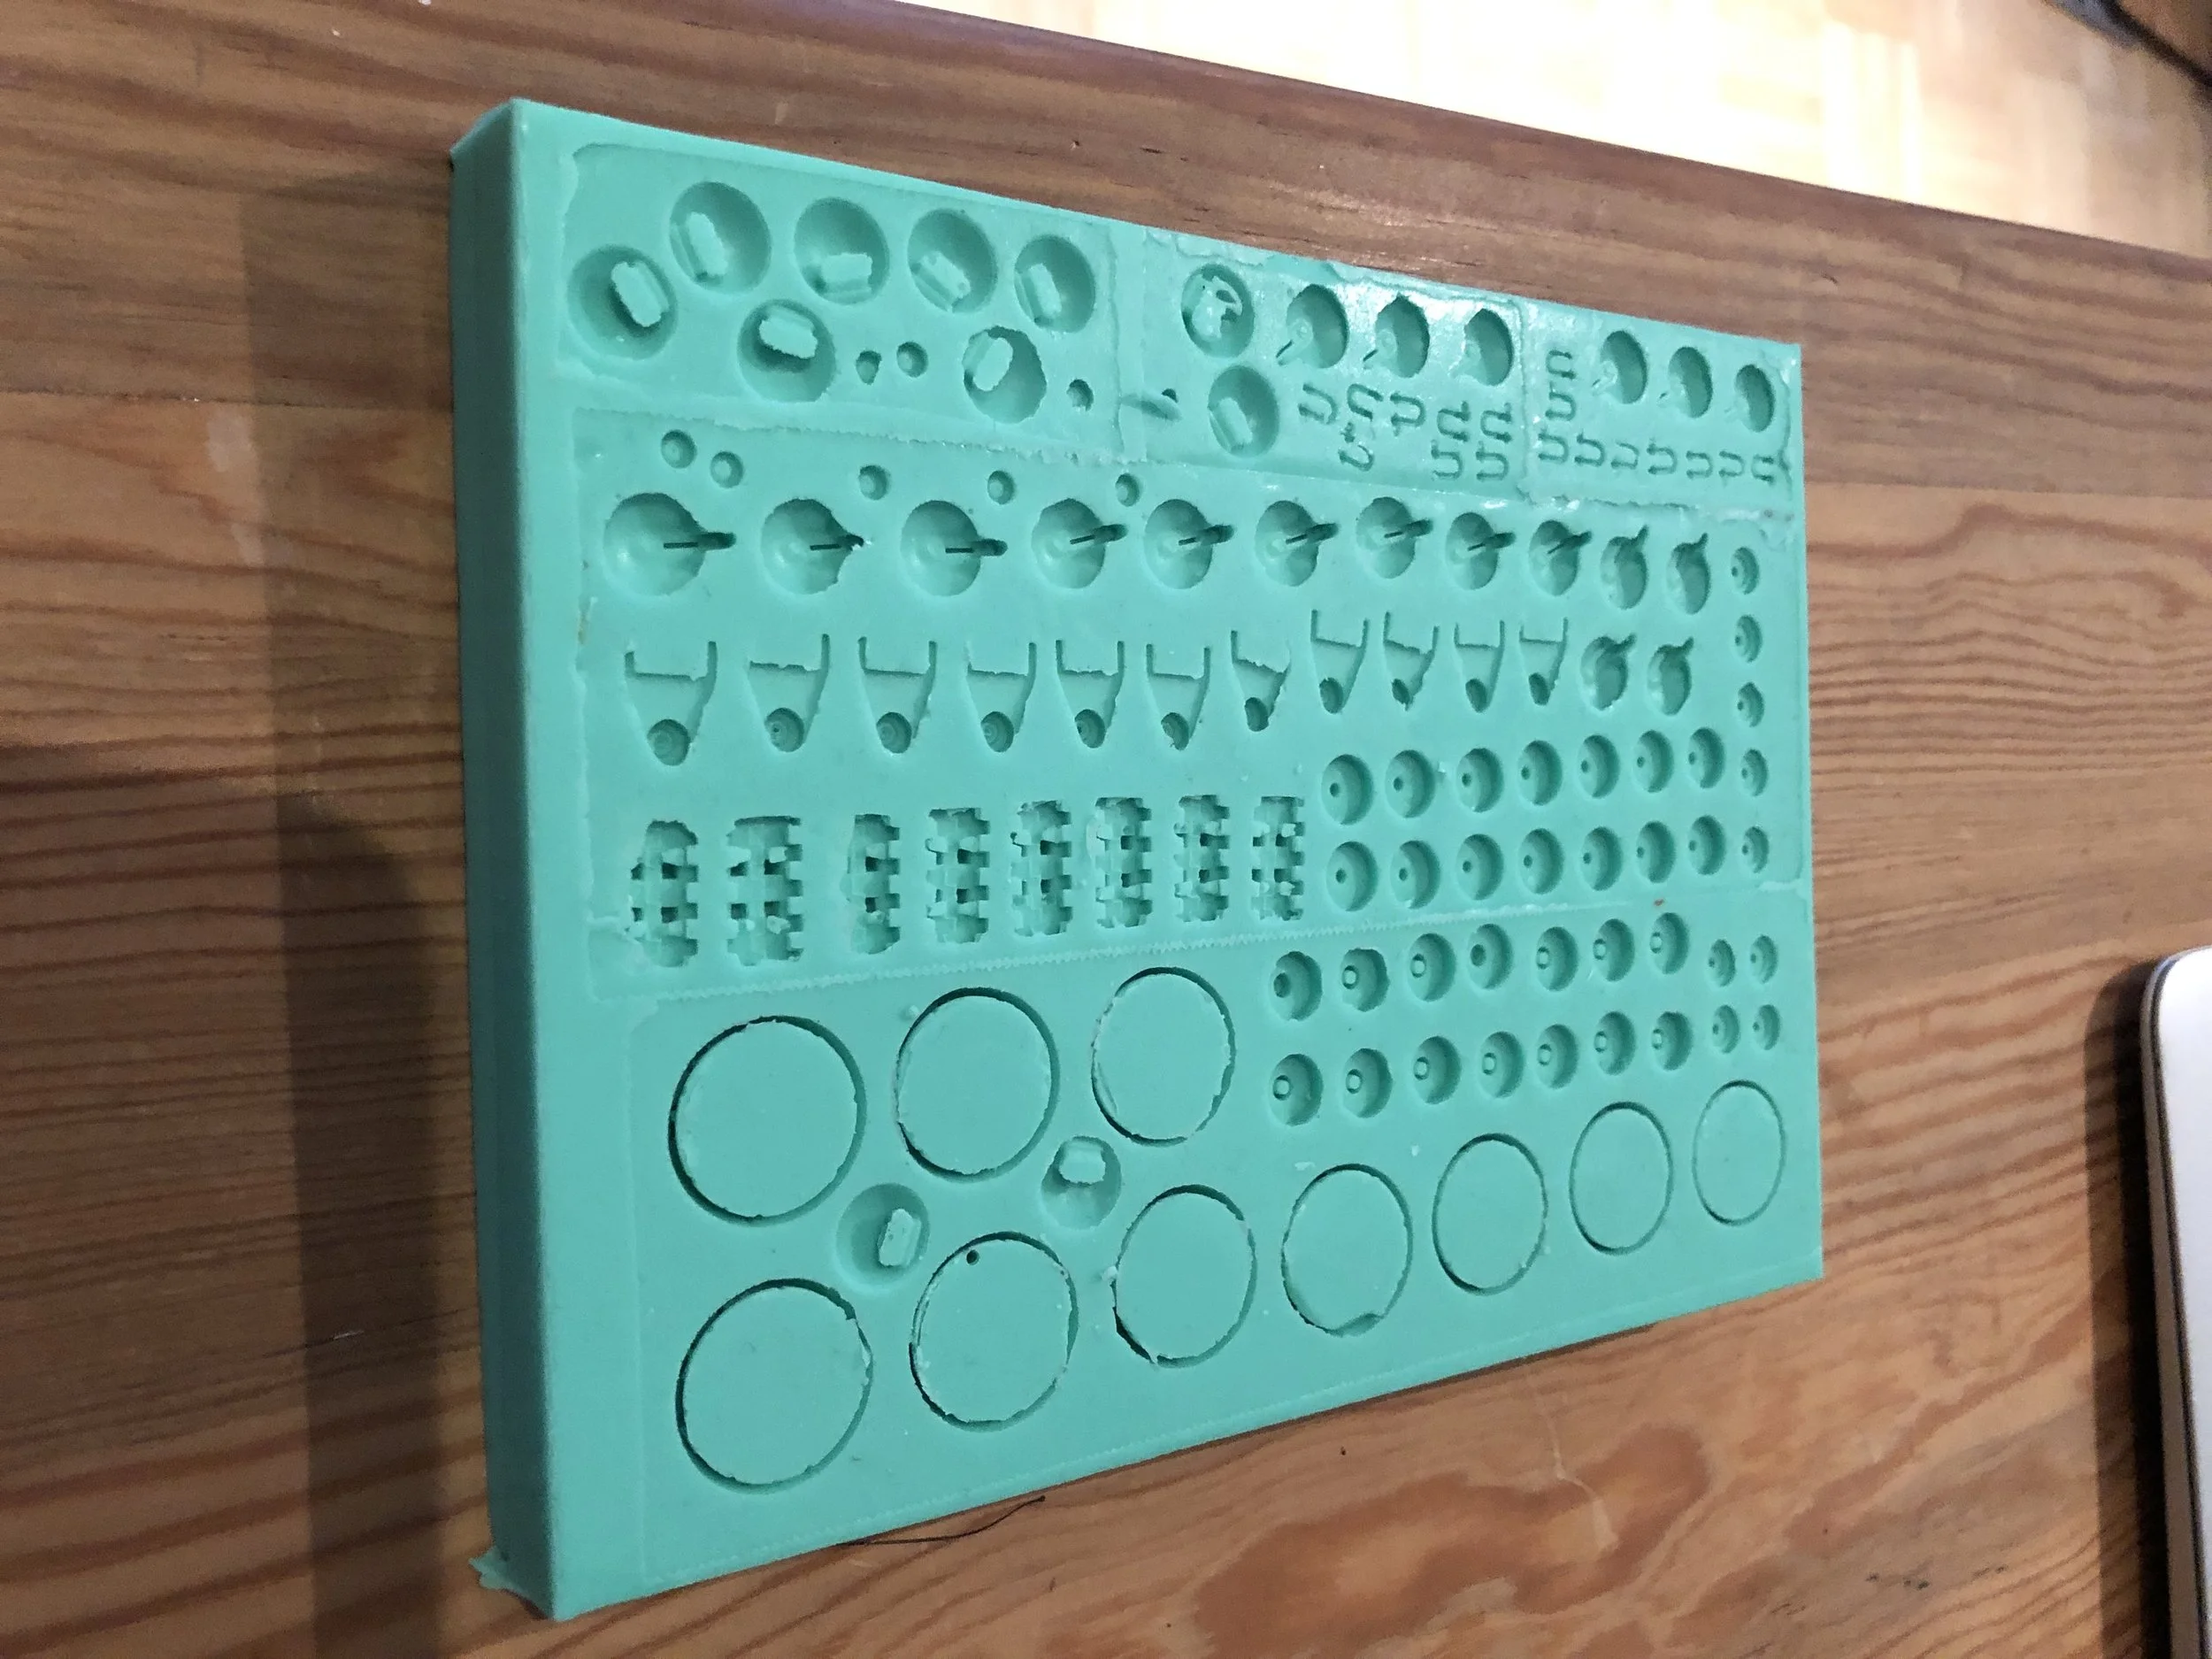
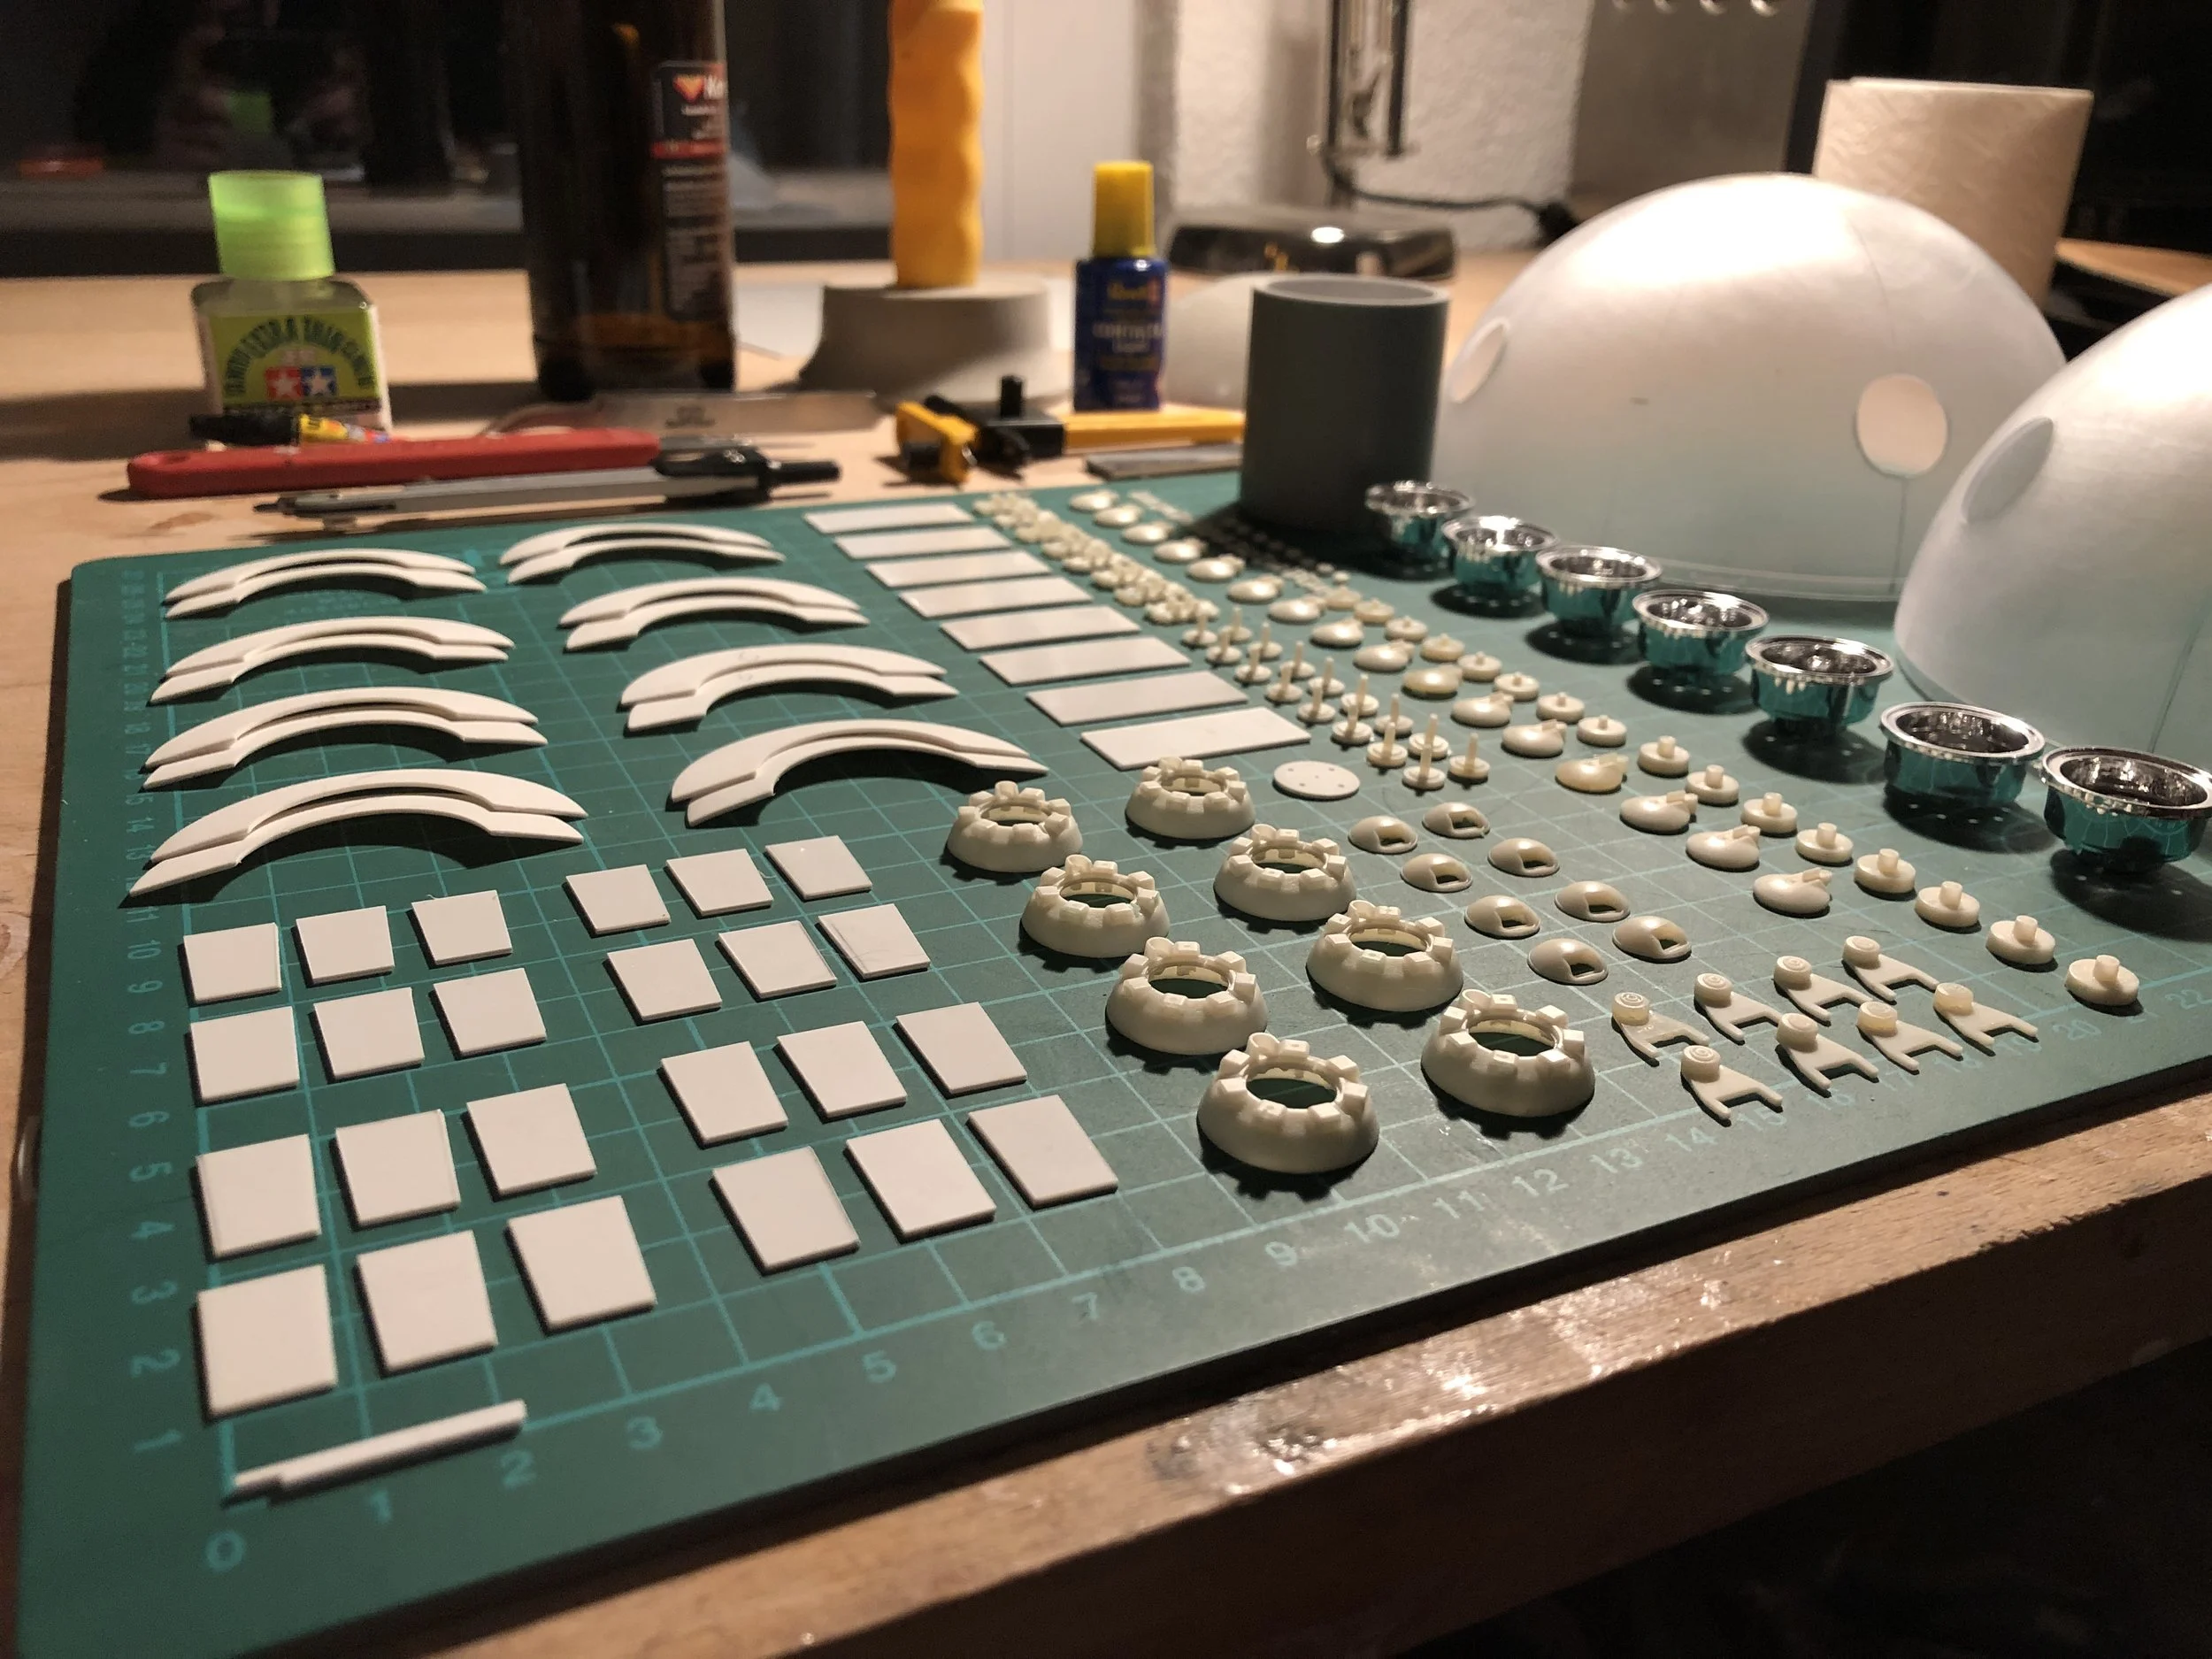
CASTING
The main problem was that from the German Panther Type G kit I only needed a single hatch — and that part appears only once per kit. Finding just one of those kits was already difficult (ordered from Poland), but I would have needed eight of them, because the hatch appears eight times on the Jedi remote. That would have exceeded both my time constraints and my budget. So it became clear that I had to make molds and cast the parts myself.I taught myself how to create molds and casts, and repeated the process until I had all the required parts. After that, I made a complete mold of all the necessary components. This worked surprisingly well — and that’s where I really started to enjoy the process.
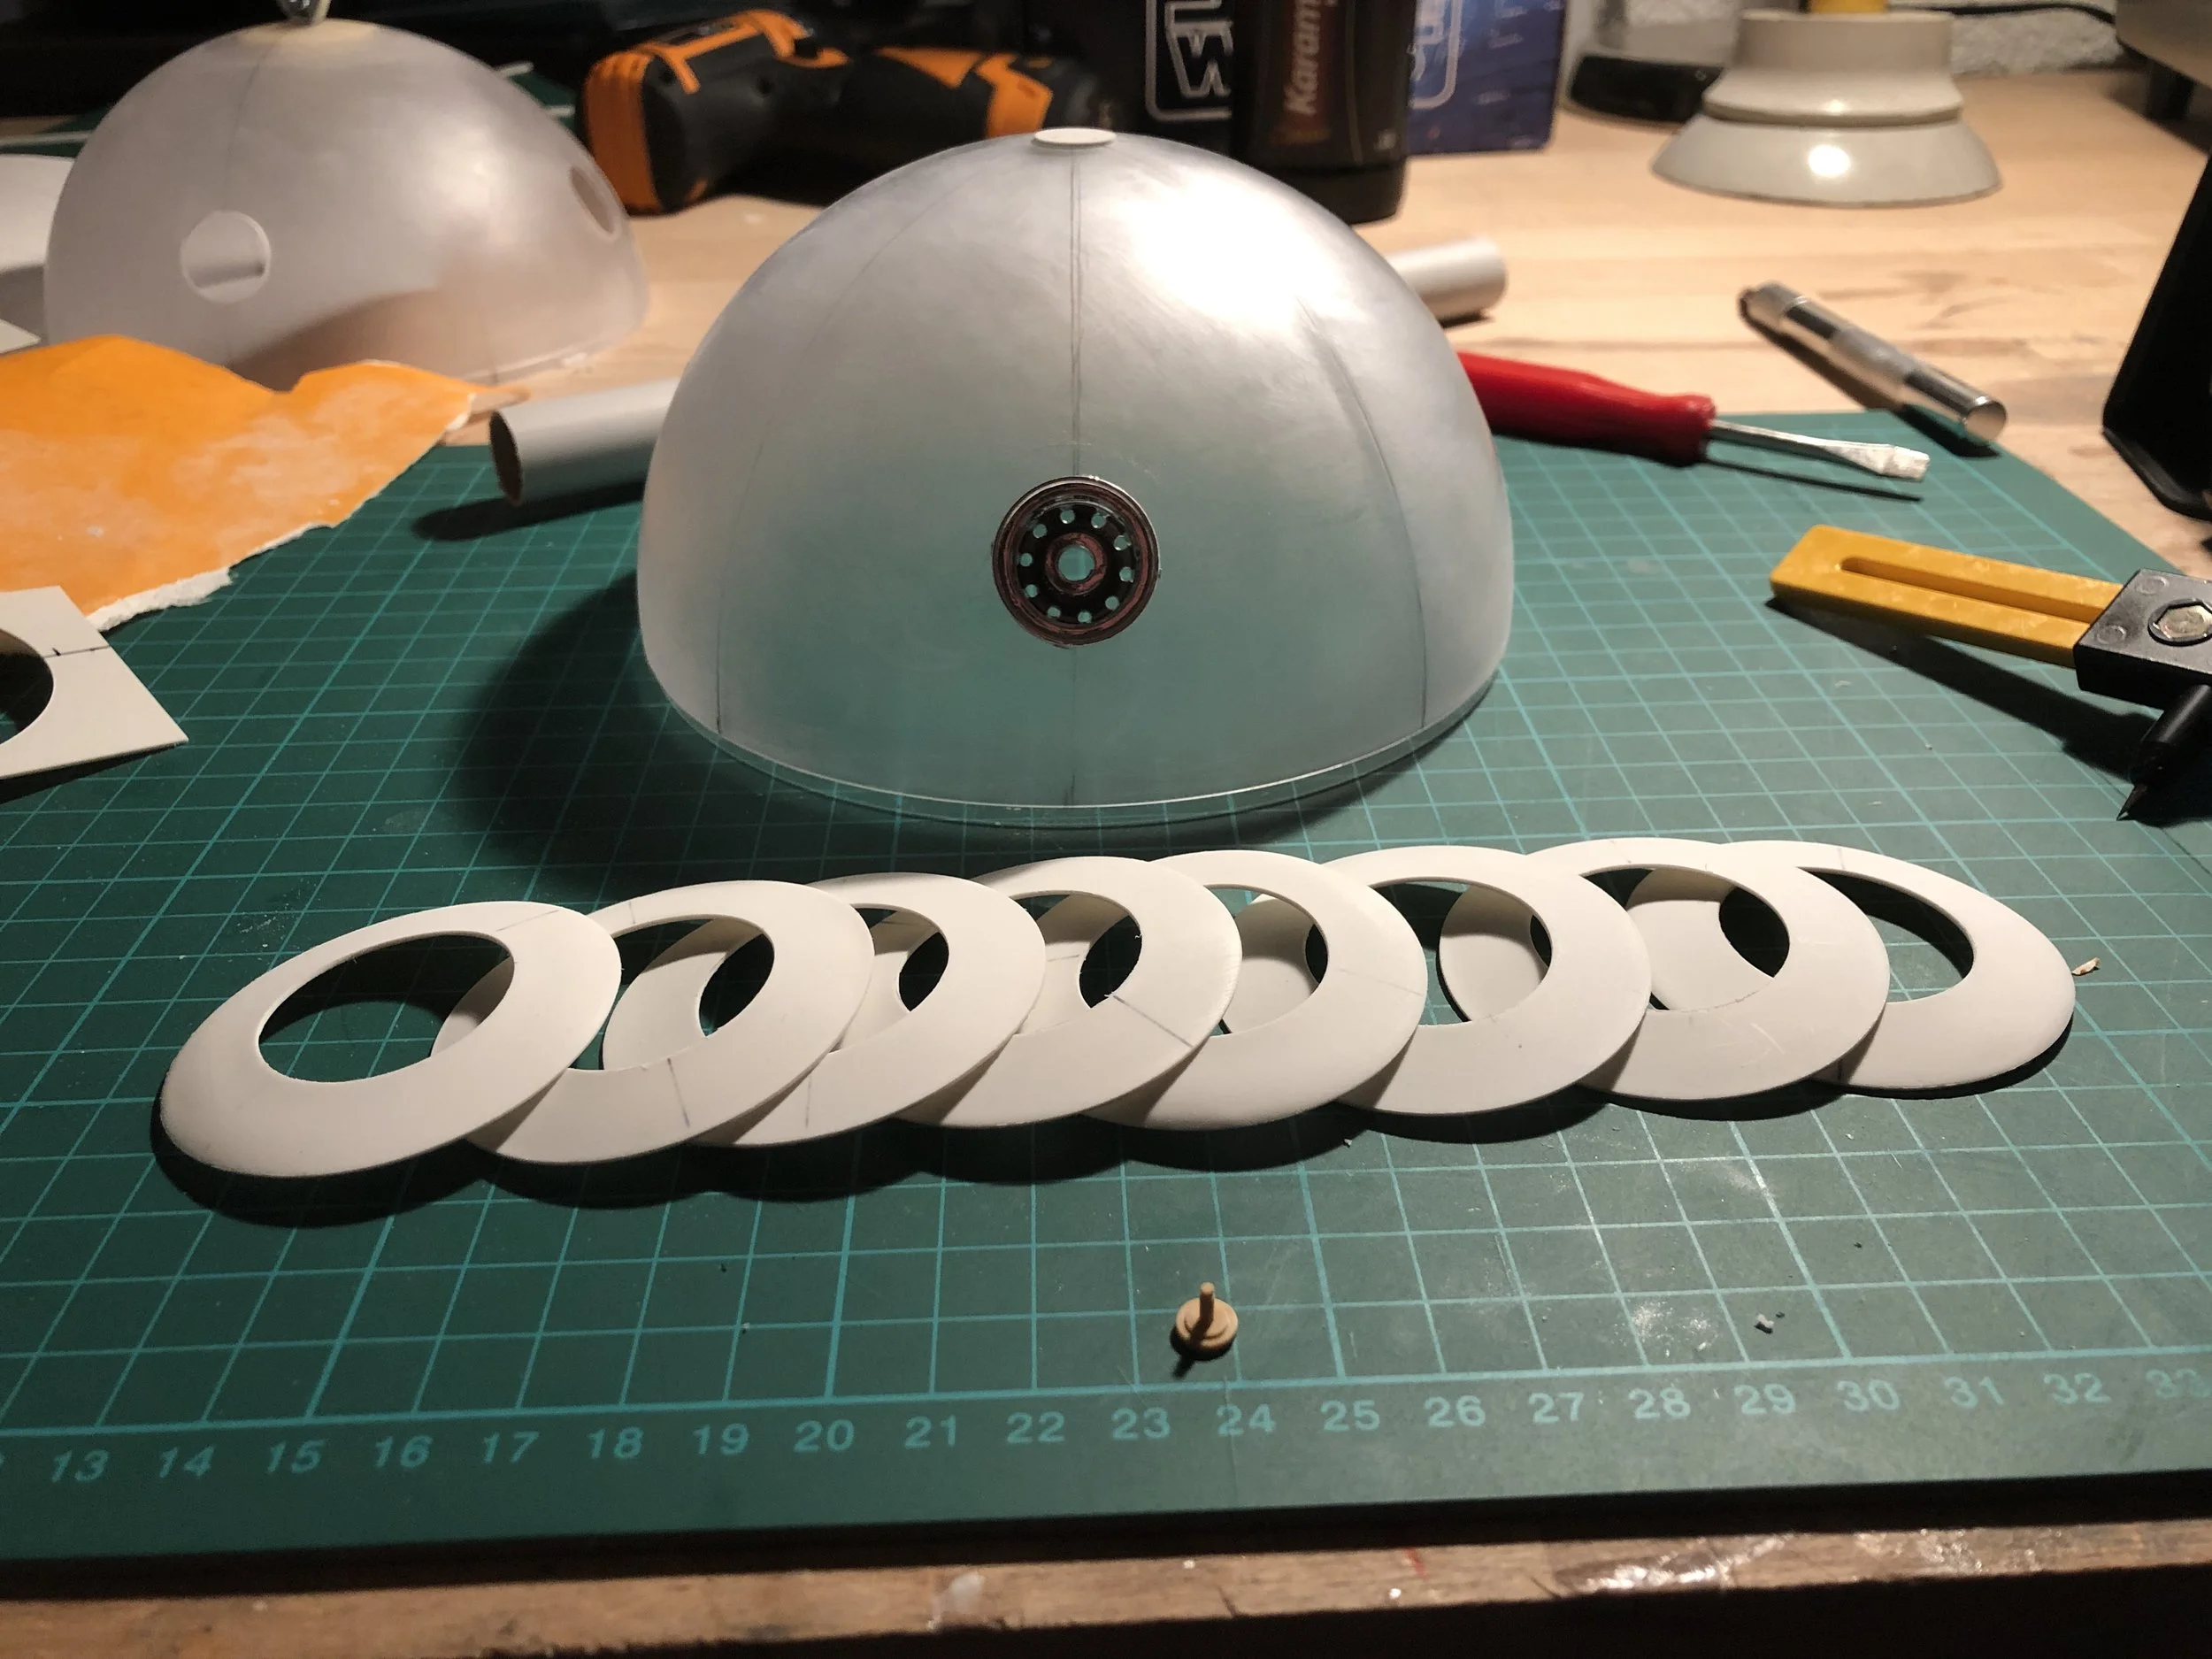
FORMING POLYSTYRENE
Finding a plastic sphere with the correct diameter was challenging, but not impossible. The 3M reflective tape used inside the chrome wheels was also relatively easy to source. The real challenge, however, turned out to be the chrome rims themselves. One kit technically contains enough wheels for a single remote, but I contacted Revell to ask whether the rims could be purchased separately — and to my surprise, they were able to supply them in the correct scale.
Another issue was the semicircular strips around the openings of the Peterbilt rims. Trying to glue flat, two-dimensional strips onto a spherical surface simply doesn’t work. So I had to cut them flat and two-dimensionally first, and then form them into the spherical shape.
Vacuum forming would have been an option, but it would have been far too much effort — even if I had access to a (at least improvised) vacuum former. Since the radius was relatively large, the material didn’t need to be deformed very much.
I therefore cast a forming tool out of concrete: one convex side and one concave side. I heated the polystyrene and then pressed it between the two halves. Surprisingly, the material retained the shape well enough that I could glue it on without any problems. It was perfect.
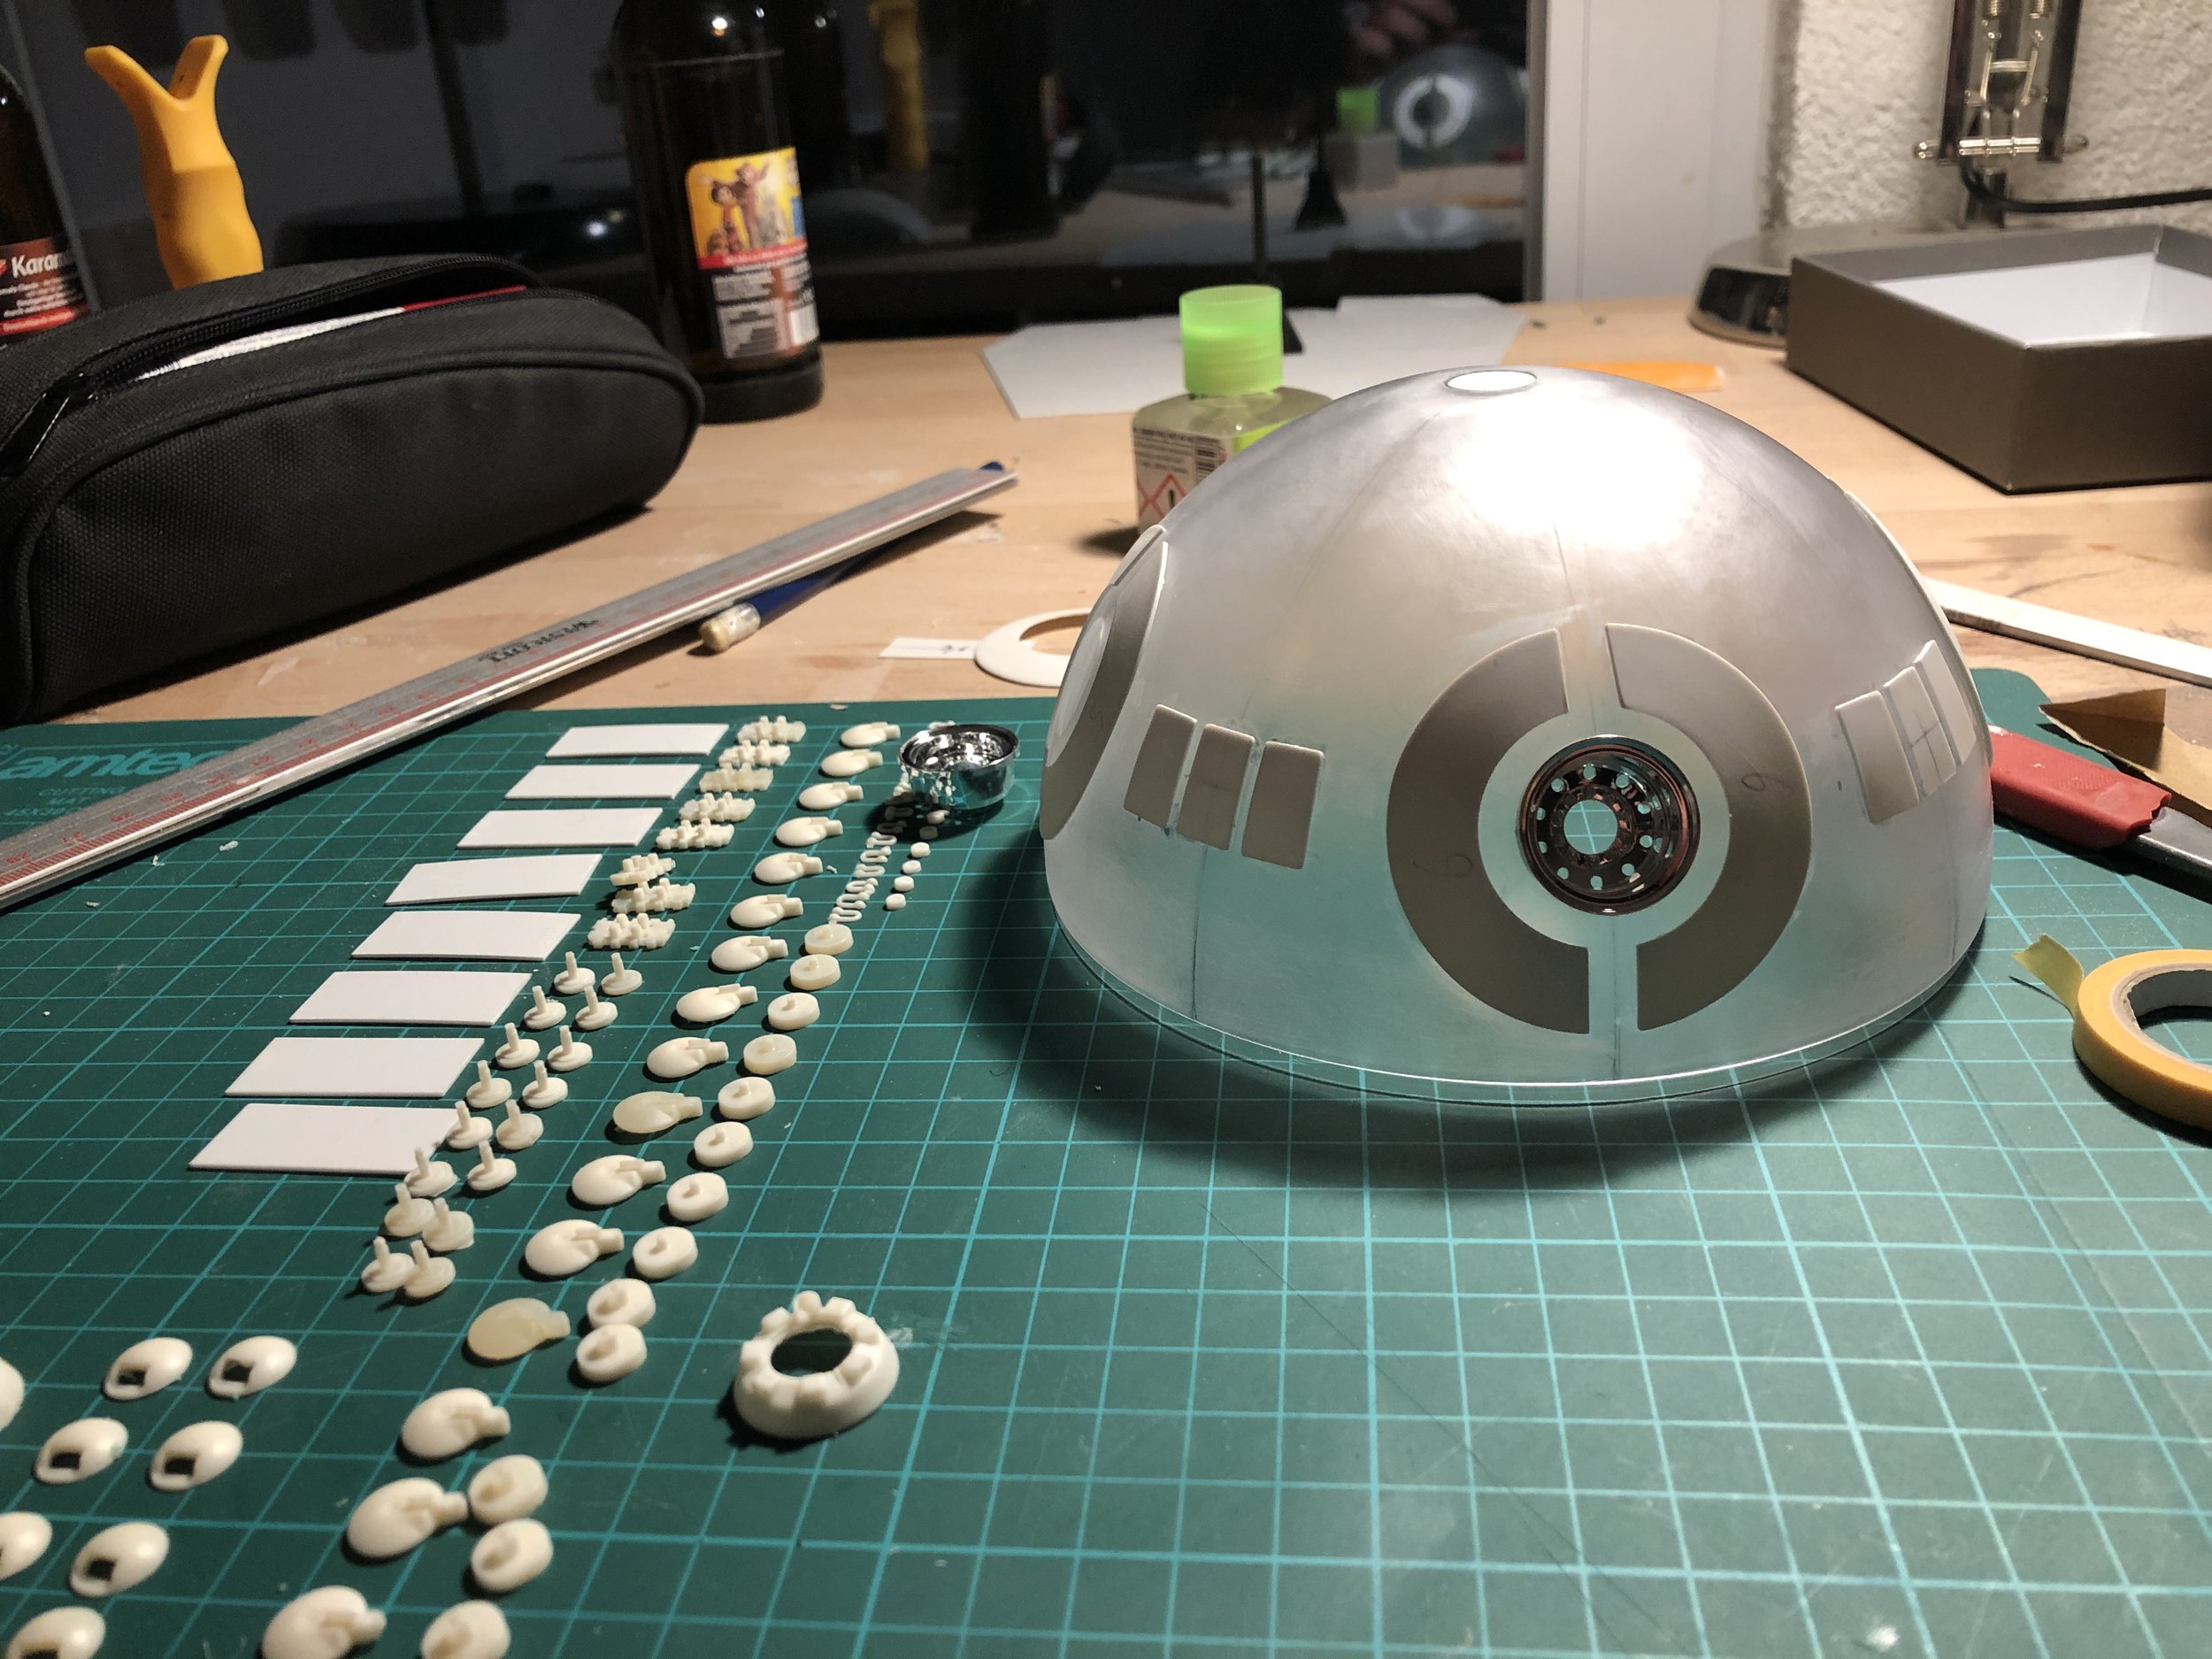


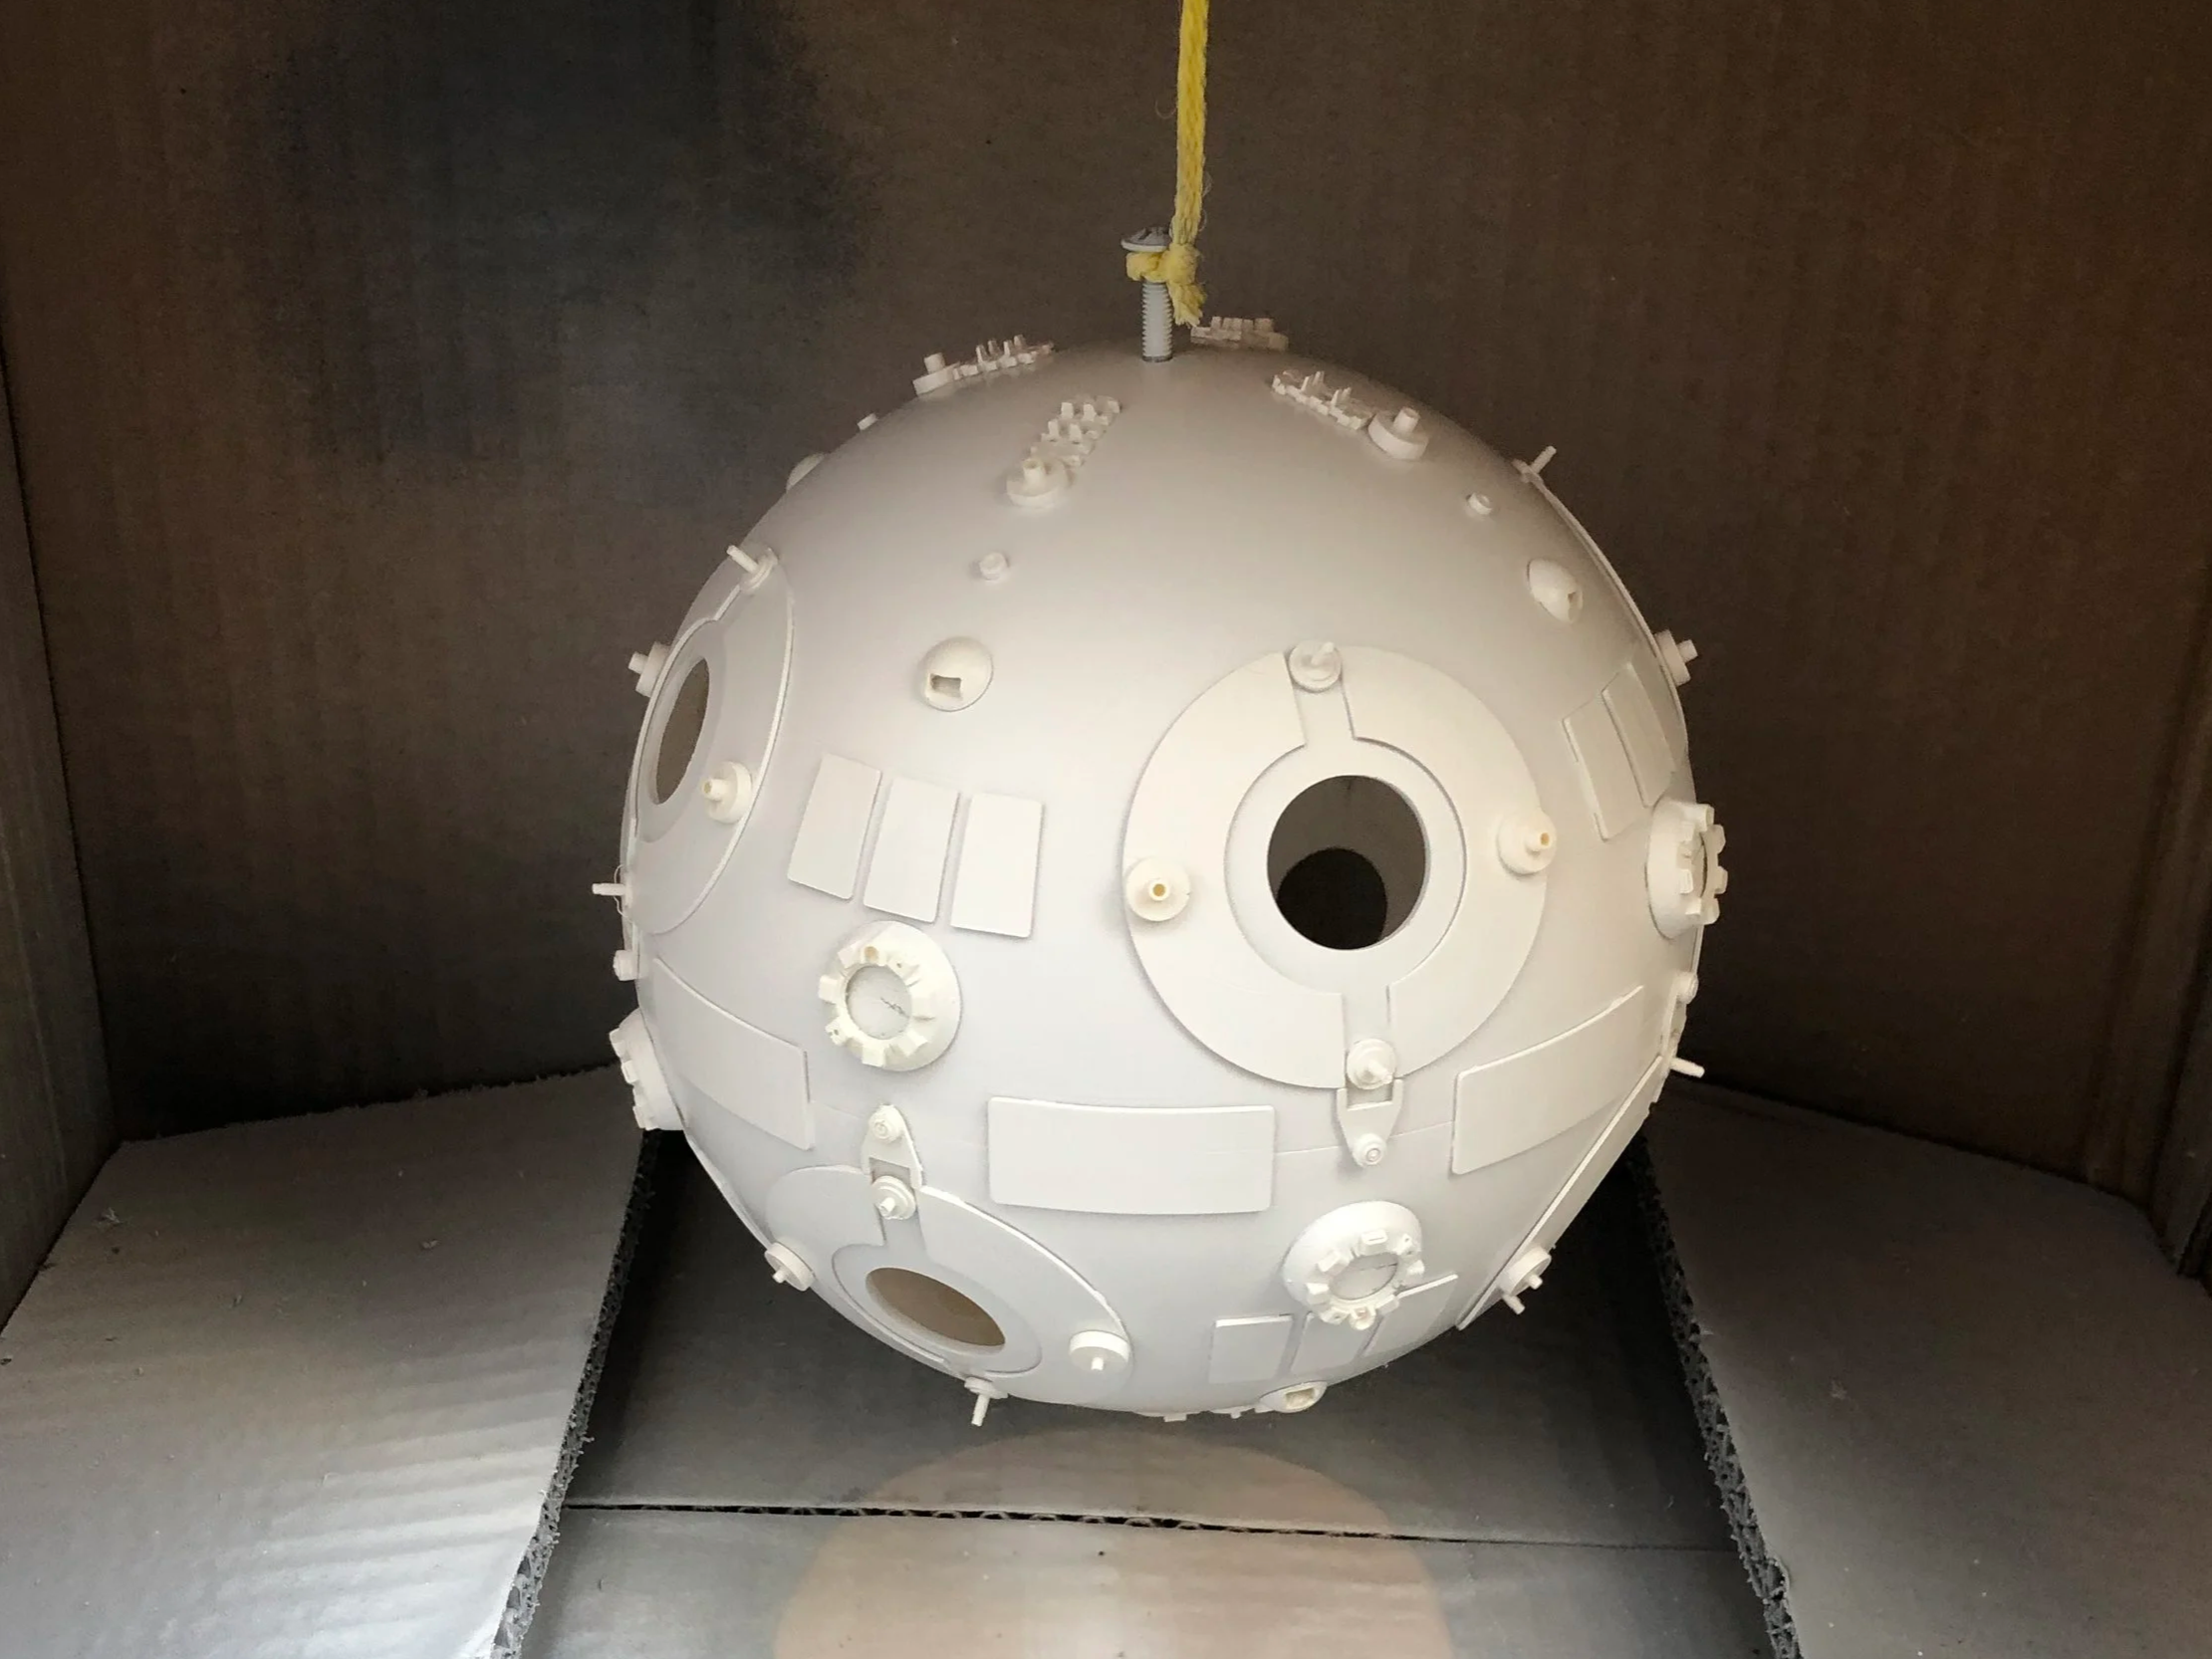
PRIMING
I think every model builder knows this feeling. The priming process is by far the most fun part. That layer which suddenly makes everything look like it’s from a single piece is the most satisfying. The white of the remote is almost a 1:1 match to Tamiya primer, which is well known for how perfectly it applies. The white is slightly off and not a pure, bright white.
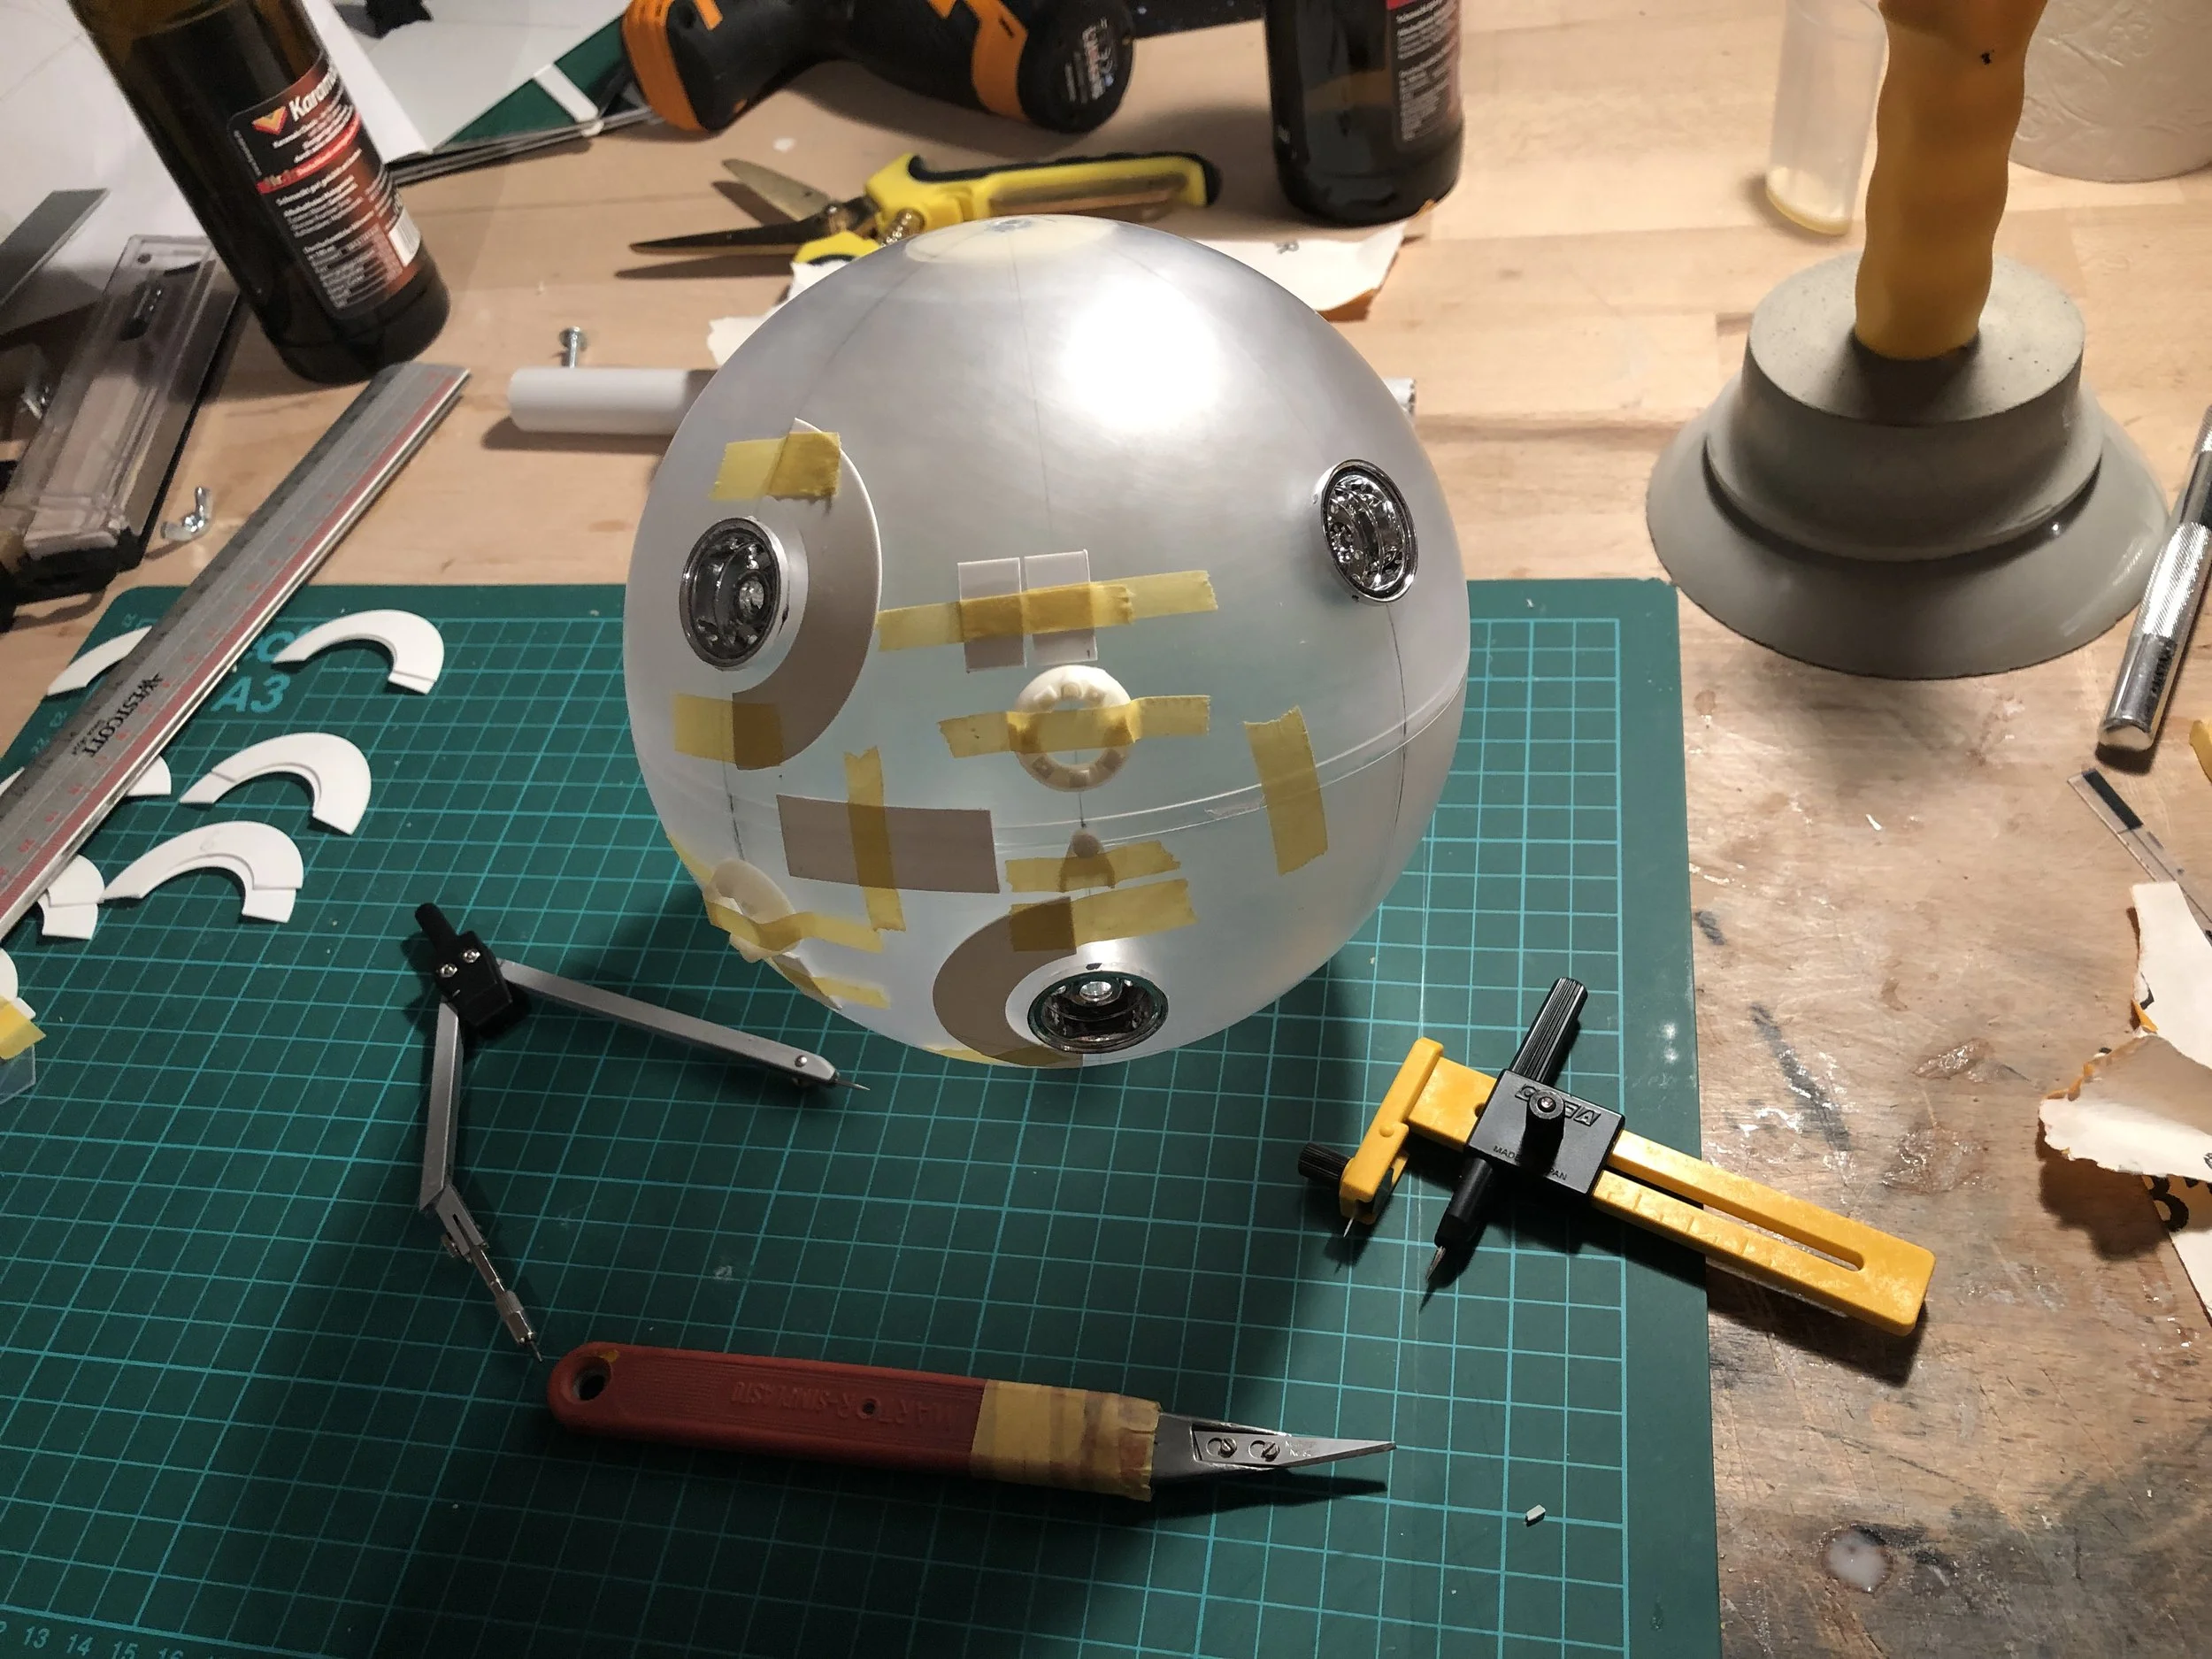
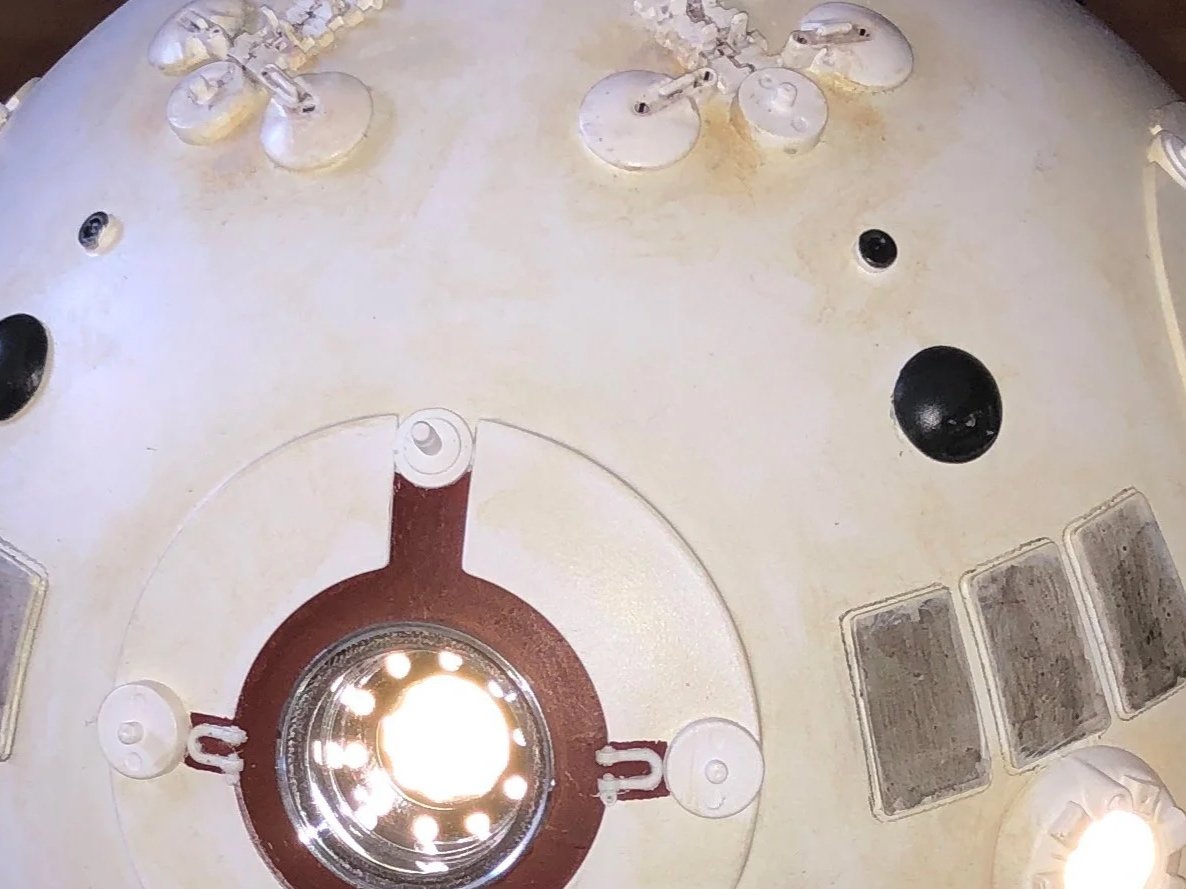
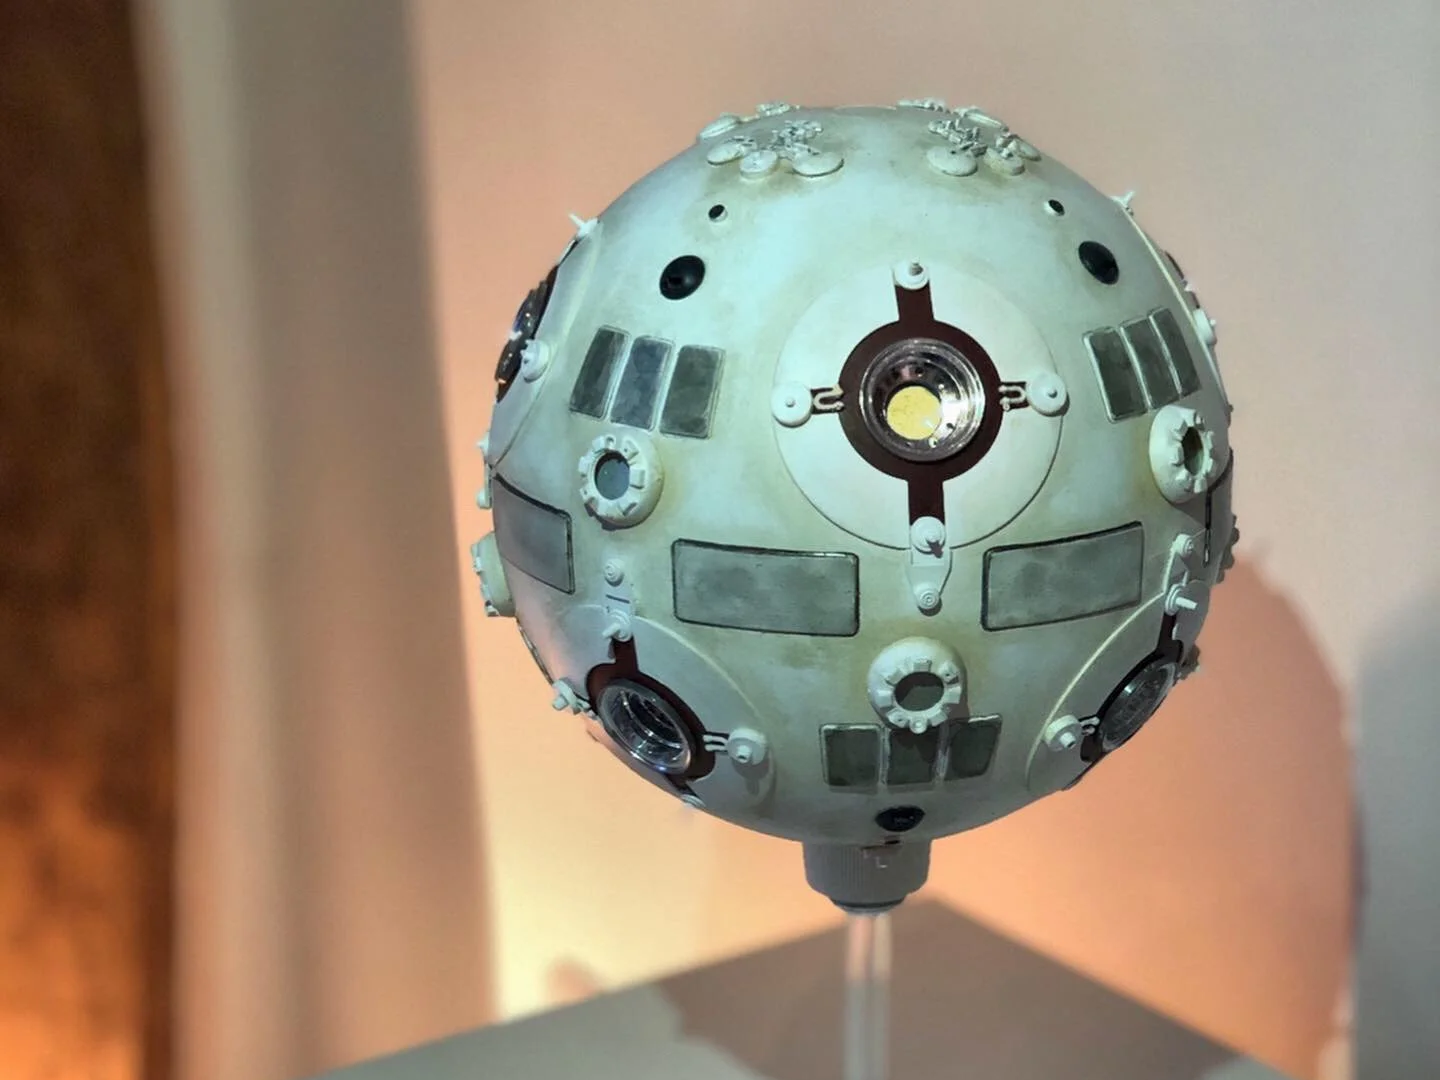
WEATHERING
The weathering process was quite challenging as well. The visual language of Star Wars: A New Hope is often described as a “used future.” Nothing appears clean or new; instead, the universe feels industrial, mechanical, and lived-in. Surfaces are worn and chipped, details are exposed, and technology looks repaired rather than replaced. Everything feels analog, functional, and utilitarian, with clear influences from real-world military hardware. The Jedi training remote follows this same design philosophy. The challenge was finding the right balance in the weathering process — adding enough wear and patina to make it believable, without going so far that the original shapes and details were lost.

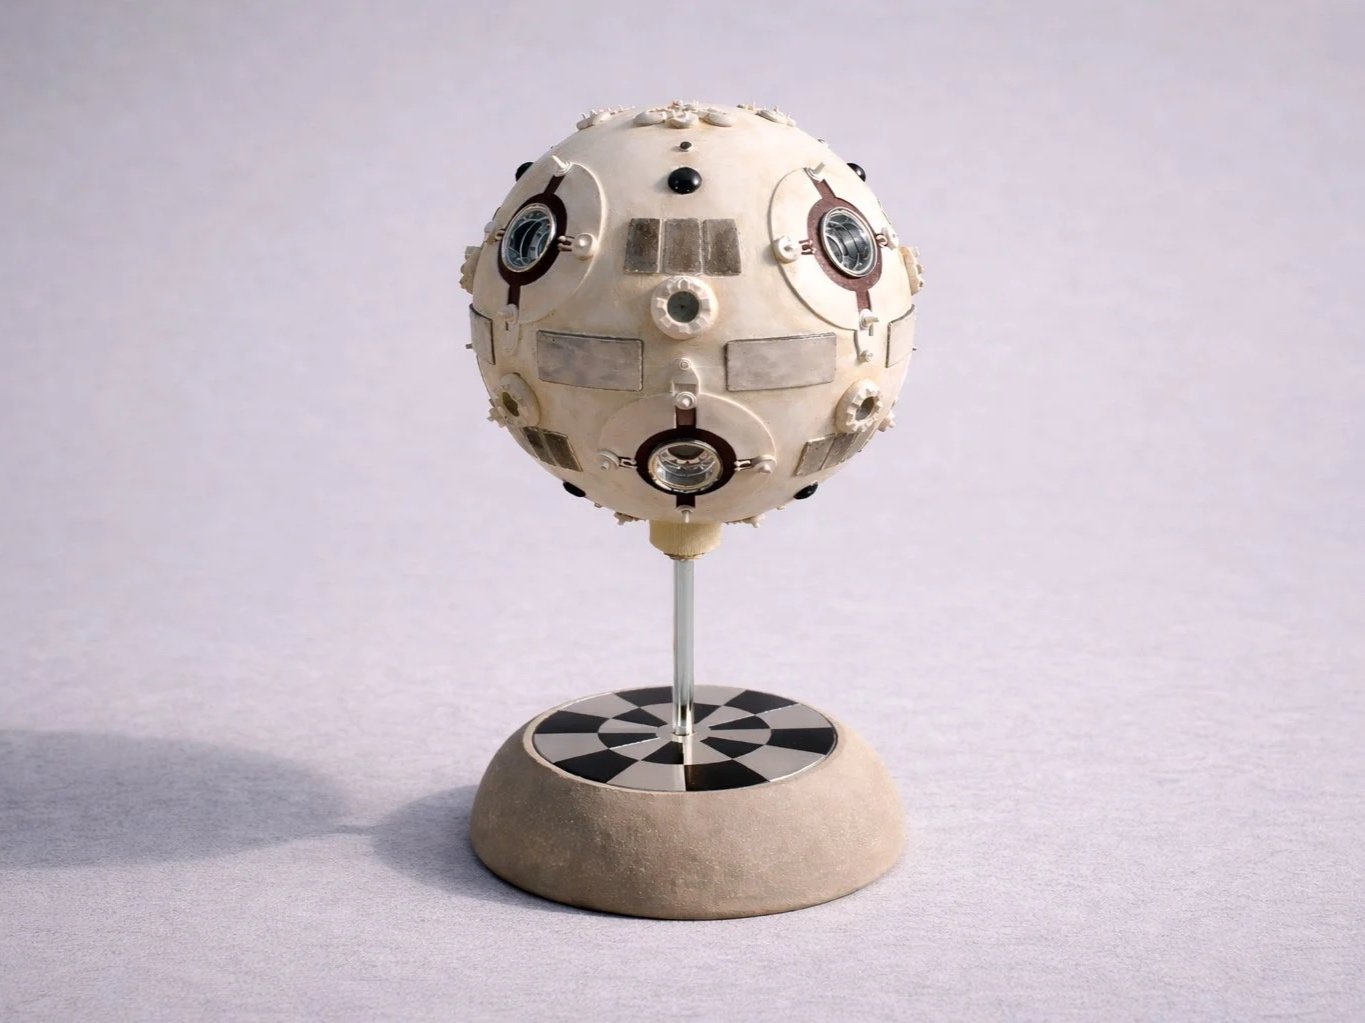
TRAIL & ERROR
It all sounds fairly straightforward now, but there was a lot of trial and error involved. In the end, I also decided to build a proper display stand with a magnetic mount. I installed two magnets in the remote. One magnet is embedded in the lower sphere (inside), and the counterpart is mounted in a cap from a paint tube that had a nice shape and could be easily adapted to the sphere through casting. I cast the heavy base from concrete leveling compound using an old cereal bowl as a mold, and left a small recess for a metal plate. The design is meant to reference the chessboard seen in the first film, on which Chewbacca and C-3PO play. I honestly don’t think the remote could have a cooler stand than that.
A FEW SECONDS
This scene from the film is what everything revolves around — and it was the original inspiration for my project. It’s important to keep in mind that I was nine years old when I first saw it, and it completely blew me away. The simplicity of the moment, the mysterious object, and the idea of learning through failure and instinct left a lasting impression on me, one that stayed with me for decades and ultimately led to this build.